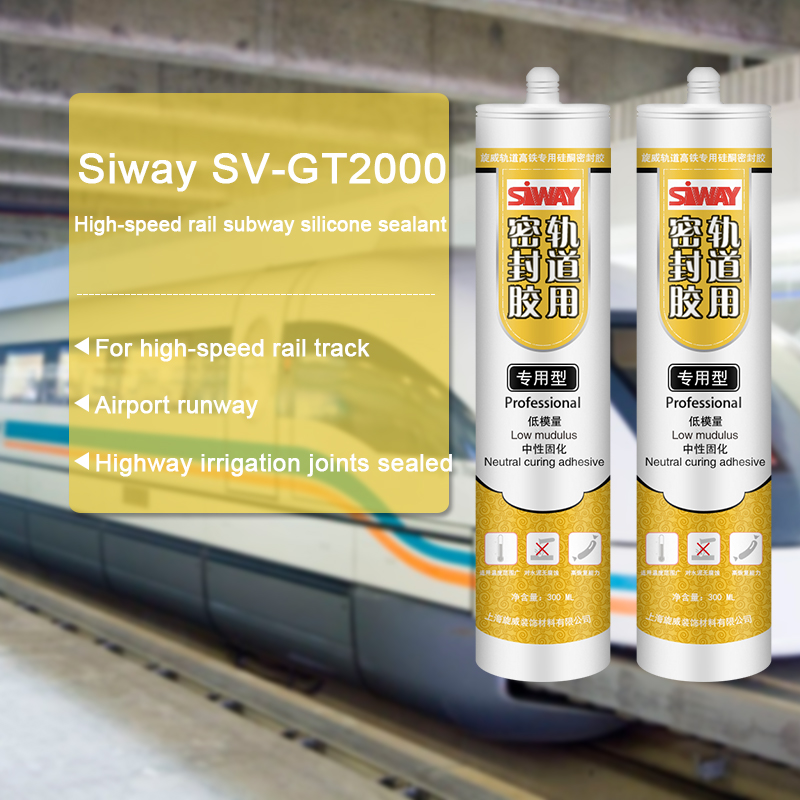
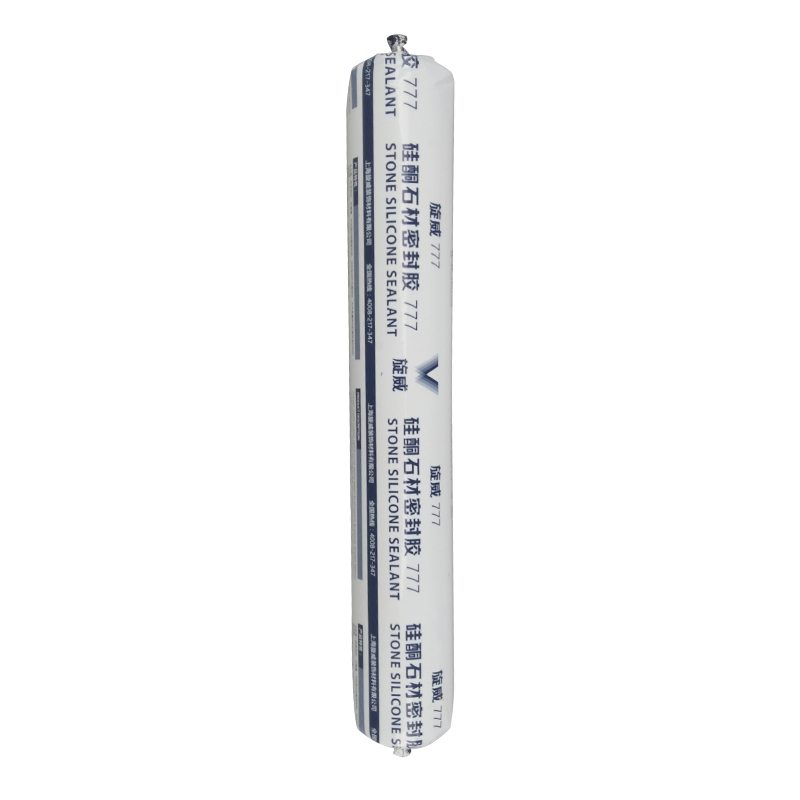
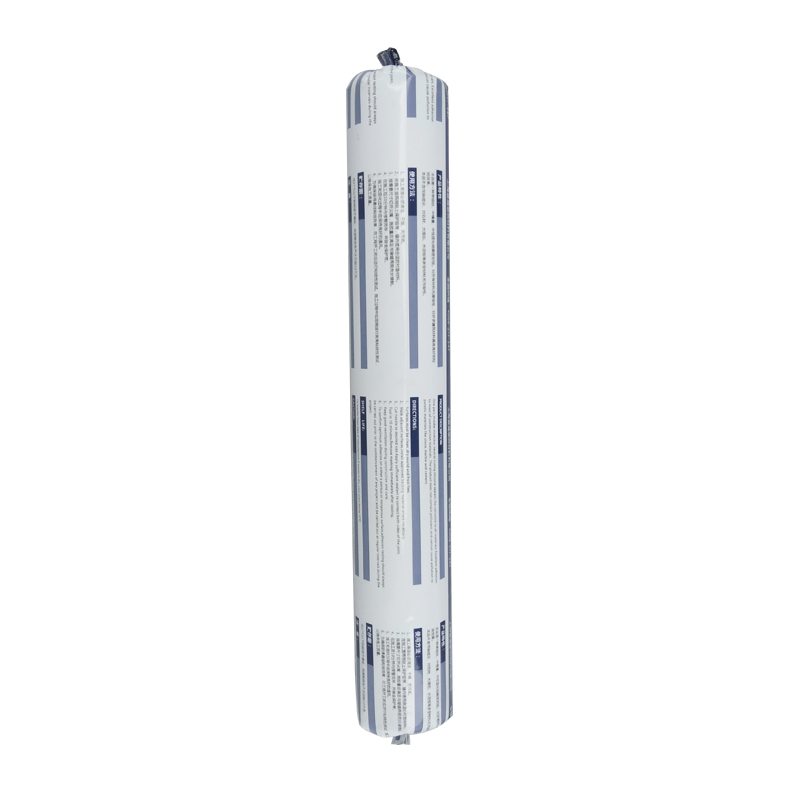
Manufactur standard SV-777 silicone sealant for stone to Brazil Manufacturers

Short Description:
Description SV-777 silicone sealant for stone, is an elastomer sealant in modulus, single. Waterproof joints need to be sensitive to natural stone, glass and metal building clean appearance panel for sealing design, it to the moisture in the air after curing in contact, the formation of elastic rubber sealing performance, durability, weather resistance, good combination with most building materials. Key Features 1. 100% silicone 2. Minimized fluid migration 3. Low dirt pick up 4. Water &...
owing to good service, a variety of high quality products, competitive prices and efficient delivery, we enjoy a good reputation among our customers. We are an energetic company with wide market for Manufactur standard SV-777 silicone sealant for stone to Brazil Manufacturers, We are sincerely welcome good friends from numerous circles at dwelling and abroad come to cooperate!
Description
SV-777 silicone sealant for stone, is an elastomer sealant in modulus, single. Waterproof joints need to be sensitive to natural stone, glass and metal building clean appearance panel for sealing design, it to the moisture in the air after curing in contact, the formation of elastic rubber sealing performance, durability, weather resistance, good combination with most building materials.
Key Features
1. 100% silicone
2. Minimized fluid migration
3. Low dirt pick up
4. Water & weatherproof
5. Primerless adhesion to most building materials
6. 25% movement capability
Basic Application
1.Stone curtain wall sealing
2.Engineering ceramic sealing
3.Stone and other materials such as glass, metal seam sealing
4.Other uses
Technical data sheet
| Test standard | Test project | Unit | value |
| Before curing——25℃,50%R.H. | |||
| ASTM C 679 | Flow, sagging or vertical flow | mm | 0 |
| VOC | g/L | <80 | |
| GB13477 | surface drying time(25℃,50%R.H.) | min | 30 |
| Curing time(25℃,50%R.H.) | Day | 7-14 | |
| Sealant curing speed and operating time will have different with different temperatures and temperature, high temperature and high humidity can make sealant curing speed faster, rather low temperature and low humidity are slower.21 days after curing——25℃,50%R.H. | |||
| GB13477 | Durometer Hardness | Shore A | 30 |
| GB13477 | The ultimate tensile strength | Mpa | 0.7 |
| Temperature stability | ℃ | -50~+150 | |
| GB13477 | Movement capability | % | 25 |
| ASTM C 1248 | Pollution / oil, natural stone | No | |
Certification
25HM GB/T 23261-2009;ASTM C920-2011
Color
Black,White,Gray
Package
300ml in cartridge * 24 per box, 590ml in sausage *20 per box
Shelf life
12 months
Note
If you want the TDS or MSDS or other details, please contact with our sales person.
Sometime during the last couple weeks of our winter snowbird travels the Keystone Cougar’s built in black tank flushing system gave up the ghost. I hook up the hose to the sewer flush inlet connection, turn on the water, and nothing happens. Something must be plugged.
I tried a thorough cleaning of the back tank using several different treatment chemicals. I also picked up a through the toilet type flushing wand. No luck, the built in tank flush was still broken. It was time to get a bit dirty and take apart the system and see what the problem was.
My system is called a No Fuss Flush. I was able to find a diagram for it online. After perusing the No Fuss Flush diagram, the fault looked to be one of three things. A clogged plumbing pipe, a defective or plugged check valve or a stopped up flushing nozzle.
I found the check valve located under our bathroom sink and could see the water was reaching it. Next, I unscrewed the valve and took it to a tap to test it out. Everything appeared to be in working order. The valve mechanics functioned as they should, and it passed water.
So, it seemed the likely culprit was the flusher’s output nozzle mounted inside the tank. I followed the plumbing pipe into an area of the underbelly on the passenger side of the trailer. After cutting a small access flap into the corrugated plastic, I finally found the nozzle. It’s mounted on the black waste tank with three screws and a large glob of silicone sealant.
Once I removed the nozzle, the problem was obvious. All the nozzle spray holes were plugged up with hardened dark deposits of who knows what. I let the nozzle soak for a while in some hot soapy water and was able to clean it up. Next, I reamed out each hole with a 1/16 bit to make sure they were entirely clear.
I then removed all the old silicone and reinstalled the nozzle with new 3M clear marine grade silicone. Once everything was dry, and the silicone hardened I gave the tank flusher a test. Woohoo! I was back in business.
RV Products I use and recommend – https://www.loveyourrv.com/love-rv-recommended-products-page/
———————————–
Follow our RVing adventures at https://www.loveyourrv.com and https://rvhappyhour.com
Connect with Love Your RV!
Pinterest ► https://www.pinterest.com/loveyourrv
Google+ ► https://plus.google.com/+LoveYourRVonGPLUS
Facebook ► https://www.facebook.com/LoveYourRV
Twitter ► https://twitter.com/loveyourrv
Blog Feed ► https://feeds.feedburner.com/LoveYourRV
Monthly Newsletter ► https://www.loveyourrv.com/mailing-list-sign-up/
Don’t forget to Subscribe! ► https://www.youtube.com/subscription_center?add_user=LoveYourRV
Safety and security are important to homeowners. One quick and easy project you can do to add security to your home is to install a door viewer. There are different types of door viewers. For narrow smaller areas consider a 160 degree viewer. For large porches consider a 180-200 degree viewer, with a knocker to add some accent.
To begin you will need door viewer, drill, screwdrivers and silicone sealant.
Determine a height that is comfortable for your family. Mark where you will be mounting the door viewer. Drill the holes for the mounting screws. Drill a pilot hole for the door knocker, then drill the actual hole. Mount the door knocker. Insert the top mounting screw and finishing washer from inside the door. Tighten the top and bottom screws of the knocker. Finally insert the door viewer. Tighten the barrel on the inside. If you are just inserting the door viewer add some silicone sealant and tighten the barrel and you’re done. For more videos to help keep your home safe visit https://www.Lowes.com/Videos.
Subscribe to Lowe’s YouTube for great how to videos and home improvement tips: https://www.youtube.com/subscription_center?add_user=lowes
Or head to our channel: https://www.youtube.com/Lowes