High Definition For SV-995 Neutral Silicone Sealant to South Korea Importers

Short Description:
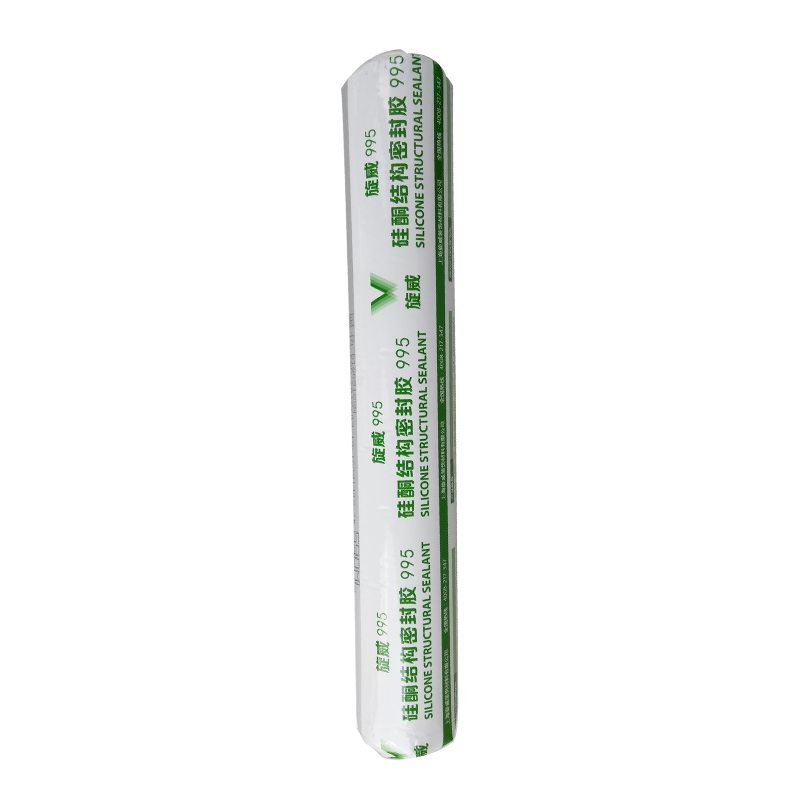
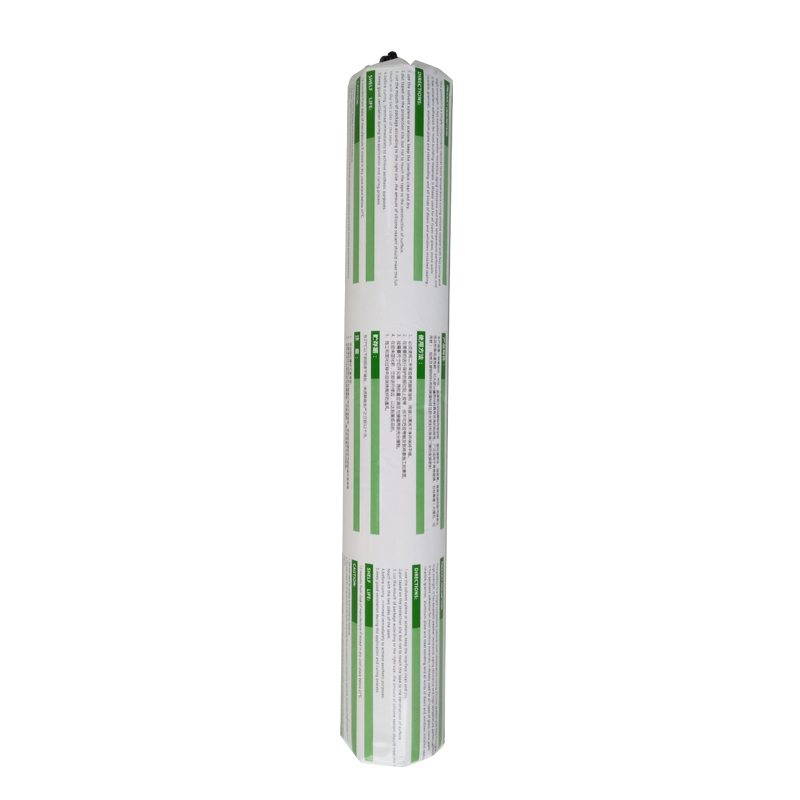
Description SV – 995 neutral silicone sealant structure is a kind of one-component, construction curtain wall structure of room temperature curing glue, can be used in all kinds of curtain wall joints and waterproof seal, also can be used for all kinds of aluminum alloy, glass doors and Windows seal assembly Where to use 1.Curtain wall joints and waterproof seal 2.Aluminum alloy, glass doors and Windows seal assembly Key Features 1. 100% silicone 2. Easy to use 3. Waterproofing and...
In order to give you convenience and enlarge our business, we also have inspectors in QC Team and assure you our best service and product for High Definition For SV-995 Neutral Silicone Sealant to South Korea Importers, Let's cooperate hand in hand to jointly make a beautiful future. We sincerely welcome you to visit our company or contact us for cooperation!
Description
SV – 995 neutral silicone sealant structure is a kind of one-component, construction curtain wall structure of room temperature curing glue, can be used in all kinds of curtain wall joints and waterproof seal, also can be used for all kinds of aluminum alloy, glass doors and Windows seal assembly
Where to use
1.Curtain wall joints and waterproof seal
2.Aluminum alloy, glass doors and Windows seal assembly
Key Features
1. 100% silicone
2. Easy to use
3. Waterproofing and weatherproofing
4. Fast curing speed, high strength
5. 12.5% movement capability
Technical data sheet
| Test standard | Test project | Unit | value |
| Before curing——25℃,50%R.H. | |||
| GB13477 | Flow, sagging or vertical flow | mm | 0 |
| GB13477 | surface drying time(25℃,50%R.H.) | min | 30 |
|
GB13477 |
Operating time | min | 20 |
| Curing time(25℃,50%R.H.) | Day | 7-14 | |
| Sealant curing speed and operating time will have different with different temperatures and temperature, high temperature and high humidity can make sealant curing speed faster, rather low temperature and low humidity are slower.21 days after curing——25℃,50%R.H. | |||
| GB13477 | Durometer Hardness | Shore A | 40 |
| GB13477 | The ultimate tensile strength | Mpa | 0.8 |
| GB13477 | Movement capability | % | 12.5 |
Color
Black,White,Gray
Package
300ml in cartridge * 24 per box, 590ml in sausage *20 per box
Shelf life
12 months
Note
If you want the TDS or MSDS or other details, please contact with our sales person.
SUBSCRIBE for FREE swimming pool care and maintenance videos
every week: https://bit.ly/SubscribeINYO ****
VISIT our blog for weekly swimming pool tips, tricks, and more! https://www.inyopools.com/blog
SHOP at our online store! https://bit.ly/InyoPools
Listen to the Poolside Chat podcast!
iTunes:https://bit.ly/PoolsideChat
SoundCloud:https://soundcloud.com/inyopools-com
LIKE us on FACEBOOK! https://www.facebook.com/inyopools
FOLLOW us on TWITTER! https://twitter.com/inyopools
FOLLOW us on INSTAGRAM! https://www.instagram.com/inyopools/
JOIN our circle on GOOGLE+ https://plus.google.com/+Inyopools/posts
To view this guide on our website, visit:
https://www.inyopools.com/HowToPage/how_to_replace_a_spider_gasket_on_a_multiport_valve.aspx
This video will be showing you how to replace the Spider Gasket on your Multiport Valve. This fix is common and something you may have to do a couple times over a life of a valve. The usual symptom of a bad spider gasket is water diverted into your waste port even though the valve is set to regular filtering mode. This is caused by a warping or tearing of this gasket causing an improper seal. It is a moderately easy fix so let’s get started.
For this operation you’ll need a screwdriver, pliers, and O-ring lube(Loctite Glue –
For some Gaskets will be necessary).
Before we start, please remember to turn off all power to your pump, or else this
simple task can turn into a gusher. Also use an air relief valve to relieve any pressure inside the tank before removing the valve lid.
First we’ll need to set the valve into Winterization” mode. This lifts the diverter from the valve bod, making it easier to work withy.
Now we can remove the bolts and nuts connecting the lid to the body of the valve. Make
sure you keep track of these and store them in a safe place until we put the lid back on.
Spider gaskets can be either molded into the body of the valve or the wheel like diverter. Whichever side it’s on, the operation is pretty much the same for removal. Use your fingers or some needle nose plier to remove the worn O-ring.
Clean any foreign material from the gasket’s groove. This can be dirt, oil, glue, or
lube residue; this ensures that when we install the new gasket, it is sitting cleanly in place.
This next step is only for valves that require the gasket glued in. using Loctite 401, 403, or 416 apply a sparing amount of glue. The glue lines must be continuous and intersect at the intersections of the grooves, and only on the bottom of the gasket.
At this point we apply the new gasket. Press the new gasket firmly into place. Run your
fingers along the outline to find any bumps or points of concern. Address these unsmooth areas to ensure the gasket is properly seated.
With the gasket secure, we can assemble the valve. Place the valve’s lid on top of its
body. Where the two pieces meet you’ll notice notch or a tab on both sides. Align these two tabs. This is a guide added by the manufacturer to ensure the lid is installed correctly.
Depress the valve handle and rotate it to the closest standard position (FILTER or RINSE), being careful not to rub the plug on the new gasket. Release the handle, allowing the plug to hold the gasket in place while curing.
Buy at: https://www.partspak.com/productcart/pc/viewPrd.asp?idproduct=444111 Permatex 81160; High-Temp Red Rtv Silicone 3Oz ATV