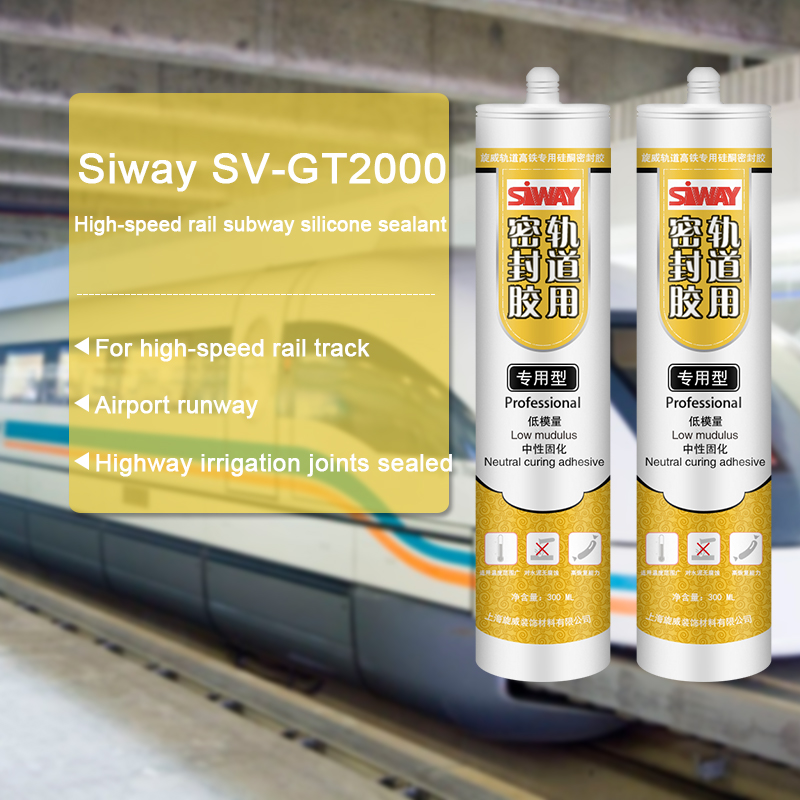
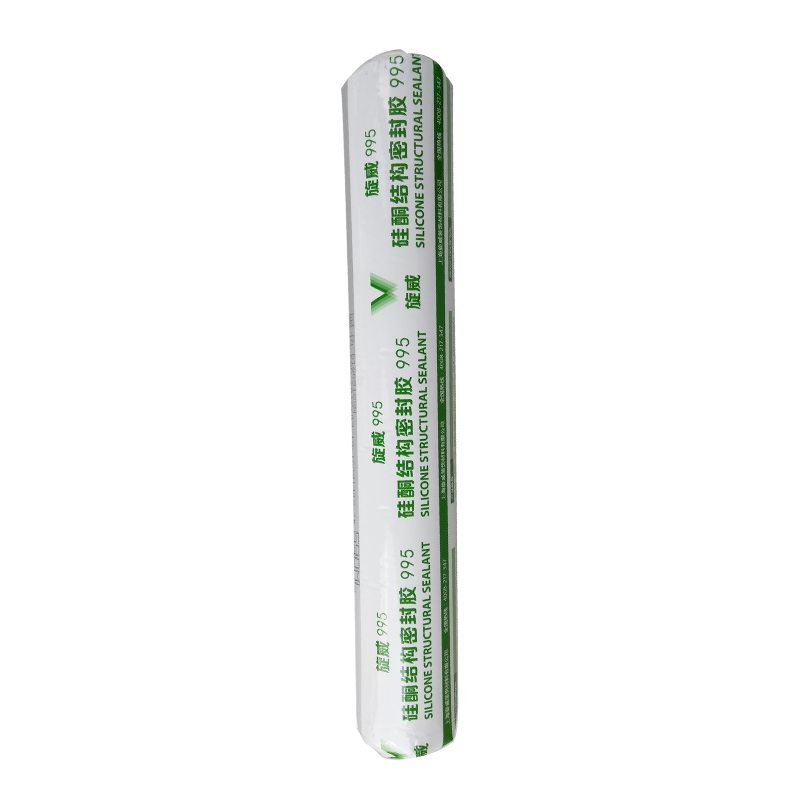
Chinese Professional SV-995 Neutral Silicone Sealant for Mexico Manufacturers

Short Description:
Description SV – 995 neutral silicone sealant structure is a kind of one-component, construction curtain wall structure of room temperature curing glue, can be used in all kinds of curtain wall joints and waterproof seal, also can be used for all kinds of aluminum alloy, glass doors and Windows seal assembly Where to use 1.Curtain wall joints and waterproof seal 2.Aluminum alloy, glass doors and Windows seal assembly Key Features 1. 100% silicone 2. Easy to use 3. Waterproofing and...
We consistently carry out our spirit of ''Innovation bringing development, Highly-quality ensuring subsistence, Management promoting benefit, Credit attracting customers for Chinese Professional SV-995 Neutral Silicone Sealant for Mexico Manufacturers, If you are interested in any of our products or would like to discuss a custom order, please feel free to contact us. We are looking forward to forming successful business relationships with new clients around the world in the near future.
Description
SV – 995 neutral silicone sealant structure is a kind of one-component, construction curtain wall structure of room temperature curing glue, can be used in all kinds of curtain wall joints and waterproof seal, also can be used for all kinds of aluminum alloy, glass doors and Windows seal assembly
Where to use
1.Curtain wall joints and waterproof seal
2.Aluminum alloy, glass doors and Windows seal assembly
Key Features
1. 100% silicone
2. Easy to use
3. Waterproofing and weatherproofing
4. Fast curing speed, high strength
5. 12.5% movement capability
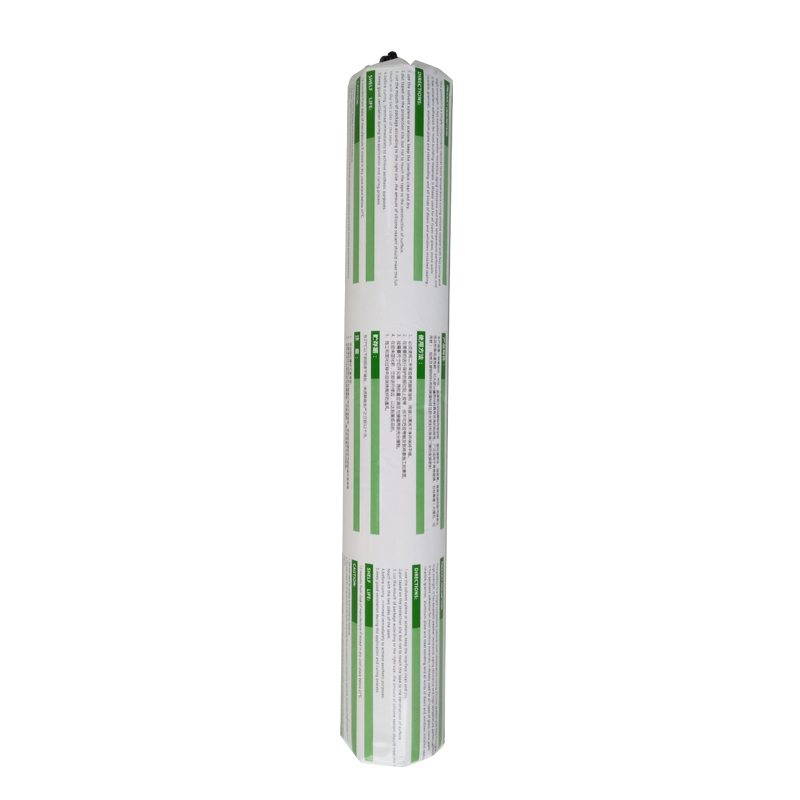
Technical data sheet
| Test standard | Test project | Unit | value |
| Before curing——25℃,50%R.H. | |||
| GB13477 | Flow, sagging or vertical flow | mm | 0 |
| GB13477 | surface drying time(25℃,50%R.H.) | min | 30 |
|
GB13477 |
Operating time | min | 20 |
| Curing time(25℃,50%R.H.) | Day | 7-14 | |
| Sealant curing speed and operating time will have different with different temperatures and temperature, high temperature and high humidity can make sealant curing speed faster, rather low temperature and low humidity are slower.21 days after curing——25℃,50%R.H. | |||
| GB13477 | Durometer Hardness | Shore A | 40 |
| GB13477 | The ultimate tensile strength | Mpa | 0.8 |
| GB13477 | Movement capability | % | 12.5 |
Color
Black,White,Gray
Package
300ml in cartridge * 24 per box, 590ml in sausage *20 per box
Shelf life
12 months
Note
If you want the TDS or MSDS or other details, please contact with our sales person.
https://www.PirateLifestyle.com Quickie for the Pirate Lifestyle TV Show. We receive lots of requests to share what living life aboard a sailboat is like, day to day.
So this episode is a project I have been ignoring for too long. Just ask Cheri.
I’m here in an old shirt and dirty hat to show you how to replace port lights, boat windows.
OK, let’s get to it.
You see blue tape covering the holes where I removed the barrel nuts from the outside and the inside of the ports. I did this so I could take my time and thoroughly clean them.
Using a small flexible putty knife, I carefully separate the trim ring from the boat.
We decided to replace our old, cloudy, leaky opening ports. One of the reasons I have delayed this project is because boat projects tend to end up being more involved than we plan or expect.
As the putty knife breaks the seal I use a flat screw driver and a small hammer to completely remove the trim ring.
One lucky factor, we were able to purchase ports from the same company that made the original ports.
Both the original and the new opening ports come from Beckson, out of Connecticut.
My biggest concern with tackling this project was how much rotten core I would have to deal with after removing the old ports.
I was expecting the time consuming task of repairing the cabin house openings with epoxy. Fortune for me, the boat is solid glass where the ports are installed.
Using a utility knife, I cut though as much of the old silicone bedding as I can. I keep going around and around breaking the bond.
Once the port is loose I go inside and carefully pried out the port.
I taped a piece of plastic over the inside of the opening to keep as much dust and debris as possible out of the boat.
Removing all the old silicone is the most difficult part. Scrapping the bulk of the silicone off with a razor blade is a time consuming process. It is very important to remove all the old silicone.
After most of the silicone is gone, I am carefully sanding the entire area. Again, going around and around until all the silicone is gone and the surface is well sanded.
I am using an electric dremel to sand the inside surface of the opening.
After sanding, the openings are cleaned with alcohol and are now ready for the new ports.
I placed a small bead of sealant on the inside of the port. Cheri puts the port in the opening and firmly presses it in position.
What material to bed the ports with is a controversial topic.
Beckson clearly states to use a silicone sealant. New silicone will not stick to old silicone and no matter how careful you are it is nearly impossible to remove it all.
I am using Boatlife’s Life-Seal for this installation. It is a formulation of silicone and polyurethane.
Do not use 5200! Arrrrr.
I lightly sanded the inside surface of the ring and made sure it was dust free.
I place a good amount of sealant on the ring and spread it out with my putty knife.
After placing the ring, and firmly pressing it in position, I place and carefully tighten the bolts. These are the same barrel nuts and bolt I removed earlier and cleaned.
Tomorrow I will remove the tape and the excess sealant.
And there you have it. Now you know how to replace ports on a sailboat.
Shows how to make a mould out of alginate and then casting with Plaster. Used for helping in matching sizes for a 3d printed device
https://robohand.com.au/?page_id=588