Wholesale Distributors for Siway two component strength-basded ceramic tile sealant to Hongkong Manufacturers
Short Description:
Product introduction Siway two component strength-basded ceramic tile sealant is an upgraded version of epoxy common beauty gap sealant, excellent toughness and impact resistance, surface brightness, such as porcelain, efficient, durable antibacterial mouldproof, waterproof sealing, 100% do not flow, construction simple, harmful index is far lower than the standard “GB18583-2008″ interior decoration, etc. Is widely used in high-grade kitchen, sanitary ware, high-grade family is de...
Quality comes first; service is foremost; business is cooperation" is our business philosophy which is constantly observed and pursued by our company for Wholesale Distributors for Siway two component strength-basded ceramic tile sealant to Hongkong Manufacturers, We sincerely welcome both foreign and domestic business partners, and hope to work with you in the near future!
Product introduction
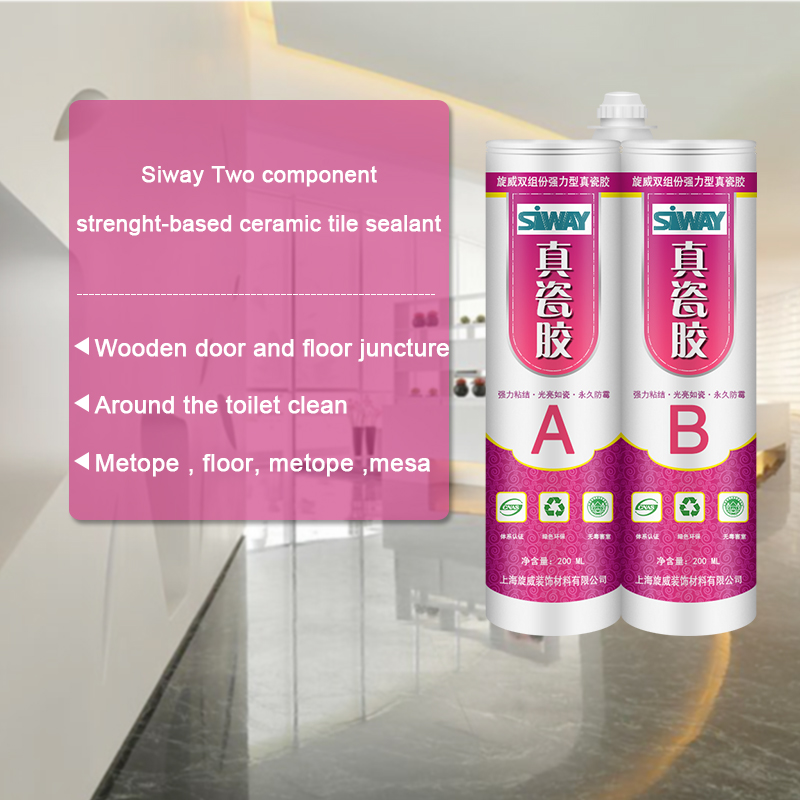
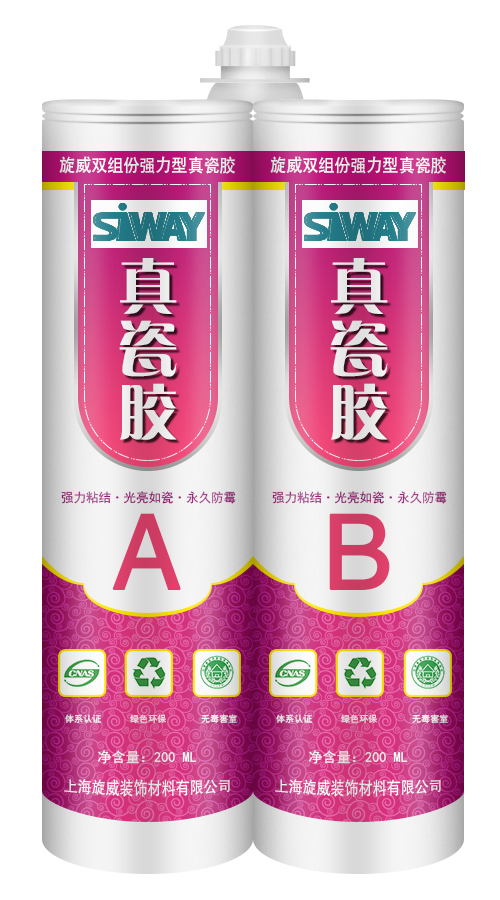
Siway two component strength-basded ceramic tile sealant is an upgraded version of epoxy common beauty gap sealant, excellent toughness and impact resistance, surface brightness, such as porcelain, efficient, durable antibacterial mouldproof, waterproof sealing, 100% do not flow, construction simple, harmful index is far lower than the standard “GB18583-2008″ interior decoration, etc. Is widely used in high-grade kitchen, sanitary ware, high-grade family is decorated in joint seal and hotel decoration,, without excitant or unpleasant smell, in use process to bring you new construction concept and aesthetic effect.
Note: the position of construction
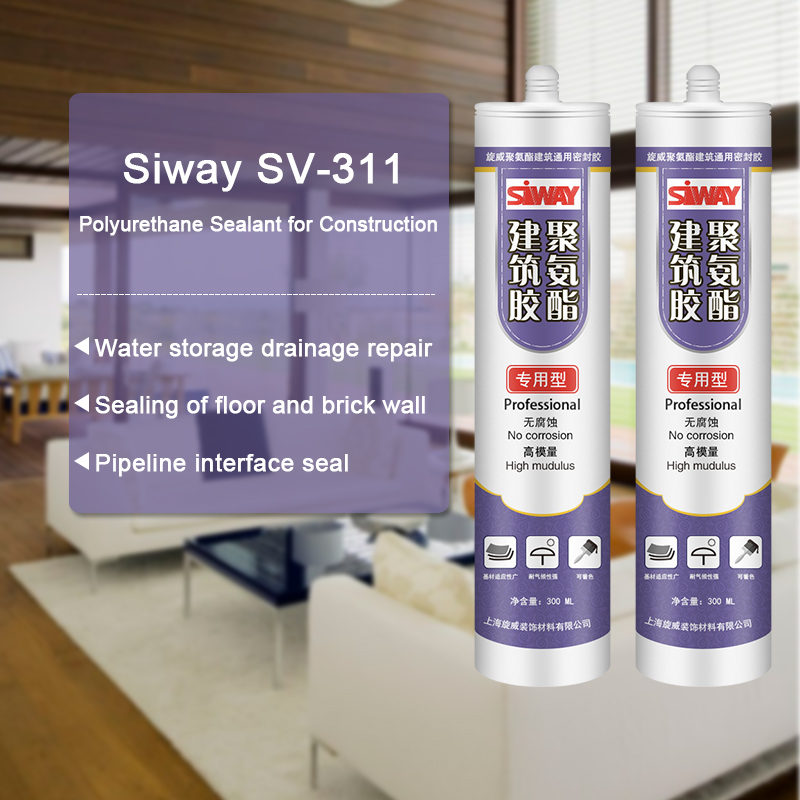
1, metope and floor, metope and mesa, and side beams and floor juncture
2, square face plate around the seams with mesa
Around 3, round face and mesa juncture, circular beams and floor juncture
4, around the toilet clean and floor juncture
5, wooden door and floor juncture
In 6, the tub edge or metope seams with mesa
Scope of application
1, window, furniture and so on, all kinds of counter aperture, cabinets, all kinds of edges, kitchen toilet all kinds of edges, can also be used to paste all kinds of hard materials.
In 2, the guesthouse, hotel, family bath crock, implement, sink, shower room and xiancai basins of installation, waterproof, plugging and other kitchen ware and decorative processing.
Method of use
1, clean the construction surface, remove dirt, oil and other impurities, then along the hem the ceramic tile with crepe paper.
2, mount rubber mouth, combined with glue gun, glue mouth mouth before the glue to glue on the glue, the glue liquid located in cement mix, edging out front a small amount of adhesive solution, in order to avoid mixed uneven, lead to not curable, and then into the ceramic tile aperture.
3, scrape to evenness with blade, slight trim the edges.
4, this product operation time 30 minutes, 4-6 hours at 25 ℃ room temperature curing, 24 hours of maximum intensity.
Green Dream Group provides advice on sealing a door tight to avoid air leakage. Sierra Club Green Home is proud to bring you these videos.
Buy Fiberglass: https://amzn.to/1T2ucHA
Buy Poly-Resin: https://amzn.to/1Udl4Bp
This is only an experiment for “Proof of Concept”. This is not an instructional video to create armor for purposes of personal defense. Do not attempt to create this and use it as such.
Homemade Bulletproof Armor Plate 2 (Denim & PolyResin):
https://www.youtube.com/watch?v=_ttLr…
Homemade Bulletproof Armor Plate 3 (Denim & Construction Adhesive):
https://www.youtube.com/watch?v=Vlw96…
Homemade Bulletproof Armor Plate 4 (5.56 Protection):
https://www.youtube.com/watch?v=Ub0tZ…
Homemade Bulletproof Armor Plate 5 vs .45 ACP:
https://www.youtube.com/watch?v=aPVIR…
Purpose:
The intent was to purchase and configure locally available materials in a way that could provide bullet resistant capabilities up to “Type IIA” Standards.
Materials:
1. Fiberglass cloth; purchased from Lowes. Fiberglass: https://amzn.to/1T2ucHA
2. Poly Resin; purchased from Lowes. Poly-Resin: https://amzn.to/1Udl4Bp
3. Stainless Steel Sheet Metal approx .25mm thick purchased from Ace Hardware
Construction of Bullet Resistant Plate:
1 x 6″ x 6″ ceramic tile layer approx 1/4″ thick
1 x 6″ x 6″ stainless steel sheet metal approx .25mm thick
1 x 6″ x 6″ fiberglass plate approx 2.9mm thick; consists of 12 layers of poly resin hardened fiberglass cut into dimension after hardened
Construction Process:
1. Ceramic Plate, Sheet metal , fill of gaps between ceramic tiles: A 6 1/8″ x 6 1/8″ mold was created and lined with saran wrap. The polyresin and hardener were mixed and poured over the sheet metal and ceramic tile plate with the sheet metal on the bottom of the mold. This was left to cure for 3 days.
2. Fiberglass plate creation: Cover a board with seran wrap and cut the fiberglass into 8″ wide x 96″ long strips. Pin down the fiberglass and begin to coat it with the polyresin mix. Overlap the fiberglass onto itself, creating multiple layers of fiberglass. Place each strip of fiberglass in perpendicular directions. Continue to do this until a desired amount of layers are placed. Once complete, place another layer of saran wrap over the fiberglass layers and apply a consistent pressure to the materials by means of clamps and or weights. Let cure for approx 3 days.
3. Joining the materials. Duck tape the combined sheet metal and ceramic tile to the fiberglass plate with the ceramic tile first, the sheet metal second, and the fiberglass plate third. In this experiment only 2 layers of duct tape were used.
Results:
The plate was able to stop a 115gr 9x19mm / 9mm luger / 9mm parabellum round fired from a 3″ barrel at approx 10′. The plate stopped the round from penetrating and captured approx 100gr of the bullet. The remaining weight of the bullet was deflected to the side of the plate. The ceramic plate was only fragmented in two individual tiles that came into contact with the bullet. The stainless steel sheet metal was penetrated and showed signs of deformation and stretching. The fiberglass plate delaminated in a 3″-3.5″ diameter wide pattern.
Conclusion:
The plate was capable of stopping this round fired from a 3″ barrel. However, I doubt the bullet reached the velocities needed to achieve the “Type IIA” body armor rating. The ceramic plate caused a significant degradation in the structure of the bullet and most likely led to the greatest amount of fragmentation and stripping of the copper jacket from the bullet. The stainless steel sheet metal most likely distributed the forces from the projectile to a larger surface area of the fiberglass plate before being penetrated.
Recommendations:
1. Use a better quality of fiberglass such as “Woven Roving” that can be purchased from TAP Plastics. It has a greater thickness per layer and will provide greater protection per layer of fiberglass used.
1. Increase the layers of fiberglass to improve the factor of safety.
2. Cut out the rubber spacers from the tile, in order to reduce the weak points in the tile layer. A solid plate could be used as well. However, segmented plates allows for a curvature to be added to the plate which is useful when creating armor to be used on a person or equipment/vehicle.
3. Test the plate without sheet metal in order to determine if it played any significant role in the stopping power of the plate.
4. Use a 4.5″ barrel in the test to achieve the necessary velocities from the 9mm projectile.
5. Build several plates in increasing layers of fiberglass to determine the exact failure point of the plate.
6. Increase the plate layers and attempt to stop 5.56 x 45mm and 7.62 x 39mm fmj rounds.
7. Use different materials like denim instead of fiberglass. This will decrease the overall cost of the plate.
Audio is royalty free from artist Gunnar Olsen.
https://support.google.com/youtube/an…