Super Purchasing for SV-888 Weatherproof Silicone Sealant Wholesale to Iceland


Short Description:
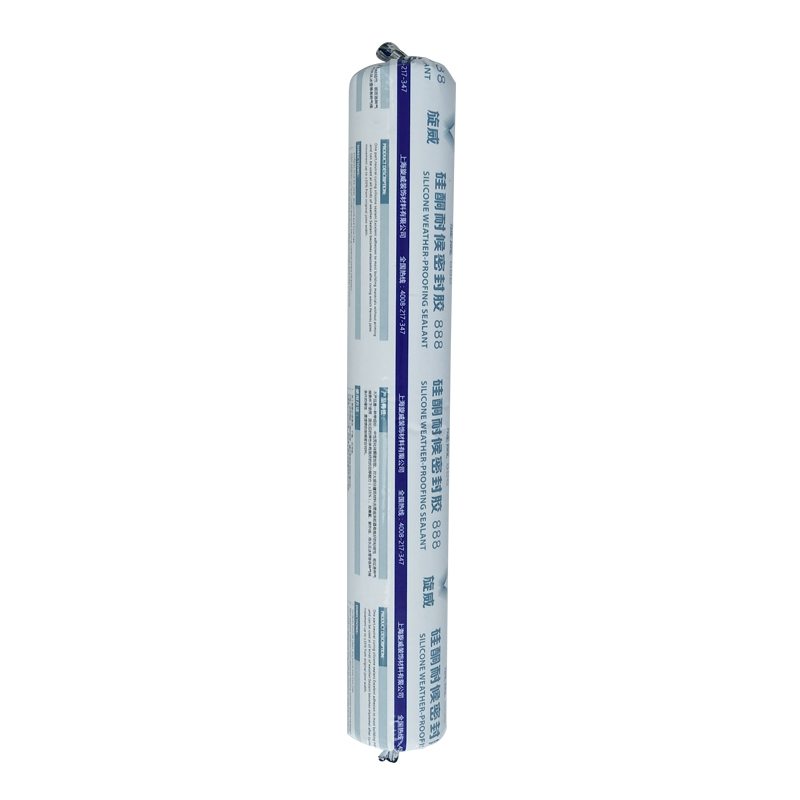
Description SV-888 silicone weatherproof sealant is one component, neutral cure silicone sealant, designed for glass curtain wall, aluminum curtain wall and building exterior design, has excellent weathering properties, it can form durable and most building materials, waterproof and flexible interface. Key Features 1. 100% silicone 2. Medium modulus (25% movement capability) 3. UV resistance & weatherproof 4. Primerless adhesion to most building materials Basic Application 1.All ...
We will make every effort to be outstanding and perfect, and accelerate our steps for standing in the rank of international top-grade and high-tech enterprises for Super Purchasing for SV-888 Weatherproof Silicone Sealant Wholesale to Iceland, We are looking forward to establishing long-term business relationships with you. Your comments and suggestions are highly appreciated.
Description
SV-888 silicone weatherproof sealant is one component, neutral cure silicone sealant, designed for glass curtain wall, aluminum curtain wall and building exterior design, has excellent weathering properties, it can form durable and most building materials, waterproof and flexible interface.
Key Features
1. 100% silicone
2. Medium modulus (25% movement capability)
3. UV resistance & weatherproof
4. Primerless adhesion to most building materials
Basic Application
1.All kinds of glass curtain wall weatherproof seal
2.For metal (aluminum) curtain wall, enamel curtain wall weatherproof seal
3.Joint sealing of concrete and metal
4.Roof joint seal
Technical data sheet
| Test standard | Test project | Unit | value |
| Before curing——25℃,50%R.H. | |||
| GB13477 | Flow, sagging or vertical flow | mm | 0 |
| GB13477 | Operating time | min | 10 |
| GB13477 | surface drying time(25℃,50%R.H.) | min | 20 |
| Deep curing | mm/day | 1-2 | |
| Sealant curing speed and operating time will have different with different temperatures and temperature, high temperature and high humidity can make sealant curing speed faster, rather low temperature and low humidity are slower.21 days after curing——25℃,50%R.H. | |||
| GB13477 | Durometer Hardness | Shore A | 28 |
| GB13477 | The ultimate tensile strength | Mpa | 0.65 |
| Temperature stability | ℃ | -50~+150 | |
| GB13477 | Movement capability | % | 25 |
Certification
GB/T 22083-G-35;ASTM C920
Color
Black, white, grey
Package
300ml in cartridge * 24 per box, 590ml in sausage *20 per box
Shelf life
12 months
Note
If you want the TDS or MSDS or other details, please contact with our sales person.
Construction experts share insights on the contributions of silicone sealants in modern architecture. In this segment, commercial sealant specialists explain how collaborating with architects, engineers and contractors can help meet design goals. Studies confirm a 50+ year life expectancy for Dow silicone structural glazing sealants. Learn more at https://consumer.dow.com/50plus
How to install Oceanside paper faced Glass Mosaic tile on a kitchen backsplash.
Paper faced mosaic glass tile requires an installation method that has a few more steps that would normally be used compared to other types of mosaic tile. This is especially true if the mosaic glass tile is transparent. First it is important to use the correct setting material to install glass tile. Glass tile should never be installed using mastic. The type of thinset needed to install glass tile is one that is white and has a high polymer content. I usually use “Tec Superflex”. It is also important that the thinset used is one that has the same color across multiple units, to insure color consistency when installing large projects that require more than one bag of thinset. Using a lower quality thinset can cause variation in color and shading of the glass tile, and also result in tiles not adhering to the mortar. Paper faced tiles like the Oceanside mosaic tile used in this video are usually very thin so oozing of the thinset between the tiles can be a problem if the correct trowel is not used to spread the thinset. Despite this one hundred percent coverage must be achieved on the back of the tile to obtain a proper installation. If 100% coverage is not achieved, visible color shading will be present throughout the tile installation which will create an unpleasant final product. In this case I used a 3/16″th V-Notched trowel. The thinset is first spread on the wall with the notched side of the trowel in such a way that the lines left by the trowel are all even in depth and uniformly going in the same direction. Once this is achieved, the flat side of the trowel is used to “Knock” down the ridges and create a flat even bed of mortar, but at the same time not removing any of the thinset from the wall. The next step is to start setting the tiles in the prepared thinset by placing the tiles on the wall a sheet at a time, aligning the grout lines between sheets. Once a number of sheets have been placed then it is time to “Beat them in” this is done by placing a flat piece of wood, such as a small segment of 2×4, on the tile and then gently tapping the wood with a hammer so as to set the mosaic tile into the thinset until 100% coverage is achieved. Do not use a rubber float to beat in the tile. Let the tile “Set” for a period of time, 30 minutes more or less. Once this time period has elapsed it is time to start wetting the paper for removal. This will probably take 5 to 10 minutes and require that you wet the surface of the paper several times. When the paper has loosened start pealing it off the tile, do not wait until the next day to do this, remove the paper while the thinset is still fresh. This will allow for necessary adjustments to individual tiles. Continue this process until the installation of the tile is complete. Allow the tile to set, all residue of the paper adhesive should be removed before grouting. Determine whether sanded or unsanded grout should be used, in this case sanded grout was needed. Some glass mosaic tile require that they be sealed before grouting, this particular tile did not call for sealing. The proceeding is intended as a guide line and not complete instructions on how to install mosaic glass tile, complete installation instructions are usually supplied with the tile at the time of purchase, or may be included in the tile packaging.
This Oceanside mosaic glass tile backsplash was installed by Sal DiBlasi, Elite-Tile Company in Boston’s North Shore.
All tile installed by Sal DiBlasi, Elite-tile Company, in the Boston North Shore area
Youtube Channel https://www.youtube.com/user/saldibs?feature=watch
Facebook https://www.facebook.com/pages/Elite-Tile-Company/56681633342
Website https://www.elitetileco.com/
Twitter
https://twitter.com/saldiblasi1


