Super Purchasing for SV-666 Neutral silicone sealant for Honduras Factories

Short Description:
Description SV-666 neutral silicone sealant is a neutral curing glue single component, the modulus of the. It is specially designed for windows and doors caulking sealing general plastic doors and windows. It has good adhesion to glass and aluminum alloy, and has no corrosion. Where to use It is fit for multiple purpose sealing and bonding applications to form a silicone rubber adhering to adjacent substrates e.g. glass, ceramic, tile, wood and metal. Key Features 1. 100% silicone 2. Eas...
We stick to the principle of "quality first, service first, continuous improvement and innovation to meet the customers" for the management and "zero defect, zero complaints" as the quality objective. To perfect our service, we provide the products with the good quality at the reasonable price for Super Purchasing for SV-666 Neutral silicone sealant for Honduras Factories, We fully welcome customers from all over the world to establish stable and mutually beneficial business relationships, to have a bright future together.
Description
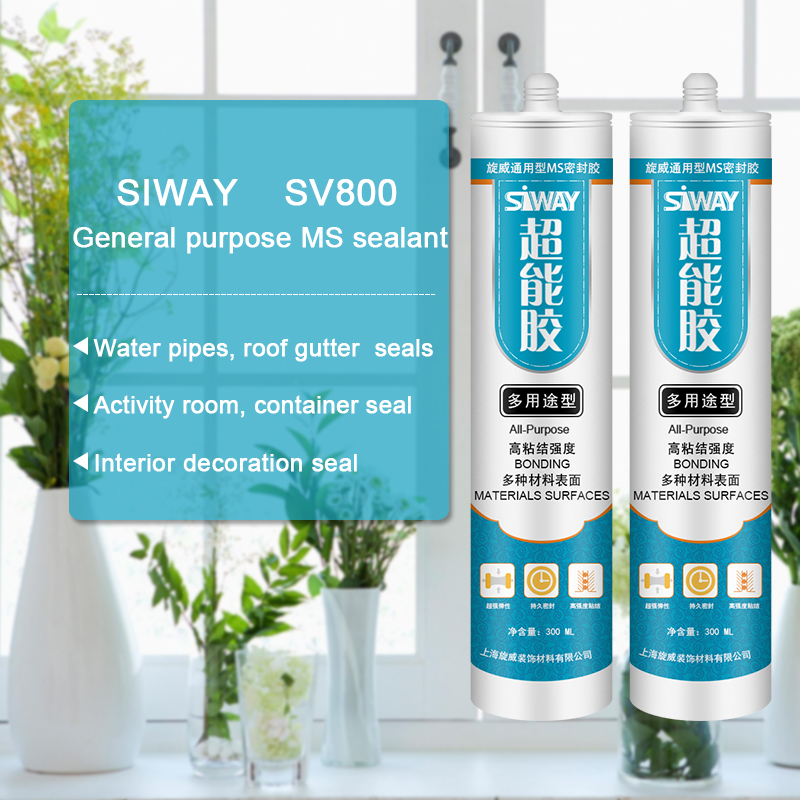
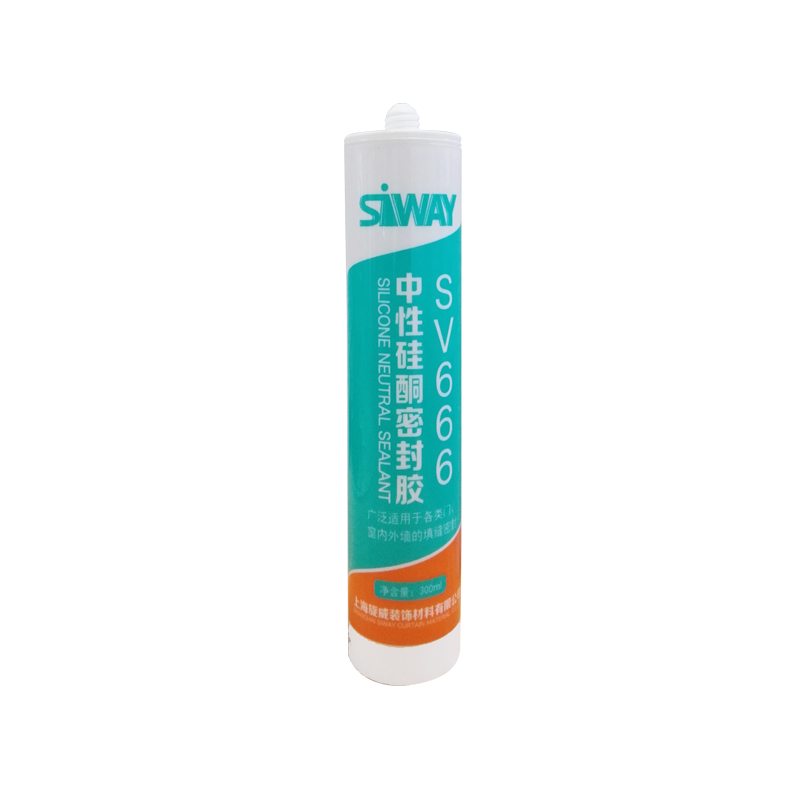
SV-666 neutral silicone sealant is a neutral curing glue single component, the modulus of the. It is specially designed for windows and doors caulking sealing general plastic doors and windows. It has good adhesion to glass and aluminum alloy, and has no corrosion.
Where to use
It is fit for multiple purpose sealing and bonding applications to form a silicone rubber adhering to adjacent substrates e.g. glass, ceramic, tile, wood and metal.
Key Features
1. 100% silicone
2. Easy to use
3. Waterproofing and weatherproofing
4. Primerless adhesion to most building materials
5. 12.5% movement capability
Technical data sheet
| Test standard | Test project | Unit | value |
| Before curing——25℃,50%R.H. | |||
| GB13477 | Flow, sagging or vertical flow | mm | 0 |
| GB13477 | surface drying time(25℃,50%R.H.) | min | 30 |
|
GB13477 |
Operating time | min | 20 |
| Curing time(25℃,50%R.H.) | Day | 7-14 | |
| Sealant curing speed and operating time will have different with different temperatures and temperature, high temperature and high humidity can make sealant curing speed faster, rather low temperature and low humidity are slower.21 days after curing——25℃,50%R.H. | |||
| GB13477 | Durometer Hardness | Shore A | 28 |
| GB13477 | The ultimate tensile strength | Mpa | 0.7 |
| Temperature stability | ℃ | -50~+150 | |
| GB13477 | Movement capability | % | 12.5 |
Certification
JC/T881-2001 12.5E;GB/T14683-2003 12.5E
Color
Black,White,Gray
Package
300ml in cartridge * 24 per box, 590ml in sausage *20 per box
Shelf life
12 months
Note
If you want the TDS or MSDS or other details, please contact with our sales person.
I used Dicor self-leveling lap sealant and Dicor Fiberglass Roof Coating to repair and re-seal the roof of my 1992 Rexhall Airex Motorhome. Hopefully this will be of value to you, too, as you tackle your own RV roof project.
One of my biggest challenges was finding dry, warm weather. Seemed like it was rainy on all my free days, making this project take several weeks from start to finish.
I warn you in advance that there are some annoying parts of the video with lots of wind noise, even to the point of drowning out what I’m trying to say. Sorry about that.
The video ends with a slide show of before, during, and after pictures of this project. They certainly highlight the poor condition of the roof, as well as how much better it looks now that it’s done!
Spruce up your outdoor living areas by painting your concrete patio or paths. Hot tips: concrete is porous, so make sure you let it dry fully for a few days in sunny weather after washing it and before you paint!
What you need:
- Sugar soap
- Broom
- Degreaser – if oil is present
- Concrete etcher
- Watering can
- Paving paint
- Paint stirrer
- Turpentine
- Hogs bristle paint brush
- Paint roller
- Paint roller tray
- Plastic bucket
Directions:
Step 1 – Allow new concrete to cure for 12 weeks before painting
Step 2 – Clean surface with sugar soap
Step 3 – Rinse with water than allow to dry for two days
Step 4 – Etch concrete by applying concrete etching solution to concrete then scrub with broom and leave for 20 seconds. Do not leave solution on for more than two minutes.
Step 5 – Remove all residue with a water blaster or broom, then rinse
Step 6 – Concrete should now feel like rough sandpaper, if it doesn’t you will need to repeat the process
Step 7 – Stir paint thoroughly and then pour paint and 10% turpentine into a paint pot for the first coat
Step 8 – Start by brushing expansion joints and cutting in around edges
Step 9 – Use paint roller to cover the remaining concrete surface
Step 10 – Leave to dry overnight and then apply the second coat
Step 11 – Allow five days for the paint to cure before allowing heavy traffic
For a full shopping list for this DIY project and many others visit our website at www.paintplace.com.au