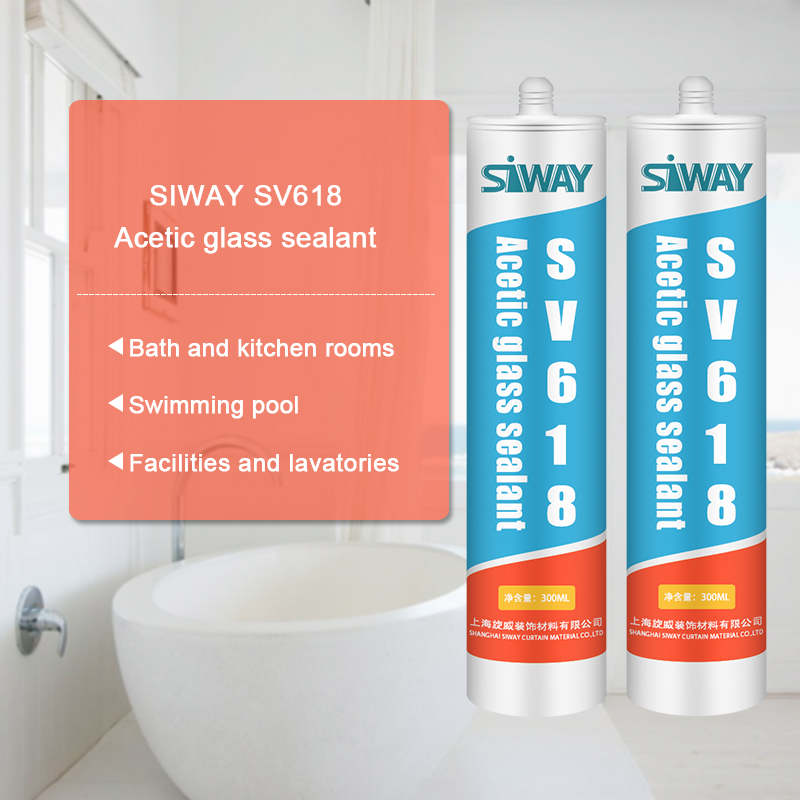
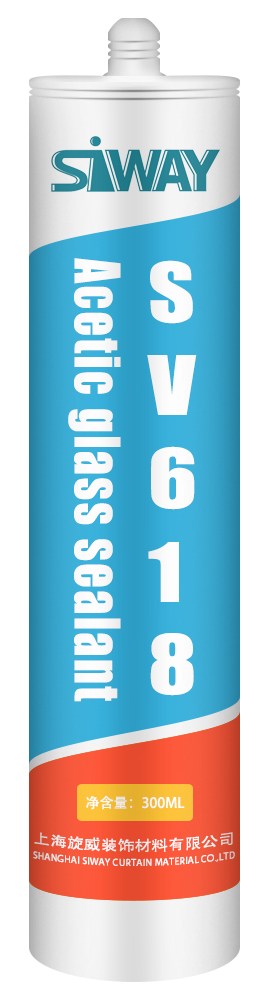
Short Lead Time for SV-618 Acetic Glass Sealant Supply to Honduras
Short Description:
Description It is one-component acetoxy silicone sealant with fungicide to form a durable and flexible rubber seal resistant to water, mildew and mold. Where to use SV-618 is an excellent candidate to consider the reliable prevention of mildew formation around fixtures in high humidity and temperature areas such as bath and kitchen rooms, swimming pool, facilities and lavatories. It also has good adhesion to most common building materials e.g. glass, tiles, ceramics and fiber glass, painte...
Well-run equipment, professional sales team, and better after-sales services; We are also a unified big family, everyone stick to the company value "unification, dedication, tolerance" for Short Lead Time for SV-618 Acetic Glass Sealant Supply to Honduras, We look forward to supplying you with our products in the near future, and you will find our quotation is very reasonable and the quality of our products is very excellent!
Description
It is one-component acetoxy silicone sealant with fungicide to form a durable and flexible rubber seal resistant to water, mildew and mold.
Where to use
SV-618 is an excellent candidate to consider the reliable prevention of mildew formation around fixtures in high humidity and temperature areas such as bath and kitchen rooms, swimming pool, facilities and lavatories. It also has good adhesion to most common building materials e.g. glass, tiles, ceramics and fiber glass, painted wood.
Key Features
1. 100% silicone
2. Easy to apply
3. Highly efficient and safe bactericide
4. Low VOC
5. Proven Performer
Technical data sheet
Technical data sheet for reference,
| Test standard | 1000 | |
| Appearance | ISO 11600 | Have no grain, no agglomerations |
| Extrudability,g/ml | ISO 8394 | 450 |
| Tack Free Time,min | ASTM C 679 | 20 |
| Density,g/cm3 | ISO 1183 | 1.0 |
| Slump,mm | ISO 7390 | 0 |
| Heat weight loss,% | ISO 10563 | 7 |
| Ultimate Tensile Strength,MPa | ISO 8339 | 0.4 |
| Ultimate Elongation,% | ISO 8339 | 150 |
| Ultimate Shear Strength, MPa | ISO 4587 | N/A |
Certification
JC/T885-2001 20LM; and GB/T1741-2007 Mildew Proofing Grade 0
Color
clear, black, silver gray, white
Package
300ml in cartridge * 24 per box
Shelf life
12 months
Note
If you want the TDS or MSDS or other details, please contact with our sales person.
TeleSeal10 and RockitSeal are the only award winning products for sealing baths and shower trays at the point where they meet the wall. Replacing the mouldy and leaky bead of silicone sealant permanently.
This video shows the installation process for TeleSeal10 fitted to a new bathroom (under tile).
Please visit: www.teleseal.co.uk for more information.
Paper faced mosaic glass tile requires an installation method that has a few more steps that would normally be used compared to other types of mosaic tile. This is especially true if the mosaic glass tile is transparent. First it is important to use the correct setting material to install glass tile. Glass tile should never be installed using mastic. The type of thinset needed to install glass tile is one that is white and has a high polymer content. I usually use “Tec Superflex”. It is also important that the thinset used is one that has the same color across multiple units, to insure color consistency when installing large projects that require more than one bag of thinset. Using a lower quality thinset can cause variation in color and shading of the glass tile, and also result in tiles not adhering to the mortar. Paper faced tiles like the mosaic tile used in this video are usually very thin so oozing of the thinset between the tiles can be a problem if the correct trowel is not used to spread the thinset. Despite this one hundred percent coverage must be achieved on the back of the tile to obtain a proper installation. If 100% coverage is not achieved, visible color shading will be present throughout the tile installation which will create an unpleasant final product. In this case I used a 3/16″th V-Notched trowel. The thinset is first spread on the wall with the notched side of the trowel in such a way that the lines left by the trowel are all even in depth and uniformly going in the same direction. Once this is achieved, the flat side of the trowel is used to “Knock” down the ridges and create a flat even bed of mortar, but at the same time not removing any of the thinset from the wall. The next step is to start setting the tiles in the prepared thinset by placing the tiles on the wall a sheet at a time, aligning the grout lines between sheets. Once a number of sheets have been placed then it is time to “Beat them in” this is done by placing a flat piece of wood, such as a small segment of 2×4, on the tile and then gently tapping the wood with a hammer so as to set the mosaic tile into the thinset until 100% coverage is achieved. Do not use a rubber float to beat in the tile. Let the tile “Set” for a period of time, 30 minutes more or less. Once this time period has elapsed it is time to start wetting the paper for removal. This will probably take 5 to 10 minutes and require that you wet the surface of the paper several times. When the paper has loosened start pealing it off the tile, do not wait until the next day to do this, remove the paper while the thinset is still fresh. This will allow for necessary adjustments to individual tiles. Continue this process until the installation of the tile is complete. Allow the tile to set, all residue of the paper adhesive should be removed before grouting. Determine whether sanded or unsanded grout should be used, in this case unsanded grout was needed. Some glass mosaic tile require that they be sealed before grouting, this particular tile did not call for sealing. The proceeding is intended as a guide line and not complete instructions on how to install mosaic glass tile, complete installation instructions are usually supplied with the tile at the time of purchase, or may be included in the tile packaging.
This Oceanside mosaic glass tile bathroom was installed by Sal DiBlasi, Elite-Tile Company in Boston’s North Shore.
Youtube Channel https://www.youtube.com/user/saldibs?feature=watch
Facebookhttps://www.facebook.com/pages/Elite-Tile-Company/56681633342