PriceList for CV-709 silicone sealant for PV moudels to Albania Manufacturers

Short Description:
Description CV709 is a high-performance silicone sealant, one-component oxime type room temperature curing silicone rubber, has excellent weather resistance, high thixotropy, after curing for solar components involved in the base material has good caking property, by TUV for environmental requirements of the ROHS, UL E339949 Key Features 1. 100% silicone 2. No sag 3. high thixotropy 4. Water & weatherproof 5. For solar components involved in the base material has good bonding Basic Ap...
we can offer high quality products, competitive price and best customer service. Our destination is "You come here with difficulty and we give you a smile to take away" for PriceList for CV-709 silicone sealant for PV moudels to Albania Manufacturers, We will wholeheartedly welcome all clients in the industry both at home and abroad to cooperate hand in hand, and create a bright future together.
Description
CV709 is a high-performance silicone sealant, one-component oxime type room temperature curing silicone rubber, has excellent weather resistance, high thixotropy, after curing for solar components involved in the base material has good caking property, by TUV for environmental requirements of the ROHS, UL E339949
Key Features
1. 100% silicone
2. No sag
3. high thixotropy
4. Water & weatherproof
5. For solar components involved in the base material has good bonding
Basic Application
1.Solar module frame seal
2.The adhesive of the solar energy back to the terminal block
3.General industrial assembly with seal
Technical data sheet
| Test standard | Test project | Unit | value |
| Before curing——25℃,50%R.H. | |||
| specific gravity | g/ml | 1.34-1.40 | |
| GB13477 | Operating time | min | 15 |
| GB13477 | surface drying time(25℃,50%R.H.) | min | 40-60 |
| 3 days after curing——25℃,50%R.H. | |||
| Temperature range | ℃ | -55~200 | |
| GB13477 | Durometer Hardness | Shore A | 40~55 |
| The ultimate tensile strength | Mpa | ≥2 | |
| GB13477 | Breaking elongation | % | 300-600 |
| Aluminum bonding shear strength | Mpa | ≥1.5 | |
| Electrical properties | |||
| Breakdown voltage | Kv/mm | ≥20 | |
| Volume resistance | ohm.cm | 9E+14 | |
| Dielectric constant | 3.1@50Hz | ||
Certification
UL E339949; TUV
Color
Black, White
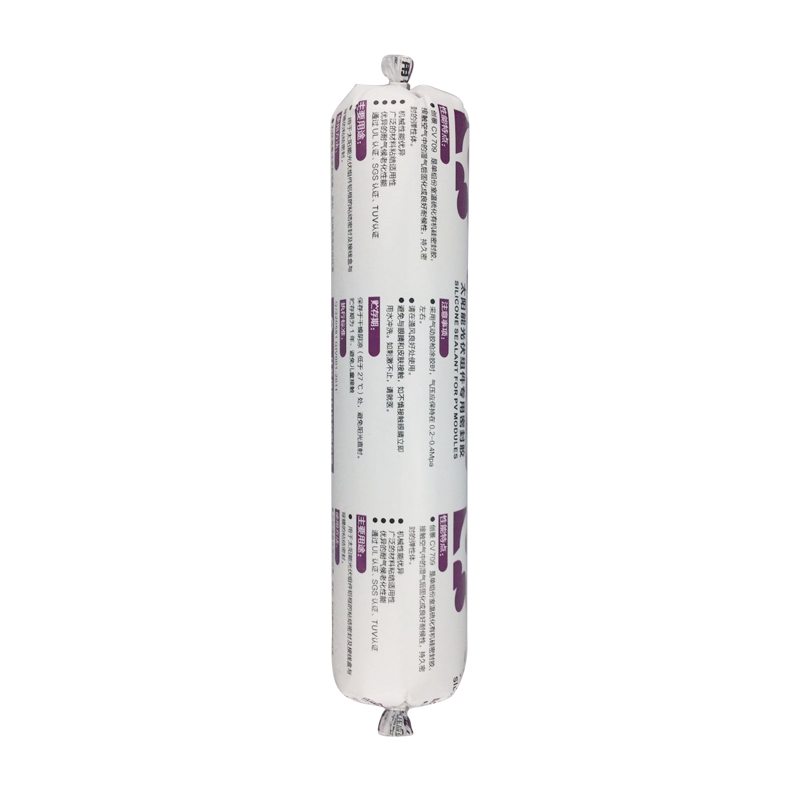
Package
300ml in cartridge * 24 per box, 500ml in sausage *20 per box
Shelf life
12 months
Note
If you want the TDS or MSDS or other details, please contact with our sales person.
*Items mentioned in this video*
E6000: https://amzn.to/1QSiOIh
Hot Glue Gun: https://amzn.to/1QSiPfh
Hot Glue Sticks: https://amzn.to/1X8VWeT
Super Glue: https://amzn.to/1X8VY6C
These is my review on the different types of glues and adhesives that I’ve used to create my perler bead art. Since I couldn’t find any videos on it on YouTube I decided to create my own in hopes to help others who want to create 3D stuff.
I mainly use hot glue but there are two other types that you can use. Of course take what I say here with a grain of salt until you try what works for you. After all, these are just what I experience using these types of adhesives.
Like my work? Subscribe for more ►https://bit.ly/1HLO9gR
● ADD ME ●
Twitter: https://twitter.com/FiloPixie
Instagram: https://www.instagram.com/filopixiegram/
Facebook: https://www.facebook.com/FiloPixie
Snapchat: https://www.snapchat.com/add/FiloPixie
● WHO IS FILOPIXIE? ●
I’m a Filipino/Aussie YouTuber with a passion for perler beads and gaming. I also love mangoes.
FTC: This video and description contains affiliated link but opinions and reviews 100% my own. I am not sponsored by the companies mentioned.
Making a Cavity Pour Mold with Mold Max 30 RTV Silicone Rubber from Smooth-On.
Our model is a hand-carved hard wood 3-dimensional figure. Drill an air release hole in to the middle of a baseboard. Secure model to baseboard with screws. Apply plastic wrap to the original model to protect the surface. Cover the model with 1/2-inch (1.3 cm) clay blanket. Create a 2-inch (5.1 cm) flange for registration. Build a 3-inch (7.6 cm) clay dividing wall and apply clay supports. Drill indentations in the baseboard to register shell. Build a clay pour spout and a 1/2-inch clay dam. Apply Sonite Wax to baseboard and then apply Ease Release 200 to the entire surface.
Measure and mix duoMatrix NEO with a mix ratio of 2A:1B. Combine parts and mix thoroughly. For the first layer, apply a detail coat to the first half. Measure and mix duoMatrix NEO with chopped fiber. Apply this as the second layer. Apply a third layer of duoMatrix NEO without chopped fiber. A wood support leg is attached using duoMatrix NEO. Let cure for one hour.
Once the NEO has cured, remove the dividing wall. Drill indentations into shell for registration. Build a clay dam and pour spout. Apply Sonite Wax to baseboard and exposed shell and then apply Ease Release 200 to the entire surface. Measure and mix NEO for the second half of the support shell, following the same procedure used to create the first half. Again, a wood support leg is attached using NEO and the shell is allowed to cure one hour at room temperature. A rasp is used to create a smooth flange edge, and then three holes are drilled through the support shell. Bolts will help secure the support shell during casting.
Demold the support shell halves, remove the plastic wrap from the model, and then remove clay from the support shell. Create vent holes in support shell to allow air to escape. A 1/4-inch (6 mm) drill bit is used to drill holes through the support shell for a total of six air vents. Apply release agent to both the model and support shell. Register the support shell over the model and secure. Use bolts to hold the support shell halves together. Drywall screws are used to secure the support shell to the baseboard. Seal all seams with a hot glue gun. Place drinking straws into pre-drilled holes for air release, using clay to help secure and seal the straw. Only 1/4-inch of the straw will go into the support shell. IMPORTANT: Do not allow the drinking straws to touch the model. Trim the top two straws for easier access to the pour spout.
Measure and mix Mold Max 30 silicone rubber. Then vacuum the Mold Max 30. After vacuuming, pour Mold Max 30 into the pour spout. Cap the top of the straws with clay to stop the flow of rubber, saving material. Continue to pour rubber until the cavity is filled. Let Mold Max 30 rubber cure for 16 hours at room temperature. Once cured, remove the support shell and rubber mold from the model. Perfect detail is captured from the original model.
How to cast into the mold:
The mold is first primed with auto body primer. Smooth-Cast 300 liquid plastic is measured, mixed, and poured into the mold. After three minutes, the liquid plastic turns to a solid. Let Smooth-Cast 300 cure for 10 minutes at room temperature. Remove the support shell and demold casting. A perfect reproduction! The casting is ready to be painted.
Make It Now! with Smooth-On
https://www.smooth-on.com/
https://www.facebook.com/SmoothOn
https://twitter.com/SmoothOn
https://www.google.com/+smoothon


