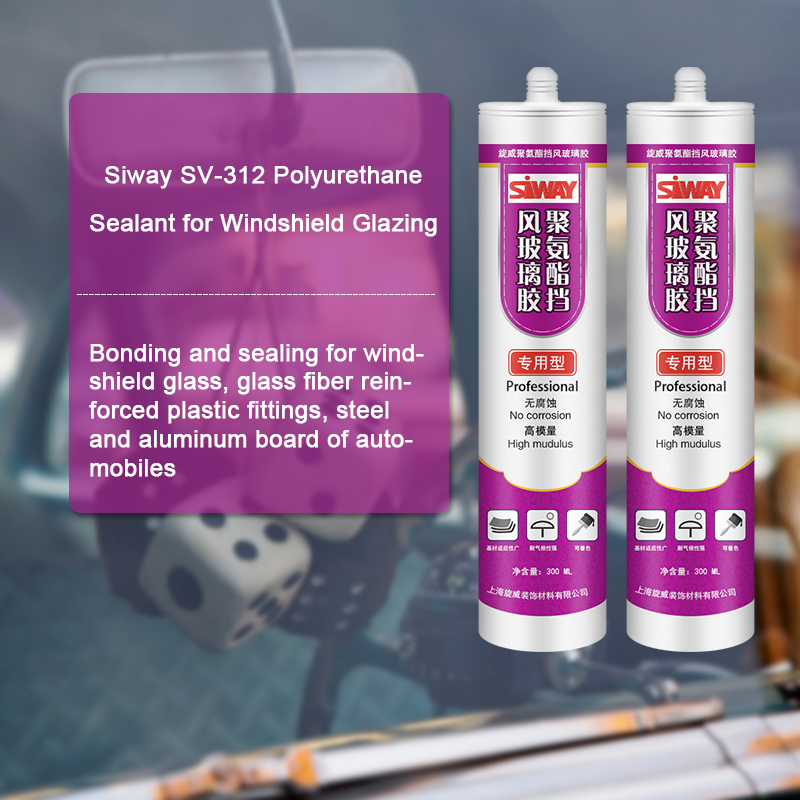
Popular Design for SV-8000 PU Sealant for Insulating Glass for Manchester Importers

Short Description:
Description SV – 8000 two-component polyurethane insulating glass sealant is a neutral cure, mainly used for the insulating glass of the second seal. Product formulation to use its performance with high modulus, high strength, to meet the requirements of insulating glass assembly. Where to use It is a two-component PU sealant that offers variable work life with high bonding strength to maintain the integrity of insulating glass unit, suits both commercial and residential IGU. Key Fe...
We aim to find out quality disfigurement from the production and supply the best service to domestic and overseas customers wholeheartedly for Popular Design for SV-8000 PU Sealant for Insulating Glass for Manchester Importers, If you are interested in our products, please feel free to send us your inquiry. We sincerely hope to establish win-win business relationships with you.
Description
SV – 8000 two-component polyurethane insulating glass sealant is a neutral cure, mainly used for the insulating glass of the second seal. Product formulation to use its performance with high modulus, high strength, to meet the requirements of insulating glass assembly.
Where to use
It is a two-component PU sealant that offers variable work life with high bonding strength to maintain the integrity of insulating glass unit, suits both commercial and residential IGU.
Key Features
1. High Modulus
2. UV resistance
3. Low vapor and gas transmission
4. Primerless adhesion to coated glass
Technical data sheet
| Test project | standards | Value |
| Sagging degree (mm) | ≤3 | 0 |
| Operating time | ≥30 | 30 |
| Thermal weight loss(%) | ≤10 | 2 |
| Durometer Hardness Shore A | 20-80 | 42 |
| tensile propcrties(MPA) | >0.4 | 1.0 |
| Bond damage area(5%) | ≤5 | 0 |
Certification
GB-24266-2009;
Color
Component A(Base) – White, Component B(Catalyst)- Black
Package
1. Component A(Base): (190L), Component B(Catalyst) (18.5L)
2. Component A(Base):24.5kg (18L), Component B(Catalyst): 1.9kg (1.8L)
Shelf life
12 months
Note
If you want the TDS or MSDS or other details, please contact with our sales person.
Installation Instructions for an ASI Soundproof Door – High Definition version
The wall that this was installed to was treated with products, too. You can view our video on Soundproofing a Wall (https://www.youtube.com/watch?v=rVtY6MZoFrY) for more information.
https://www.acousticalsurfaces.com/acoustic_doors/soundproof_doors.htm
Tools Needed:
-Level
-Pencil
-Tape Measure
-Utility Knife
-Cordless Drill
-Quart-Size Caulk Gun
-Hammer
-Installation Kit*
-Installation Instructions*
-Heavy Duty Screws*
-Shims*
-Backer Rod*
-Acoustical Sealant*
-Door Hardware Kit*
-Door Casing (One installed on door when shipped, other side comes loose)*
-Door & Jamb*
*Included in Door Purchase (https://bit.ly/qZQjRh)
Make sure to inspect the door and included items for any damage prior to installation.
INSTALLATION INSTRUCTIONS
1. Unscrew the temporary threshold on the bottom of the door.
2. Determine which side of the jamb the hinges will be.
3. Measure and mark hinge locations onto the door frame.
4. Place a set of shims at each hinge, making sure they are plumb with the level.
5. Tip the door into place, make sure all is plumb and level.
6. Remove the two screws in the hinge closest to the door stop.
7. Repeat for each hinge.
8. Prop the bottom corner of the door with it swung at 90 degrees so that it holds the jamb tight to the drywall.
9. Pre-drill the holes from the screws you just removed to prepare for the long screws. (We use a 5/32 bit)
10. From top hinge down, install the included long screws.
11. Adjust shims as necessary to ensure the door stays level.
12. Shim the strike side of the door to get an even reveal on the inside of the door.
13. Install the backer rod around the gap in the rough opening by pushing it in about an inch deep. You can use a shim to push it in.
14. Fill the remaining gap with acoustical sealant.
15. Remove the temporary brace off the bottom of the trim kit.
16. Maintaining a 1/4″ reveal, attach the trim with the supplied screws.
17. Nail trim to wall as needed.
18. Fill holes with wood putty and sand.
19. Remove the short hardware screws that came shipped from the strike side of the door.
20. Replace them with the long screws for the strike hardware to secure the framing.
21. Remove the trim on the hinge side of the door that shipped on the door.
22. Repeat steps 13-18 on this side of the door.
23. Install door hardware as specified.
24. Ensure the door is shut and latched.
25. Adjust the door seals by locating the Phillips screws on the face of the door seal and turn counter-clockwise to tighten the door seal. This will close the gap between the seal and the door.
26. Work the way down the seal until all screws are adjusted so that the seal comes in contact with the door slab.
27. Trim off excess gasket on the strike side of the door jamb at the bottom so that the gasket is flush with the floor.
28. Adjust the bottom drop seal by loosening the set screw at the top of the drop seal counter-clockwise. When the screw engages the stop on the jamb, it will drop the seal down.
29. Peel off the backer on the peel-and-stick seal cover panels and pressure fit over door seals. Start with the top and fit the sides into the miter.
This instructional tutorial shows how to make a one piece silicone mold out of a transparent rtv silicone. The clarity of the rubber allows for easier cutting and demold.
Subscribe for more how-to videos!
—
Make It Now! with Smooth-On materials
https://www.smooth-on.com/
https://www.facebook.com/SmoothOn
https://twitter.com/SmoothOn
https://www.instagram.com/SmoothOn
https://www.google.com/+smoothon