Ordinary Discount SV-995 Neutral Silicone Sealant to Egypt Manufacturer

Short Description:
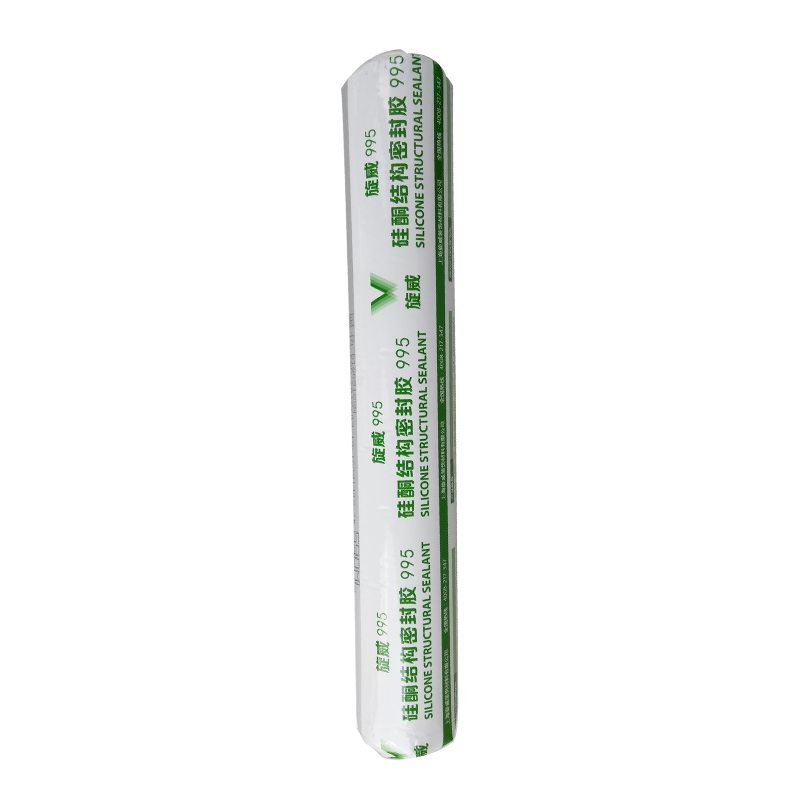
Description SV – 995 neutral silicone sealant structure is a kind of one-component, construction curtain wall structure of room temperature curing glue, can be used in all kinds of curtain wall joints and waterproof seal, also can be used for all kinds of aluminum alloy, glass doors and Windows seal assembly Where to use 1.Curtain wall joints and waterproof seal 2.Aluminum alloy, glass doors and Windows seal assembly Key Features 1. 100% silicone 2. Easy to use 3. Waterproofing and...
In the past few years, our company absorbed and digested advanced technologies both at home and abroad. Meanwhile, our company staffs a team of experts devoted to the development of Ordinary Discount SV-995 Neutral Silicone Sealant to Egypt Manufacturer, Our aim is to help customers realize their goals. We are making great efforts to achieve this win-win situation and sincerely welcome you to join us
Description
SV – 995 neutral silicone sealant structure is a kind of one-component, construction curtain wall structure of room temperature curing glue, can be used in all kinds of curtain wall joints and waterproof seal, also can be used for all kinds of aluminum alloy, glass doors and Windows seal assembly
Where to use
1.Curtain wall joints and waterproof seal
2.Aluminum alloy, glass doors and Windows seal assembly
Key Features
1. 100% silicone
2. Easy to use
3. Waterproofing and weatherproofing
4. Fast curing speed, high strength
5. 12.5% movement capability
Technical data sheet
| Test standard | Test project | Unit | value |
| Before curing——25℃,50%R.H. | |||
| GB13477 | Flow, sagging or vertical flow | mm | 0 |
| GB13477 | surface drying time(25℃,50%R.H.) | min | 30 |
|
GB13477 |
Operating time | min | 20 |
| Curing time(25℃,50%R.H.) | Day | 7-14 | |
| Sealant curing speed and operating time will have different with different temperatures and temperature, high temperature and high humidity can make sealant curing speed faster, rather low temperature and low humidity are slower.21 days after curing——25℃,50%R.H. | |||
| GB13477 | Durometer Hardness | Shore A | 40 |
| GB13477 | The ultimate tensile strength | Mpa | 0.8 |
| GB13477 | Movement capability | % | 12.5 |
Color
Black,White,Gray
Package
300ml in cartridge * 24 per box, 590ml in sausage *20 per box
Shelf life
12 months
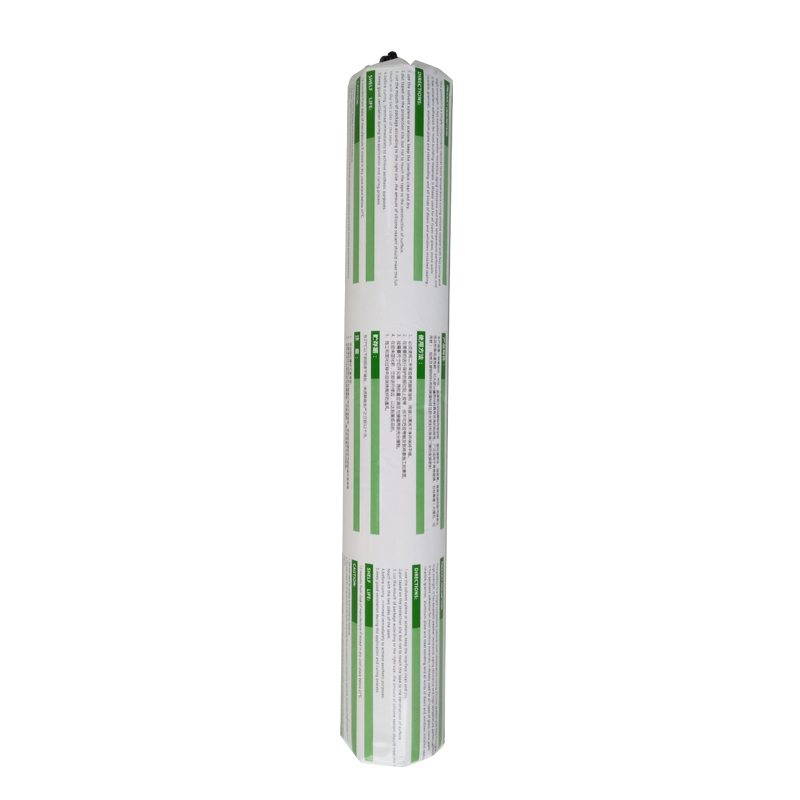
Note
If you want the TDS or MSDS or other details, please contact with our sales person.
visit www.bearsleak.com
call us at 859-428-7342
Bears True Blue Head Gasket Sealer. The best in the world. Visit www.bearsleak.com
bears true blue head gasket sealer bears true blue head gasket sealer bears true blue head gasket sealer bears true blue head gasket sealer bears true blue head gasket sealer bears true blue head gasket sealer bears true blue head gasket sealer bears true blue head gasket sealer bears true blue head gasket sealer bears true blue head gasket sealer bears true blue head gasket sealer bears true blue head gasket sealer bears true blue head gasket sealer barrs leak scam barrs leak scam barrs leak scam barrs leak scam barrs leak scam barrs leak scam barrs leak scam barrs leak scam barrs leak scam barrs leak scam barrs leak scam barrs leak scam barrs leak scam barrs leak scam barrs leak scam barrs leak scam barrs leak scam barrs leak scam barrs leak scam barrs leak scam barrs leak scam barrs leak scam barrs leak scam barrs leak scam barrs leak scam barrs leak scam barrs leak scam barrs leak scam bears true blue head gasket sealer bears true blue head gasket sealer bears true blue head gasket sealer bears true blue head gasket sealer bears true blue head gasket sealer bears true blue head gasket sealer bears true blue head gasket sealer bears true blue head gasket sealer bears true blue head gasket sealer best head gasket sealer national auto head gasket sealer advanced auto parts head gasket sealer autozone head gasket sealer advance autoparts head gasket sealer pep boys head gasket sealer blue devil head gasket sealer napa head gasket sealer rock auto head gasket sealer best head gasket sealer national auto head gasket sealer advanced auto parts head gasket sealer autozone head gasket sealer advance autoparts head gasket sealer pep boys head gasket sealer blue devil head gasket sealer napa head gasket sealer rock auto head gasket sealer best head gasket sealer national auto head gasket sealer advanced auto parts head gasket sealer autozone head gasket sealer advance autoparts head gasket sealer pep boys head gasket sealer blue devil head gasket sealer napa head gasket sealer rock auto head gasket sealer best head gasket sealer national auto head gasket sealer advanced auto parts head gasket sealer autozone head gasket sealer advance autoparts head gasket sealer pep boys head gasket sealer blue devil head gasket sealer napa head gasket sealer rock auto head gasket sealer best head gasket sealer national auto head gasket sealer advanced auto parts head gasket sealer autozone head gasket sealer advance autoparts head gasket sealer pep boys head gasket sealer blue devil head gasket sealer head gasket sealer does head gasket sealer work walmart head gasket sealer cheapest head gasket sealer does head gasket sealer work walmart head gasket sealer cheapest head gasket sealer does head gasket sealer work head gasket stop leak head gasket stop leak head gasket stop leak head gasket stop leak head gasket stop leak
Did your mechanic tell you your car has a headgasket leak? I get TONS of questions like this everyday and many of them are NOT head gasket leaks. I made this video to help you determine if you DO or DO NOT have an internal coolant leak.
The FIRST, FIRST, FIRST thing you need to do is get a cooling system pressure test. This fast and cheap test will help you determine if you have an internal or external coolant leak.
If you are absolutely sure there are no external leaks, and the radiator is not restricted and the electric radiator cooling fans are working, then try this awesome sealer.
The product is called Engine Block Sealer, made by K&W. They have the old version in a hard metal can and their new and “improved” version in a green plastic bottle called Nano Technology. Both seem to work just fine.
I do not personally use the product as the instructions on the can say (been using it my way for years with a 75-80% success rate and its much easier)
My instructions for using K&W Block Sealer are:
1. Drain out all coolant from radiator as you possibly can.
2. Get a bucket and mix up the block sealer with tap water
3. Pour contents of the bucket into the radiator, top off with tap water
4. Then put 500 miles on the car as soon as you can
5. After 500 miles drain out the mix and reinstall coolant and water as needed
The seal should be permanent
You will NOT have boil over or freeze protection during this time period so please keep the engine from freezing and overheating.
And no, I do not remove the spark plugs or the thermostat as the can says.. Just the steps above.
Hope this helps, visit my sites for more cool tips and information
Making a Cavity Pour Mold with Mold Max 30 RTV Silicone Rubber from Smooth-On.
Our model is a hand-carved hard wood 3-dimensional figure. Drill an air release hole in to the middle of a baseboard. Secure model to baseboard with screws. Apply plastic wrap to the original model to protect the surface. Cover the model with 1/2-inch (1.3 cm) clay blanket. Create a 2-inch (5.1 cm) flange for registration. Build a 3-inch (7.6 cm) clay dividing wall and apply clay supports. Drill indentations in the baseboard to register shell. Build a clay pour spout and a 1/2-inch clay dam. Apply Sonite Wax to baseboard and then apply Ease Release 200 to the entire surface.
Measure and mix duoMatrix NEO with a mix ratio of 2A:1B. Combine parts and mix thoroughly. For the first layer, apply a detail coat to the first half. Measure and mix duoMatrix NEO with chopped fiber. Apply this as the second layer. Apply a third layer of duoMatrix NEO without chopped fiber. A wood support leg is attached using duoMatrix NEO. Let cure for one hour.
Once the NEO has cured, remove the dividing wall. Drill indentations into shell for registration. Build a clay dam and pour spout. Apply Sonite Wax to baseboard and exposed shell and then apply Ease Release 200 to the entire surface. Measure and mix NEO for the second half of the support shell, following the same procedure used to create the first half. Again, a wood support leg is attached using NEO and the shell is allowed to cure one hour at room temperature. A rasp is used to create a smooth flange edge, and then three holes are drilled through the support shell. Bolts will help secure the support shell during casting.
Demold the support shell halves, remove the plastic wrap from the model, and then remove clay from the support shell. Create vent holes in support shell to allow air to escape. A 1/4-inch (6 mm) drill bit is used to drill holes through the support shell for a total of six air vents. Apply release agent to both the model and support shell. Register the support shell over the model and secure. Use bolts to hold the support shell halves together. Drywall screws are used to secure the support shell to the baseboard. Seal all seams with a hot glue gun. Place drinking straws into pre-drilled holes for air release, using clay to help secure and seal the straw. Only 1/4-inch of the straw will go into the support shell. IMPORTANT: Do not allow the drinking straws to touch the model. Trim the top two straws for easier access to the pour spout.
Measure and mix Mold Max 30 silicone rubber. Then vacuum the Mold Max 30. After vacuuming, pour Mold Max 30 into the pour spout. Cap the top of the straws with clay to stop the flow of rubber, saving material. Continue to pour rubber until the cavity is filled. Let Mold Max 30 rubber cure for 16 hours at room temperature. Once cured, remove the support shell and rubber mold from the model. Perfect detail is captured from the original model.
How to cast into the mold:
The mold is first primed with auto body primer. Smooth-Cast 300 liquid plastic is measured, mixed, and poured into the mold. After three minutes, the liquid plastic turns to a solid. Let Smooth-Cast 300 cure for 10 minutes at room temperature. Remove the support shell and demold casting. A perfect reproduction! The casting is ready to be painted.
Make It Now! with Smooth-On
https://www.smooth-on.com/
https://www.facebook.com/SmoothOn
https://twitter.com/SmoothOn
https://www.google.com/+smoothon


