OEM Supplier for SV-995 Neutral Silicone Sealant to Spain Manufacturer

Short Description:
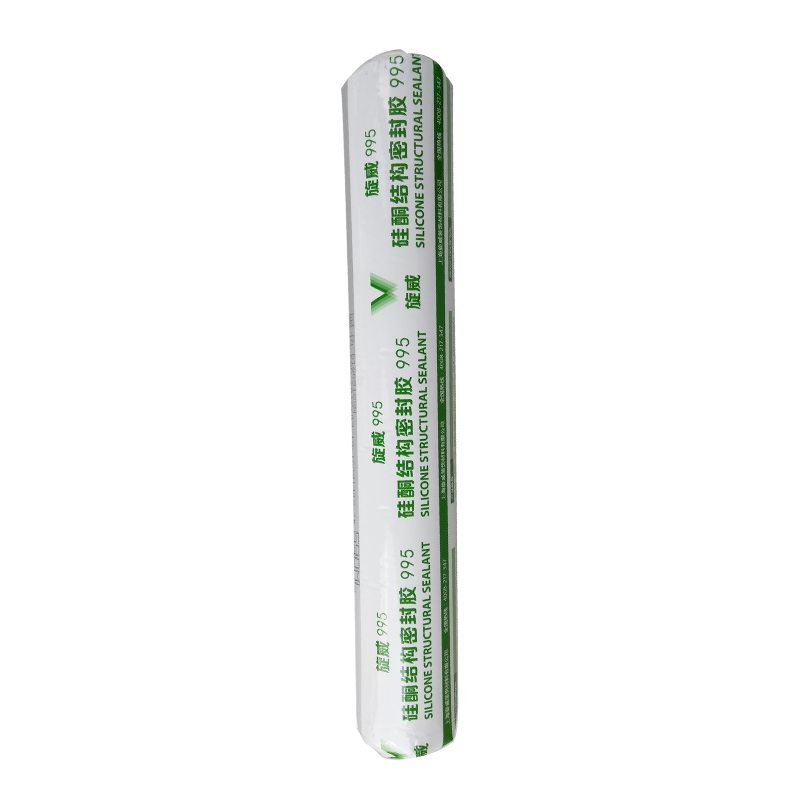
Description SV – 995 neutral silicone sealant structure is a kind of one-component, construction curtain wall structure of room temperature curing glue, can be used in all kinds of curtain wall joints and waterproof seal, also can be used for all kinds of aluminum alloy, glass doors and Windows seal assembly Where to use 1.Curtain wall joints and waterproof seal 2.Aluminum alloy, glass doors and Windows seal assembly Key Features 1. 100% silicone 2. Easy to use 3. Waterproofing and...
With this motto in mind, we have become one of the most technologically innovative, cost-efficient, and price-competitive manufacturers for OEM Supplier for SV-995 Neutral Silicone Sealant to Spain Manufacturer, Any requires from you will be paid with our best attention!
Description
SV – 995 neutral silicone sealant structure is a kind of one-component, construction curtain wall structure of room temperature curing glue, can be used in all kinds of curtain wall joints and waterproof seal, also can be used for all kinds of aluminum alloy, glass doors and Windows seal assembly
Where to use
1.Curtain wall joints and waterproof seal
2.Aluminum alloy, glass doors and Windows seal assembly
Key Features
1. 100% silicone
2. Easy to use
3. Waterproofing and weatherproofing
4. Fast curing speed, high strength
5. 12.5% movement capability
Technical data sheet
| Test standard | Test project | Unit | value |
| Before curing——25℃,50%R.H. | |||
| GB13477 | Flow, sagging or vertical flow | mm | 0 |
| GB13477 | surface drying time(25℃,50%R.H.) | min | 30 |
|
GB13477 |
Operating time | min | 20 |
| Curing time(25℃,50%R.H.) | Day | 7-14 | |
| Sealant curing speed and operating time will have different with different temperatures and temperature, high temperature and high humidity can make sealant curing speed faster, rather low temperature and low humidity are slower.21 days after curing——25℃,50%R.H. | |||
| GB13477 | Durometer Hardness | Shore A | 40 |
| GB13477 | The ultimate tensile strength | Mpa | 0.8 |
| GB13477 | Movement capability | % | 12.5 |
Color
Black,White,Gray
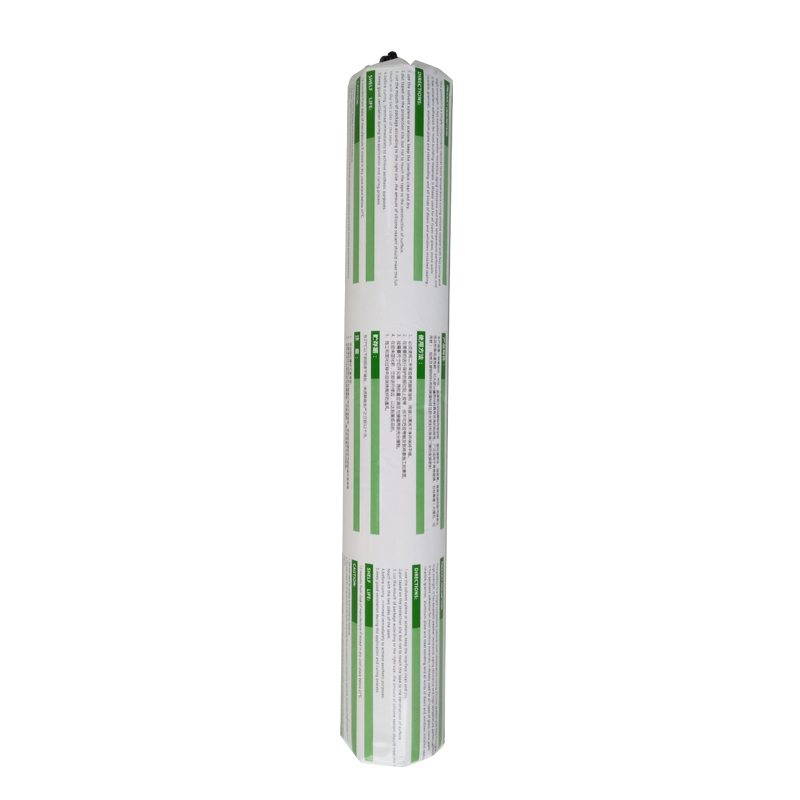
Package
300ml in cartridge * 24 per box, 590ml in sausage *20 per box
Shelf life
12 months
Note
If you want the TDS or MSDS or other details, please contact with our sales person.
✿Please respect my work and use my tutorials to recreate pieces for yourself, not to sell as your own design. If you share your recreations on social media, please credit me using #maiveferrando, adding my name and a link to my Youtube video and/or channel.
——————————————————————————————————-Today I’m showing you how I turned a jar into a Christmas Gingerbread House Lantern using polymer clay.
This is just one way you can decorate your jars, there are so many things that you can do!
The way I made the roof is totally optional. I wanted it to have sides like the jar to match, so I had to make a structure out of thick paper to support it, but you can use tin foil to make a structure too, like I did in my Witch House Tutorial (Link below).
I removed the tin foil because initially I was going to “sculpt” the tiles on it, so I needed support inside while doing that; but I didn’t like the idea and then moved on to piping the tiles instead.
Of course, the lid needed to be secured to the paper structure for the whole thing to turn together when opening and closing the jar (naturally!), and because the tin foil was coming off anyway from screwing and unscrewing the lid, I removed it and attached the lid and paper structure together with clay. If you decide to make a paper structure, skip the tin foil and just attach the lid and paper structure together.
Hope this makes sense!
Love,
Maive
PS: Use an LED tea light to light the house, not a naked flame and to paint the windows you can also use glass paint ![]()
Other Jar Tutorials:
✿Witch House: https://www.youtube.com/watch?v=8pPkNskBInY&index=2&list=PLFx3c_8-atNvWz-ZTMtE0b0TZgDyoWCGD&t=25s
✿Hobbit Hole: https://www.youtube.com/watch?v=dZfy0u76gGM&index=3&list=PLFx3c_8-atNvWz-ZTMtE0b0TZgDyoWCGD&t=496s
✿Fairy Toadstool House: https://www.youtube.com/watch?v=qxajz1rtdRI&index=4&list=PLFx3c_8-atNvWz-ZTMtE0b0TZgDyoWCGD
Related Tutorials:
✿Frosting & Icing: https://www.youtube.com/watch?v=wc0c3gmv4Aw&t=4s
✿Candy Canes: https://www.youtube.com/watch?v=j4_ARKUGHGs
Other Christmas Projects:
✿Elf On a Candy Cane:https://www.youtube.com/watch?v=yw7SJpmptMY
✿Elf on a Bauble: https://www.youtube.com/watch?v=gQKiOJh5Vto
✿2104 “ClayMas” Christmas Advent Calendar: https://www.youtube.com/playlist?list=PLFx3c_8-atNu-HCJW-S5nY32g6HWMh6vD
✿Winter Wonderland Scene: https://www.youtube.com/watch?
v=UCd4eA1hDSg&t=25s
✿Gingerbread House Scene: https://www.youtube.com/watch?v=_kiQTKyXR-I&t=35s
Materials:
- FIMO polymer clay: https://go.magik.ly/ml/2n9q/
- Premo Polymer clay: https://go.magik.ly/ml/2n9s/
- Glass Jar
- FIMO Liquid: https://go.magik.ly/ml/2n9t/
- Acrylic Paint: https://go.magik.ly/ml/2n9u/
- Water Based Gloss Varnish: https://go.magik.ly/ml/2n9v/
- Nail Art Dotting Tools: https://go.magik.ly/ml/2n9w/
- Silicone Sculpting Tools: https://go.magik.ly/ml/2n9x/
- Metal Sculpting/Carving Tools: https://go.magik.ly/ml/2n9y/
- Nail Art Caviar: https://go.magik.ly/ml/2n9z/
- Nail Art Glitter: https://go.magik.ly/ml/2na0/
- Craft Sand: https://go.magik.ly/ml/2na1/
- Soft Pastels: https://go.magik.ly/ml/2na2/
- Nail Art Brushes: https://go.magik.ly/ml/2na3/
- Tin Foil
- Glue
⚠ Products and materials are examples and suggestions. Do read the item’s description before buying.
✿I bake my clay at 110ºC approx, for 10 minutes when prebaking (to harden work in progress) and lo longer than 30 minutes generally. Do read the polymer clay manufacturer’s instructions before baking your pieces.
For large pieces like this one, I place the piece in the oven and then turn the oven on so that the piece warms up with it, then count the baking time from when the oven reaches the desired temperature. You can also let it cool in the oven after you turn it off.
Follow me:
✿ Main Channel: https://www.youtube.com/channel/UCsKIuOectC01IXTvt_MaI3g?spfreload=10
✿ Second Channel: https://www.youtube.com/channel/UCpgSKm_hj6emUN9sMuv6Y_A
✿ Instagram: https://www.instagram.com/maiveferrando/
✿ Etsy: https://www.etsy.com/uk/shop/GlossyAppleDesigns?ref=hdr
✿ Facebook: https://www.facebook.com/glossyapple
✿ Twitter: https://twitter.com/MaiveFerrando
Ps: You can share your recreations with me using #maiveferrando on Instagram
Music: “Wish Background” by Kevin MacLeod is licensed under a Creative Commons Attribution licence (https://creativecommons.org/licenses/by/4.0/)
Source: https://incompetech.com/music/royalty-free/index.html?isrc=USUAN1100341
Artist: https://incompetech.com/
Intro: “Christmas Snow” by www.ignitemotion.com
https://www.stuccoplastering.com/tools/
Howdy folks, The Amazon link above is your personal link to purchase any of the tools we use for all of our how-to teaching guide video’s, we demonstrate and explain in detail so that you may get a greater understanding of the stucco/plastering application,
if you’re interested in the trowels and tools we use please click on our Amazon account above:
live long and Plaster
Once you’re on the link or page I show the most common tools but you can scroll along and find other tools you’re looking for too in the same link. Remember we teach you how to repair your #1 investment, “Your home,” so save the dough and DIY with the tools we show on our link.
Plus this supports us too so we can keep making these teaching videos’
All from kirk giordano your favorite Stucco nerd and plaster geek guy.
Subscribe for more stucco content:
https://www.youtube.com/subscription_center?add_user=StuccoPlastering
Kirk Giordano Plastering Inc.
https://www.StuccoPlastering.com
https://www.BayAreaPlastering.com
Connect with us!
https://www.facebook.com/kirk.giordanoplastering
https://plus.google.com/+StuccoPlastering
https://twitter.com/GiordanoStucco
https://www.youtube.com/StuccoPlastering
https://www.linkedin.com/in/kirk-giordanoplastering-1b40551b/
https://www.pinterest.com/kirkgiordano/
https://vk.com/kirkgiordanoplastering
https://www.instagram.com/kirkgiordanoplastering
plaster, it’s everywhere you want to be
Hi folks, in this video I explain some simple flashing tips using DuPont Straight Flash which I prefer as it’s environmentally friendly, it’s a sound product and works well with all caulking such as polyurethane, Silicone and acrylics.
Call Marc Silveira, CSI CGBP for more information.
Sr. Certified Tyvek Specialist
925-437-9933,
https://www2.dupont.com/Tyvek_Weatherization/en_US/index.html
Marc is the fella who explained the benefits of this environmentally friendly product to me. Marc has sold me on DuPont products.
Stucco nerd dude with
More free educational and inspiring teaching videos below