OEM Customized wholesale SV-999 Structural Glazing Silicone Sealant for Auckland Manufacturer

Short Description:
Description SV – 999 silicone structural sealant is a one-component, neutral curing, designed for glass curtain wall, aluminum curtain wall, glass daylighting roof and metal structural engineering structural assembly silicone sealant. Show the effective physical properties and bonding performance Key Features 1. 100% silicone 2. No sag 3. Strong bonding strength 4. Water & weatherproof 5. Primerless adhesion to most building materials 6. 25% movement capability Basic Application...
We are also focusing on improving the stuff management and QC system so that we could keep great advantage in the fiercely-competitive business for OEM Customized wholesale SV-999 Structural Glazing Silicone Sealant for Auckland Manufacturer, Welcoming interested companies to cooperate with us, we look forward to having the opportunity of working with companies around the world for joint growth and mutual success.
Description
SV – 999 silicone structural sealant is a one-component, neutral curing, designed for glass curtain wall, aluminum curtain wall, glass daylighting roof and metal structural engineering structural assembly silicone sealant. Show the effective physical properties and bonding performance
Key Features
1. 100% silicone
2. No sag
3. Strong bonding strength
4. Water & weatherproof
5. Primerless adhesion to most building materials
6. 25% movement capability
Basic Application
1.Glass curtain wall, aluminum curtain wall structure adhesive seal
2.Glass daylighting roof, metal structure engineering
3.Insulating glass bonding
Technical data sheet
| Test standard | Test project | Unit | value |
| Before curing——25℃,50%R.H. | |||
| specific gravity | g/ml | 1.40 | |
| GB13477 | Flow, sagging or vertical flow | mm | 0 |
| GB13477 | Operating time | min | 15 |
| GB13477 | surface drying time(25℃,50%R.H.) | min | 40-60 |
| Sealant curing speed and operating time will have different with different temperatures and temperature, high temperature and high humidity can make sealant curing speed faster, rather low temperature and low humidity are slower.21 days after curing——25℃,50%R.H. | |||
| GB13477 | Durometer Hardness | Shore A | 40 |
| The ultimate tensile strength | Mpa | 1.3 | |
| GB13477 | Tensile strength(23℃) | Mpa | 0.8 |
| GB13477 | Tensile strength(90℃) | Mpa | 0.5 |
| GB13477 | Tensile strength(-30℃) | Mpa | 0.9 |
| GB13477 | Tensile strength(flooding) | Mpa | 0.6 |
| GB13477 | Tensile strength(flooding – ultraviolet) | Mpa | 0.6 |
Certification
GB 16776;ASTM C1184
Color
Black
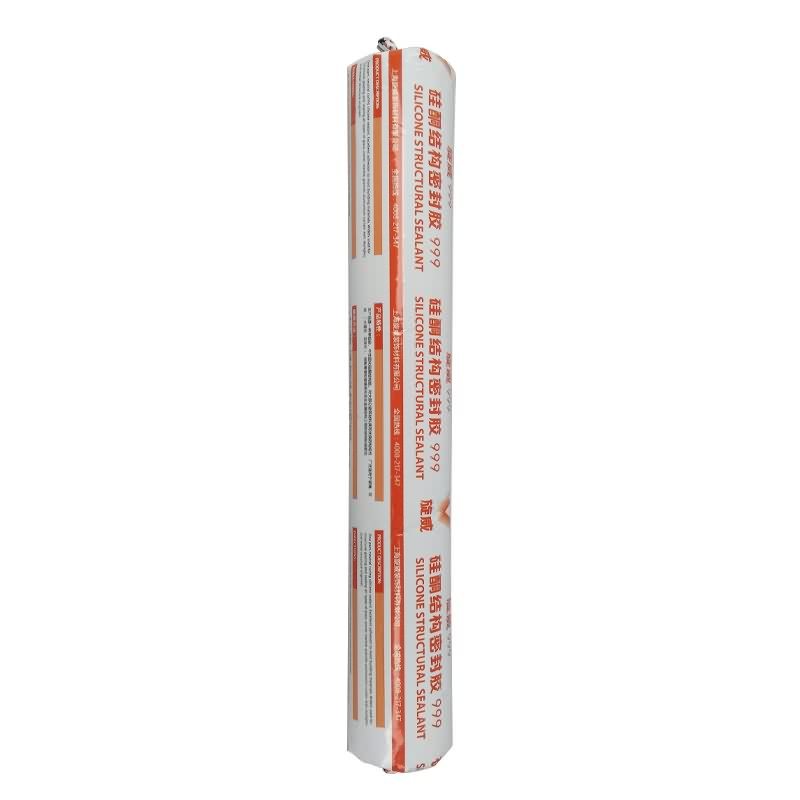
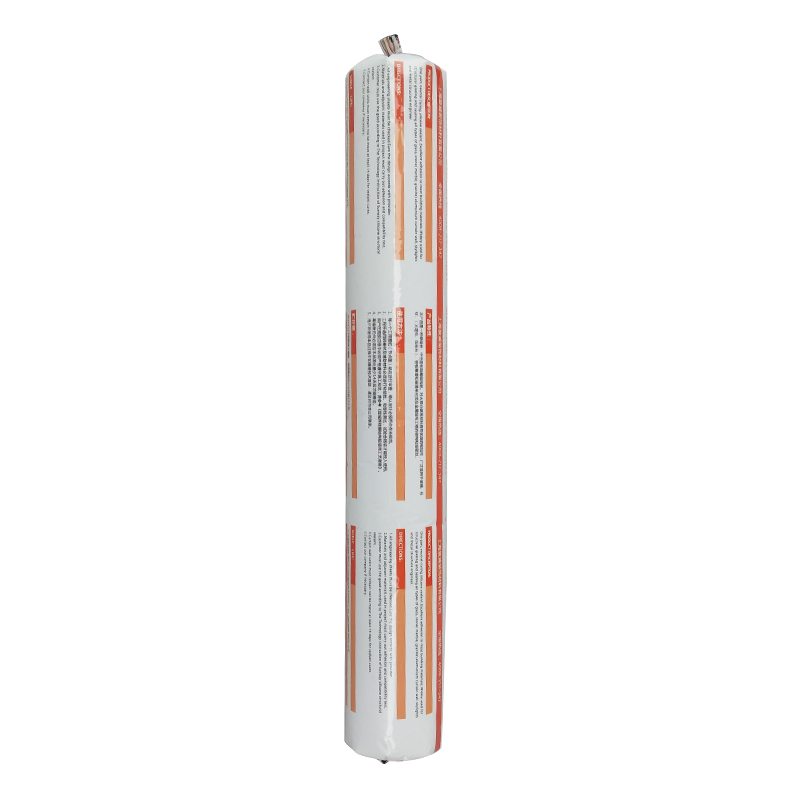
Package
300ml in cartridge * 24 per box, 500ml in sausage *20 per box
Shelf life
12 months
Note
If you want the TDS or MSDS or other details, please contact with our sales person.
The right front axle seal on a 1998 Dodge Ram 4X4 can be difficult, because of limited access to the seal insertion site. That vehicle uses the popular Dana 44, 216FBI axle, used in many light trucks of that vintage. The seal fits into a small cavity in the 4WD shifter housing, and there is no room to swing a hammer or use conventional seal drivers. This video shows a simple method to reliably seat that seal. This video follows my other video describing how I replaced both front axle seals in the same vehicle.
Another viewer, Andy Harter, has commented that you can make your own seal driver by using a circular hole saw, about 2-2 1/4″, grinding off the teeth and using that to drag the seal into place. It sounds like a great idea, though I haven’t tried it myself. If you try it, please leave a remark here to say how it worked for you. Recently Jmwtedder did a couple of videos showing how this worked for him, here.
Note that he had to cut the hole saw down to a low profile before it would fit in the housing.
This video is made for entertainment purposes and is not to be construed as an instruction guide. I am not a professional mechanic, so you should bear in mind that a professional might have accomplished this task very differently. If you need advice regarding how to repair your vehicle, you should consult a qualified professional. Remember also to take all appropriate safety precautions, certainly use safety glasses, and remember to carefully test your brakes after any vehicle repair. If you attempt to repair your vehicle, then you do so at your own risk.


