OEM Customized wholesale SV-8800 Silicone Sealant for Insulating Glass to United States Manufacturers

Short Description:
Description SV-8800 is two components, high modulus; neutral curing silicone sealant specifically developed for assembly of high performance insulated glass units as secondary sealing material. Where to use It is a two-component silicone that offers variable work life with high bonding strength to maintain the integrity of insulating glass unit, suits both commercial and residential IGU. Key Features 1. High Modulus 2. UV resistance 3. Low vapor and gas transmission 4. Primerless adhesion...
We have advanced equipment. Our products are exported to the USA, the UK and so on, enjoying a good reputation among customers for OEM Customized wholesale SV-8800 Silicone Sealant for Insulating Glass to United States Manufacturers, We are glad that we are steadily growing with the active and long term support of our satisfied customers !
Description
SV-8800 is two components, high modulus; neutral curing silicone sealant specifically developed for assembly of high performance insulated glass units as secondary sealing material.
Where to use
It is a two-component silicone that offers variable work life with high bonding strength to maintain the integrity of insulating glass unit, suits both commercial and residential IGU.
Key Features
1. High Modulus
2. UV resistance
3. Low vapor and gas transmission
4. Primerless adhesion to coated glass
5. 100% compatible to SV-8890
Technical data sheet
| Test standard | Test project | Unit | value |
| Before curing——25℃,50%R.H. | |||
| GB13477 | Specific gravity(After mixing) | 1.33 | |
| GB13477 | Operating time | min | 20-40 |
| GB13477 | surface drying time(25℃,50%R.H.) | min | 80-188 |
| corrosivity | No | ||
| 7 days after curing——25℃,50%R.H. | |||
| GB/T 531 | Durometer Hardness | Shore A | 40 |
| GB13477 | The tensile modulus at 12.5% elongation | Mpa | 0.18 |
| The ultimate tensile strength | Mpa | 0.92 | |
| GB13477 | Elongation limit (fracture) | % | 150 |
Certification
GB-24266-2009;
Color
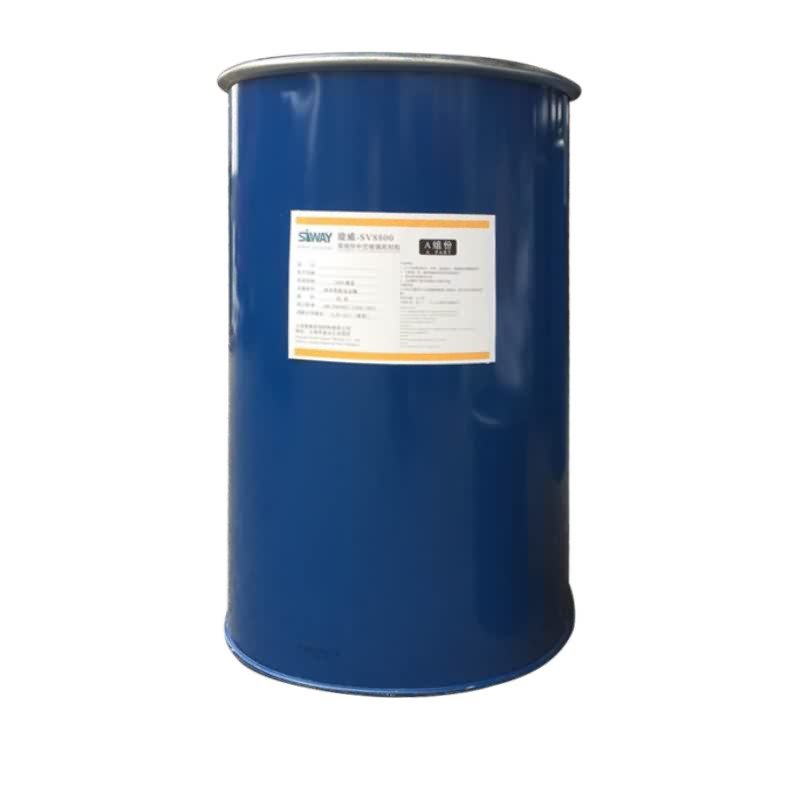
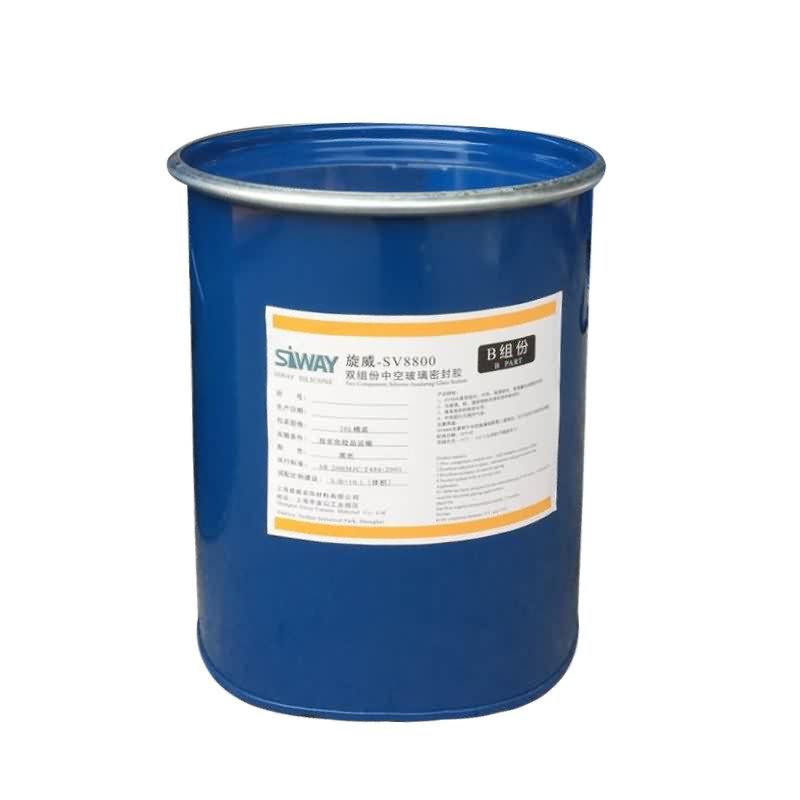
Component A(Base) – White, Component B(Catalyst)- Black
Package
1. Component A(Base): (190L), Component B(Catalyst) (18.5L)
2. Component A(Base):24.5kg (18L), Component B(Catalyst): 1.9kg (1.8L)
Shelf life
12 months
Note
If you want the TDS or MSDS or other details, please contact with our sales person.
roof leak repair Hunters Creek FL free roof leak repair estimate
roof leak repair Hunters Creek FL, roof leak repair in Hunters Creek FL
https://walterbellmarketing.com/
roof leak repair Hunters Creek FL contractors call Walter at 407-476-1482 to get this ad spot and even have your own animated customized whiteboard video placed here to promote your Hunters Creek FL roof repair business.
roof leak repair Hunters Creek FL: You are dealing with a leaking roof and need experienced roof leak repair in Hunters Creek FL. Small roof problems may be patched without the use of a professional roofer. The following steps will instruct contractors methods to dentify bad situations and implement repairs to wooden shake roofs, shingle or flat roofs. Workers need to plan to repair on the roof on a day when the roof is not wet, to prevent any type of accidents.
Method 1
Making Repairs To Shingles
Repairing a Leaking Roof in Hunters Creek FL First Step
Check for breaks on the roofing material immediately above the spot the leak is dripping from . This will most likely be not as hard to see on a level flat roof, however the leak can also get into the home a considerable length from the spot the problematic roof breakage is at.
If the design of your roof is on a slant, inspect areas on the surface of roof that are above where the leak is dripping into the home.
In case you have an attic, inspect it with a flashlight for water stains, black marks or mold.
Run water through a hose on the surface each section of the roof top and have a person inside indicate to you when dripping are evident.
The Repair of a Leaking Roof in Hunters Creek FL Step 2
Look for deteriorated, curled or out of place shingles near where your best guess says the leak is getting in. View very carefully for visible roofing tacks, too as well as for deteriorated, curled or out of place shingles.
Fixing a Leaking Roof in Hunters Creek FL Step Number 3
Fix shingles you see that are curled back. In colder weather, this could require that you soften the shingle carefully with heat, such as an electric hair dryer is fine. Applying a flamming device or other type using open flame heat source is not advised since asphalt shingles might be flammable, and regardless of whether they are flame retardant or not, too much heat will destroy the shingle.
Repairing a Leaking Roof in Hunters Creek FL Step 4
Install the curled-back shingles after the heat procedure with a generous amount of asphalt roof sealant around the outer edges.
Repairing a Leaking Roof in Hunters Creek FL Step #5
Take out the damaged shingles. If it is the case the shingle can be removed off the roof with minor effort, breaks up, or simply crumbles, obviously it needs to be replaced immediately.
Start the removing of the old shingle by lifting its edges and pulling out the nail.
Carefully scrape the surface below it to get rid of any residual roofing cement.
Use a sharp utility tool to round the back corners of the new shingle slightly.
Slide the new shingle into position and drive 1 1/4 inch (3.2 cm) galvanized roofing nails into each upper corner, then layer over the nail heads with roof cement.
roof leak repair Hunters Creek FL: You are dealing with a leaking roof and need experienced roof leak repair in Hunters Creek FL. Small roof problems may be patched without the use of a professional roofer.
https://roofleakrepairservices.com/florida/
https://twitter.com/floridaroofpros
https://www.facebook.com/Roof-Leak-Repair-Florida-2101548880119189/
https://www.youtube.com/playlist?list=PLMA4Du55nxrH_QMYaY7kOPE7UwCA2D7lX
Making a Cavity Pour Mold with Mold Max 30 RTV Silicone Rubber from Smooth-On.
Our model is a hand-carved hard wood 3-dimensional figure. Drill an air release hole in to the middle of a baseboard. Secure model to baseboard with screws. Apply plastic wrap to the original model to protect the surface. Cover the model with 1/2-inch (1.3 cm) clay blanket. Create a 2-inch (5.1 cm) flange for registration. Build a 3-inch (7.6 cm) clay dividing wall and apply clay supports. Drill indentations in the baseboard to register shell. Build a clay pour spout and a 1/2-inch clay dam. Apply Sonite Wax to baseboard and then apply Ease Release 200 to the entire surface.
Measure and mix duoMatrix NEO with a mix ratio of 2A:1B. Combine parts and mix thoroughly. For the first layer, apply a detail coat to the first half. Measure and mix duoMatrix NEO with chopped fiber. Apply this as the second layer. Apply a third layer of duoMatrix NEO without chopped fiber. A wood support leg is attached using duoMatrix NEO. Let cure for one hour.
Once the NEO has cured, remove the dividing wall. Drill indentations into shell for registration. Build a clay dam and pour spout. Apply Sonite Wax to baseboard and exposed shell and then apply Ease Release 200 to the entire surface. Measure and mix NEO for the second half of the support shell, following the same procedure used to create the first half. Again, a wood support leg is attached using NEO and the shell is allowed to cure one hour at room temperature. A rasp is used to create a smooth flange edge, and then three holes are drilled through the support shell. Bolts will help secure the support shell during casting.
Demold the support shell halves, remove the plastic wrap from the model, and then remove clay from the support shell. Create vent holes in support shell to allow air to escape. A 1/4-inch (6 mm) drill bit is used to drill holes through the support shell for a total of six air vents. Apply release agent to both the model and support shell. Register the support shell over the model and secure. Use bolts to hold the support shell halves together. Drywall screws are used to secure the support shell to the baseboard. Seal all seams with a hot glue gun. Place drinking straws into pre-drilled holes for air release, using clay to help secure and seal the straw. Only 1/4-inch of the straw will go into the support shell. IMPORTANT: Do not allow the drinking straws to touch the model. Trim the top two straws for easier access to the pour spout.
Measure and mix Mold Max 30 silicone rubber. Then vacuum the Mold Max 30. After vacuuming, pour Mold Max 30 into the pour spout. Cap the top of the straws with clay to stop the flow of rubber, saving material. Continue to pour rubber until the cavity is filled. Let Mold Max 30 rubber cure for 16 hours at room temperature. Once cured, remove the support shell and rubber mold from the model. Perfect detail is captured from the original model.
How to cast into the mold:
The mold is first primed with auto body primer. Smooth-Cast 300 liquid plastic is measured, mixed, and poured into the mold. After three minutes, the liquid plastic turns to a solid. Let Smooth-Cast 300 cure for 10 minutes at room temperature. Remove the support shell and demold casting. A perfect reproduction! The casting is ready to be painted.
Make It Now! with Smooth-On
https://www.smooth-on.com/
https://www.facebook.com/SmoothOn
https://twitter.com/SmoothOn
https://www.google.com/+smoothon