Newly Arrival SV-666 Neutral silicone sealant to Islamabad Manufacturer

Short Description:
Description SV-666 neutral silicone sealant is a neutral curing glue single component, the modulus of the. It is specially designed for windows and doors caulking sealing general plastic doors and windows. It has good adhesion to glass and aluminum alloy, and has no corrosion. Where to use It is fit for multiple purpose sealing and bonding applications to form a silicone rubber adhering to adjacent substrates e.g. glass, ceramic, tile, wood and metal. Key Features 1. 100% silicone 2. Eas...
Sticking to the principle of "Super Quality, Satisfactory service" ,We are striving to be a good business partner of you for Newly Arrival SV-666 Neutral silicone sealant to Islamabad Manufacturer, We welcome new and old customers from all walks of life to contact us for future business relationships and achieving mutual success!
Description
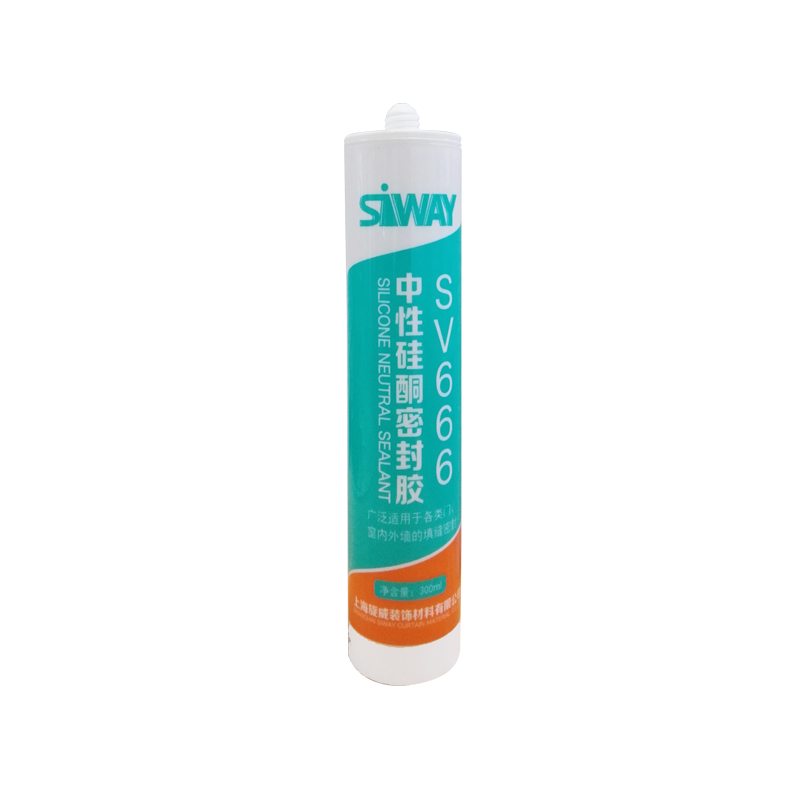
SV-666 neutral silicone sealant is a neutral curing glue single component, the modulus of the. It is specially designed for windows and doors caulking sealing general plastic doors and windows. It has good adhesion to glass and aluminum alloy, and has no corrosion.
Where to use
It is fit for multiple purpose sealing and bonding applications to form a silicone rubber adhering to adjacent substrates e.g. glass, ceramic, tile, wood and metal.
Key Features
1. 100% silicone
2. Easy to use
3. Waterproofing and weatherproofing
4. Primerless adhesion to most building materials
5. 12.5% movement capability
Technical data sheet
| Test standard | Test project | Unit | value |
| Before curing——25℃,50%R.H. | |||
| GB13477 | Flow, sagging or vertical flow | mm | 0 |
| GB13477 | surface drying time(25℃,50%R.H.) | min | 30 |
|
GB13477 |
Operating time | min | 20 |
| Curing time(25℃,50%R.H.) | Day | 7-14 | |
| Sealant curing speed and operating time will have different with different temperatures and temperature, high temperature and high humidity can make sealant curing speed faster, rather low temperature and low humidity are slower.21 days after curing——25℃,50%R.H. | |||
| GB13477 | Durometer Hardness | Shore A | 28 |
| GB13477 | The ultimate tensile strength | Mpa | 0.7 |
| Temperature stability | ℃ | -50~+150 | |
| GB13477 | Movement capability | % | 12.5 |
Certification
JC/T881-2001 12.5E;GB/T14683-2003 12.5E
Color
Black,White,Gray
Package
300ml in cartridge * 24 per box, 590ml in sausage *20 per box
Shelf life
12 months
Note
If you want the TDS or MSDS or other details, please contact with our sales person.
I am showing how I installed 3/4 inch treated plywood decking to my HF trailer so the 3/4 in will allow the trailer to fold. Over 540 HD Video
✿ ✿ ✿ ✿ ✿ ✿ READ ME ✿ ✿ ✿ ✿ ✿ ✿
BUY MY PIECES HERE:
✿ Etsy: https://www.etsy.com/uk/shop/GlossyAppleDesigns?ref=hdr
✿Please respect my work and use my tutorials to recreate pieces to keep for yourself, not to sell as your own design.
If you share your recreations on social media, please credit me using #maiveferrando, adding my name and a link to my Youtube video and/or channel.
Today I’ll be showing you how I made a witch’s house using a jar and polymer clay, partly inspired by Hagrid’s hut as it appears in Harry Potter and the Philisopher’s Stone. This is not a replica of the house, but I took inspiration from some elements of Hagrid’s hut like the fact it’s resting on rocks, the double columns by the entrance, the small windows, some colours (like the greyish-blue tint on the roof tiles), the wooden front steps and the pointy roof.
Elements that I left out where the shape of the roof, which in the original version is flatter on the bottom, the chimney (which is attached to the wall but I couldn’t add it unless I fixed the roof to the jar), the annex, and the straight sides of the house. If you can find a jar with the right number of straight sides, go ahead and use that! I didn’t want to alter the whole structure of the house because what was the point of using a jar then?
I was originally going to build a base for the house (so you couldn’t see through the bottom) with rocks and scenic moss but I decided not to so as not to take the focus away from the house and to allow the light to shine through the bottom as well.
Use an LED Tea light (battery operated) to light the house, not a regular candle.
✿ If you’re new to my channel make sure you subscribe for more videos every week and if you liked this video, why not give it a thumbs up and share the love?
✿ Have a request for upcoming tutorials? Let me know in the comments!
✿ If you were inspired by one of my videos to recreate one of my pieces and decided to share it, please respect my work and tag me using #maiveferrando on Instagram or my other social media sites. Thank you.
FOLLOW ME!
✿ Second Channel: https://www.youtube.com/channel/UCpgSKm_hj6emUN9sMuv6Y_A
✿ Instagram: https://www.instagram.com/maiveferrando/
✿ Facebook: https://www.facebook.com/glossyapple
✿ Twitter: https://twitter.com/MaiveFerrando
Other Jar Tutorials:
✿Christmas Gingerbread House: https://www.youtube.com/watch?v=fjN1eWt_mew&list=PLFx3c_8-atNvWz-ZTMtE0b0TZgDyoWCGD&index=1&t=444s
✿Witch House: https://www.youtube.com/watch?v=8pPkNskBInY&list=PLFx3c_8-atNvWz-ZTMtE0b0TZgDyoWCGD&index=2&t=5s
✿Hobbit Hole: https://www.youtube.com/watch?v=dZfy0u76gGM&list=PLFx3c_8-atNvWz-ZTMtE0b0TZgDyoWCGD&index=3&t=496s
✿Fairy Toadstool House: https://www.youtube.com/watch?v=qxajz1rtdRI&list=PLFx3c_8-atNvWz-ZTMtE0b0TZgDyoWCGD&index=4
Materials:
✿ Premo Polymer Clay
✿ FIMO Liquid
OR Translucent Liquid Sculpey
OR Sculpey Bake & Bond
✿ FIMO Gloss
✿ Acrylic Paints
✿ Lolly Sticks
✿ Tin Foil
✿ Masking Tape
✿ Paper
✿ FIMO Blades
✿ Needle Tool
Watch my DIY Needle tool tutorial below!
DIY Needle Tool Tutorial: https://www.youtube.com/watch?v=py45AR6TUvY
✿ Nail Art Dotting Tools
✿ Nail Art Brushes
✿ Metal Sculpting Tools
✿ Silicone Sculpting Tools
OR Watch my DIY Silicone Tools below to make your own!:
DIY Silicone Tool Tutorial: https://www.youtube.com/watch?v=lSk0DFva6C4&t=1s
DISCLAIMER: I can’t guarantee that my techniques and the materials I use will suit everyone. I can only share with you what I know based on my experience.
⚠ Products and materials are examples and suggestions.
✿ BAKING TIPS:
I bake my polymer clay pieces at 110ºC for no longer than 30 minutes at a time. (It can be baked for longer if the temperature remains constant)
I prebake them at the same temperature for 10-15 minutes depending on the size of my piece.
Always read the baking instructions for your particular brand of polymer clay, as temperatures and times may vary slightly.
Music: “Frost Waltz” and “Moonlight Hall” by Kevin MacLeod is licensed under a Creative Commons Attribution licence (https://creativecommons.org/licenses/by/4.0/)
Source: https://incompetech.com/music/royalty-free/index.html?isrc=USUAN1100341
Artist: https://incompetech.com/


