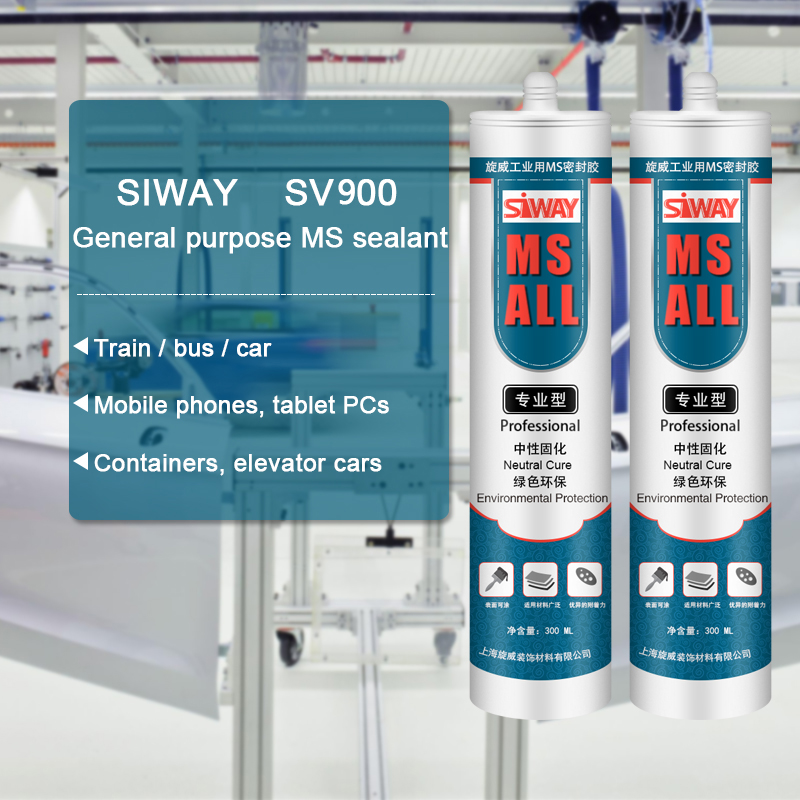
Low MOQ for SV-8800 Silicone Sealant for Insulating Glass Export to Portugal

Short Description:
Description SV-8800 is two components, high modulus; neutral curing silicone sealant specifically developed for assembly of high performance insulated glass units as secondary sealing material. Where to use It is a two-component silicone that offers variable work life with high bonding strength to maintain the integrity of insulating glass unit, suits both commercial and residential IGU. Key Features 1. High Modulus 2. UV resistance 3. Low vapor and gas transmission 4. Primerless adhesion...
We keep improving and perfecting our products and service. At the same time, we work actively to do research and development for Low MOQ for SV-8800 Silicone Sealant for Insulating Glass Export to Portugal, we have built a reliable reputation among many customers. Quality&customer first are always our constant pursuit. We spare no efforts to make better products. Look forward to long-term cooperation and mutual benefits!
Description
SV-8800 is two components, high modulus; neutral curing silicone sealant specifically developed for assembly of high performance insulated glass units as secondary sealing material.
Where to use
It is a two-component silicone that offers variable work life with high bonding strength to maintain the integrity of insulating glass unit, suits both commercial and residential IGU.
Key Features
1. High Modulus
2. UV resistance
3. Low vapor and gas transmission
4. Primerless adhesion to coated glass
5. 100% compatible to SV-8890
Technical data sheet
| Test standard | Test project | Unit | value |
| Before curing——25℃,50%R.H. | |||
| GB13477 | Specific gravity(After mixing) | 1.33 | |
| GB13477 | Operating time | min | 20-40 |
| GB13477 | surface drying time(25℃,50%R.H.) | min | 80-188 |
| corrosivity | No | ||
| 7 days after curing——25℃,50%R.H. | |||
| GB/T 531 | Durometer Hardness | Shore A | 40 |
| GB13477 | The tensile modulus at 12.5% elongation | Mpa | 0.18 |
| The ultimate tensile strength | Mpa | 0.92 | |
| GB13477 | Elongation limit (fracture) | % | 150 |
Certification
GB-24266-2009;
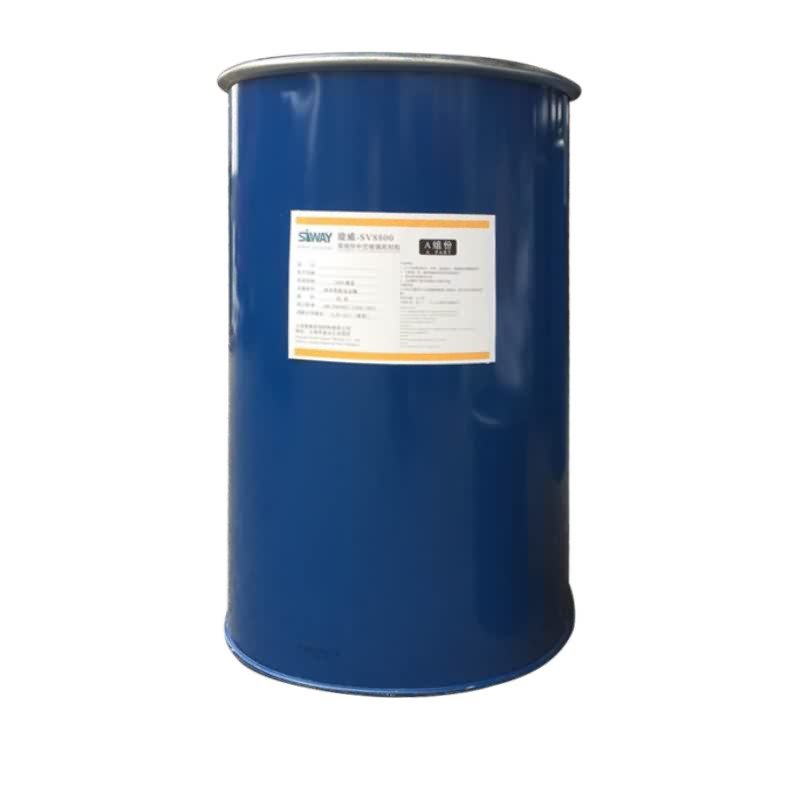
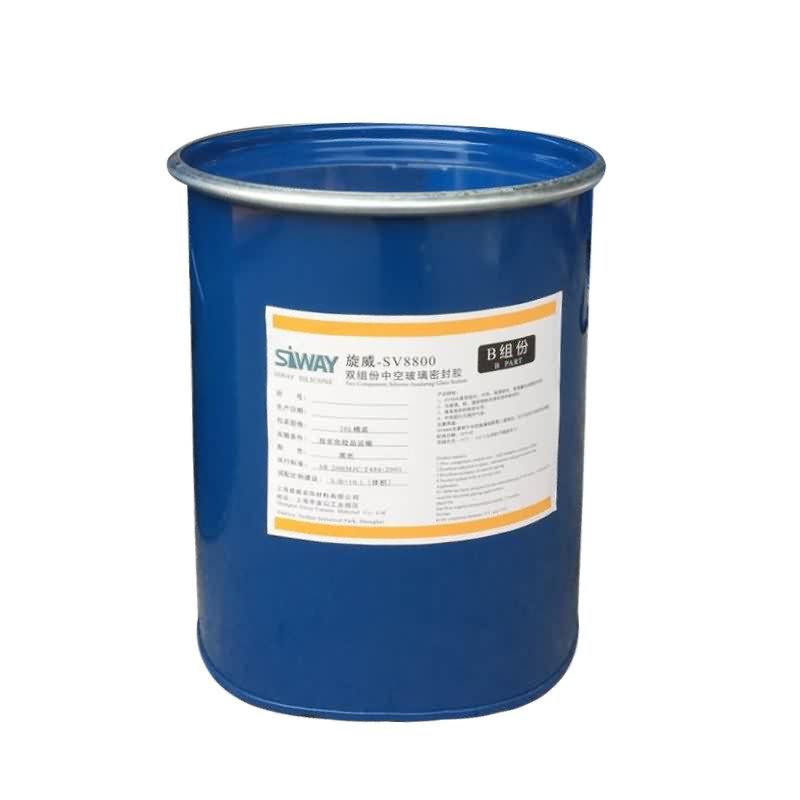
Color
Component A(Base) – White, Component B(Catalyst)- Black
Package
1. Component A(Base): (190L), Component B(Catalyst) (18.5L)
2. Component A(Base):24.5kg (18L), Component B(Catalyst): 1.9kg (1.8L)
Shelf life
12 months
Note
If you want the TDS or MSDS or other details, please contact with our sales person.
Here’s how to adjust the primary chain on a Harley-Davidson Evolution Big Twin motorcycle. See my FXR at https://www.hoohoohoblin.com/Harley-DavidsonFXR.html Inspecting and adjusting an Evolution Harley-Davidson Big Twin motorcycle engine primary chain is pretty simple, and you don’t need any fancy specialized tools to do it. You might as well change the primary oil while you’re in there as well. To adjust the primary chain, remove the shift lever if your bike has one that passes through the primary chain case, remove the left foot peg, remove the primary chain inspection cover, and then measure the deflection of the chain to make sure it is between 5/8″ and 7/8″ (16 to 22mm) at its tightest point. You’ll need to rotate the primary chain and check it a few times to find the tightest point. Harley-Davidson primary chains sometimes wear unevenly, so it is important that you check tension of the primary chain in different positions. To tighten the primary chain, loosen the nut on the motorcycle’s primary chain tensioner and move it upwards. then tighten the nut and measure the chain deflection again. Once you’ve adjusted it properly, replace the inspection cover. Harley-Davidson mechanics told me that putting some silicone on the o-ring on the plastic tube the gear shift rod passes through will stop the primary oil from leaking out near the shifter, so I recommend doing that when you put it back together. If you use silicone, make sure you allow enough time for it to dry before you take your Harley-Davidson Evolution Big Twin motorcycle for a ride.
Watch as I install my oil pan and share some tips and tricks that I learned for a successful (non leaking) repair.
I found a lot of useful info here:
https://www.saturnfans.com/forums/showthread.php?t=153290
This engine is for my 1995 Saturn SW2, I am using a block from a 1997 SL2 and a professionally rebuilt head. All of this was due to poor compression.
Long story short…
My 95 SW2 engine went south, bought a rusted out 97 SL2 for the engine. That engine had no compression on cylinder 3. Yanked both engines out, found burnt valves on the 97. Of course all of this snowballed and I decided to go with a professionally rebuilt head and to do rings, bearings, seals, etc.
Having passed the point of no return I found unibody frame rot and the beginnings of subframe rust so I had to tackle those too.