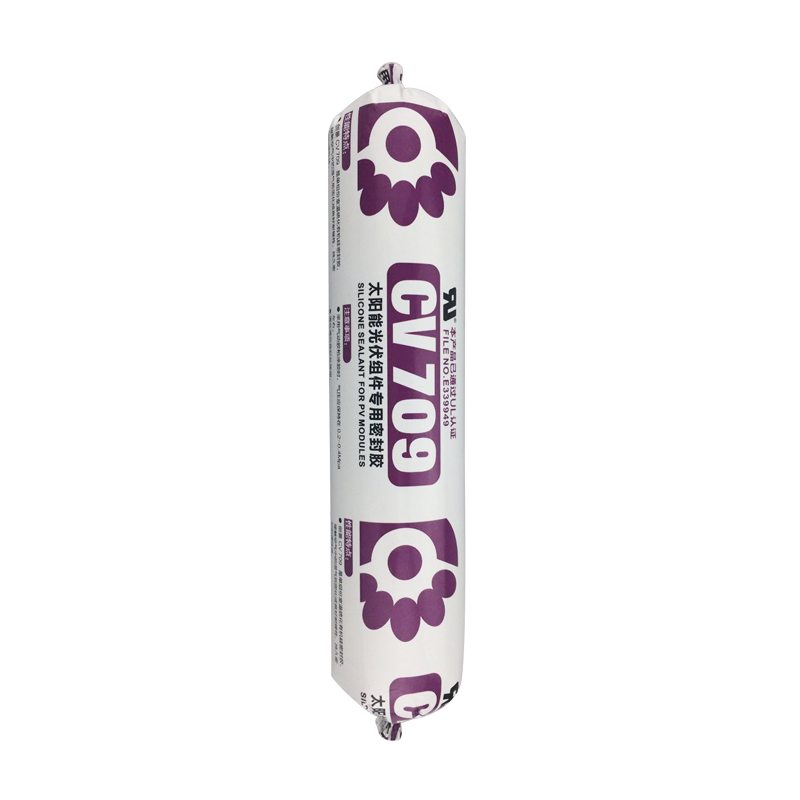
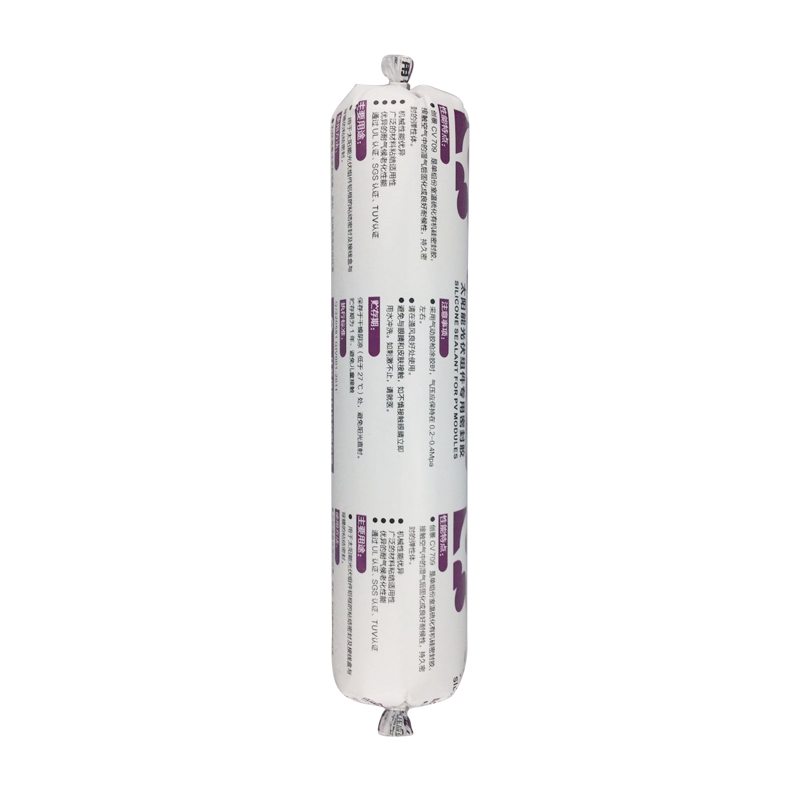
High Quality Industrial Factory CV-709 silicone sealant for PV moudels to South Africa Factories
Short Description:
Description CV709 is a high-performance silicone sealant, one-component oxime type room temperature curing silicone rubber, has excellent weather resistance, high thixotropy, after curing for solar components involved in the base material has good caking property, by TUV for environmental requirements of the ROHS, UL E339949 Key Features 1. 100% silicone 2. No sag 3. high thixotropy 4. Water & weatherproof 5. For solar components involved in the base material has good bonding Basic Ap...
We are commitment to offer the competitive price ,outstanding products quality, as well as fast delivery for High Quality Industrial Factory CV-709 silicone sealant for PV moudels to South Africa Factories, If you are interested in any of our products and services, please don't hesitate to contact us. We are ready to reply you within 24 hours after receipt of your request and to create mutual un-limited benefits and business in near future.
Description
CV709 is a high-performance silicone sealant, one-component oxime type room temperature curing silicone rubber, has excellent weather resistance, high thixotropy, after curing for solar components involved in the base material has good caking property, by TUV for environmental requirements of the ROHS, UL E339949
Key Features
1. 100% silicone
2. No sag
3. high thixotropy
4. Water & weatherproof
5. For solar components involved in the base material has good bonding
Basic Application
1.Solar module frame seal
2.The adhesive of the solar energy back to the terminal block
3.General industrial assembly with seal
Technical data sheet
| Test standard | Test project | Unit | value |
| Before curing——25℃,50%R.H. | |||
| specific gravity | g/ml | 1.34-1.40 | |
| GB13477 | Operating time | min | 15 |
| GB13477 | surface drying time(25℃,50%R.H.) | min | 40-60 |
| 3 days after curing——25℃,50%R.H. | |||
| Temperature range | ℃ | -55~200 | |
| GB13477 | Durometer Hardness | Shore A | 40~55 |
| The ultimate tensile strength | Mpa | ≥2 | |
| GB13477 | Breaking elongation | % | 300-600 |
| Aluminum bonding shear strength | Mpa | ≥1.5 | |
| Electrical properties | |||
| Breakdown voltage | Kv/mm | ≥20 | |
| Volume resistance | ohm.cm | 9E+14 | |
| Dielectric constant | 3.1@50Hz | ||
Certification
UL E339949; TUV
Color
Black, White
Package
300ml in cartridge * 24 per box, 500ml in sausage *20 per box
Shelf life
12 months
Note
If you want the TDS or MSDS or other details, please contact with our sales person.
https://www.etrailer.com/Tools/Slime/SLM10011.html
Today we’re going to be taking a look at the 16 ounce Slime Tire Sealant, part number SLM10011. The Slime Tire Sealant seals punctures instantly up to a quarter inch with it’s fibro-seal technology. The slime remains in your tire, so it works repeatedly for up to two years. It’s safe working for finished metal wheels. It cleans up easily with water, and it’s non-toxic and non-flammable. We’ve got a tire here with a slow leak, so we’re going to go ahead and show you how it works. Now, it is a car tire, so we’re going to be using the whole bottle.
Note: Videos are provided as a guide only. Refer to manufacturer installation instructions and specs for complete information.
Check out our blog for clickable links to the items below!
Blog- https://www.heywandererblog.com/2017/06/diy-stock-tank-pool-everything-you-need.html
Instagram- www.instagram.com/heywanderer
E-mail- heywanderer@gmail.com
Things you will need:
- Stock tank (size of your choosing- ours is 8 ft.)
- Above Ground Pool Pump
- Weatherproof Silicone Sealant
- Hole Saw with Arbor
- Plunger Valves
- Pool Outlet
- 1-3 Rubber Washers (or Gaskets)
- 1 Strainer Nut
Other things you will need for maintenance:
- Chlorine Tablets
- Floating Pool Dispenser
- Water Testing Kit
Step 1- Find a nice level area to lay the stock tank on. If the area where you have chosen isn’t level, use sand or rocks to build up whatever side needs it. It is very important that your stock tank be level so there aren’t any unexpected leaks.
Step 2- Cut holes in your stock tank. I’m not going to lie- this is a pain in the butt. We bought a hole saw with an arbor and it took two people to get through the metal. You will need two holes, one at the top and one at the bottom. In an above ground pool, these aren’t usually right on top of each other, but ours are. We haven’t ever seen this as a problem.
Step 3- Start assembling the parts. In the pool pump package there is a packet with instructions, warnings and troubleshooting. This packet proved to be vital in the setup of the pool. I did end up getting 2 gaskets for the bottom section (the drain section), one for the inside of the pool and one for the outside. It only says you need one for the inside, but this was causing a drip for us. I also put thread seal tape around the connections that were closest to the pool. There are a lot of connections, and each one has a gasket, so you could probably get away without the tape. I didn’t put it on all the connections, the only ones that really seemed to matter were the ones that are connecting the hoses to the pool.
Step 4- Apply silicone waterproof sealant around all crevices involving the input and output parts. I did this on the inside of the pool and the outside. And I applied it VERY HEAVILY and did two layers, allowing one to dry before the second was applied. Sealing these crevices is one of the most important parts. This is what is going to keep the water in the pool. Well all of these steps are leading up to keeping water in the pool, but if there is any chance that it’s going to be getting out, this is what will save you.
Step 5- Test for leaks. Before I added water to the pool, I took a water bottle and poured a good amount of water on the input and output parts. You could also just use a water hose. I would make sure the hose wasn’t on full blast. You don’t want to accidentally penetrate the sealant.
Step 6- Once you are sure there aren’t any leaks, fill the pool just above the bottom hole/output. Check again to see if any leaks have started. If there aren’t any, fill the rest of the pool up!
Step 7- Turn the pump on. Make sure both plunger valves are open/unlocked. When you first do this water may not come out of the output, but there is a solution! Twist off the knob on top of the filter pump to let some air out. Some water may escape too and that’s okay, just be ready to screw it back on as soon as the water starts coming out.


