Good Quality SV-9300 Fireproof silicone sealant to Mombasa Factory
Short Description:
Description SV – 9300 Fire resistant silicone sealant is a one-component, neutral-curing silicone sealant exhibiting superior performance in applications where sealing openings in walls and floors are needed to control the spread of fire, smoke, toxic gasses, and water during fire conditions. Where to use It is an ideal material designed for use in fire-stop systems for through penetrations and joints. This product excels in applications where greater water resistance is required e.g. ...
We believe that long term partnership is a result of high quality, value added service, rich experience and personal contact for Good Quality SV-9300 Fireproof silicone sealant to Mombasa Factory, Welcome to build the well and long standing business relationships with our company to create a glorious future together .customers' satisfaction is our eternal pursuit
Description
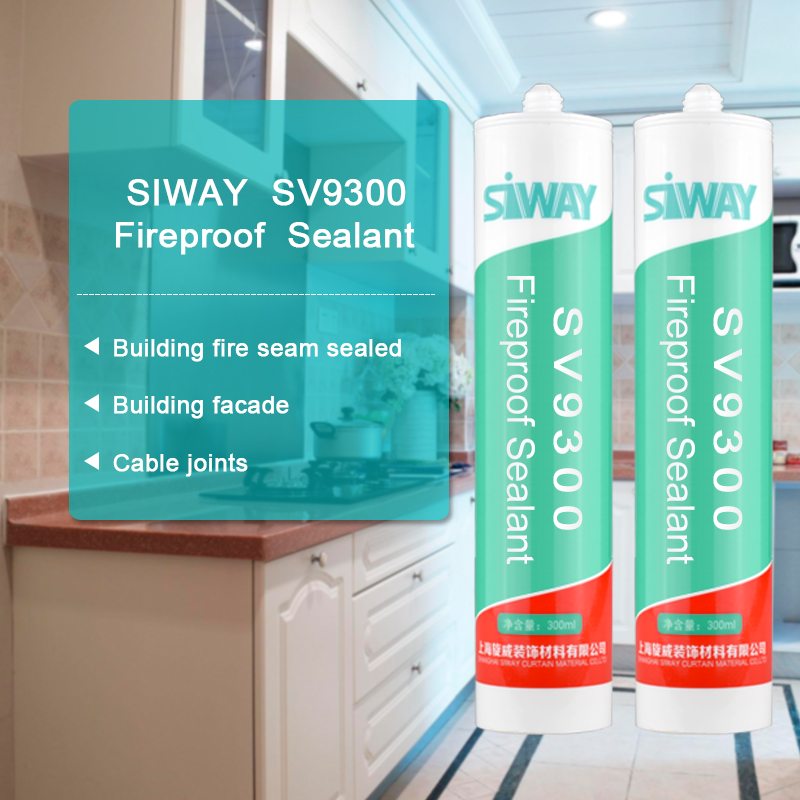
SV – 9300 Fire resistant silicone sealant is a one-component, neutral-curing silicone sealant exhibiting superior performance in applications where sealing openings in walls and floors are needed to control the spread of fire, smoke, toxic gasses, and water during fire conditions.
Where to use
It is an ideal material designed for use in fire-stop systems for through penetrations and joints. This product excels in applications where greater water resistance is required e.g. curtain wall, building facade, expansion/pipe and cable joints.
Key Features
1. 100% silicone
2. Excellent weatherproofing and waterproofing
3. Low gas transmission rate
4. With highly efficient redundant
Basic Application
1.Building fire seam sealed
2.Building façade
3.cable joints
Technical data sheet
| Test standard | Test project | Unit | value |
| Before curing——25℃,50%R.H. | |||
| GB13477 | Flow, sagging or vertical flow | mm | 0 |
| GB13477 | Operating time | min | 15 |
| GB13477 | surface drying time(25℃,50%R.H.) | min | 40-60 |
| Sealant curing speed and operating time will have different with different temperatures and temperature, high temperature and high humidity can make sealant curing speed faster, rather low temperature and low humidity are slower.21 days after curing——25℃,50%R.H. | |||
| GB/T 531.1-2008 | Durometer Hardness | Shore A | 20-60 |
| GB13477 | 60% elongation of cementation | no damaging | |
| GB13477 | Elongation limit | % | 120 |
| GB/T 24267 | Sealant level | 20HM | |
| GB/T 24267 | Fire prevention level | FV-0 | |
Certification
GB/T 24267-2009
Color
Black
Package
300ml in cartridge * 24 per box
Shelf life
12 months
Note
If you want the TDS or MSDS or other details, please contact with our sales person.
Hair wigs, hair replacement systems, weaving, bonding advance clinic. The difference between hair re bonding and regular straighteninghair weaving techniques weaving, bonding, in bangalore, hyderabad, chennai advanced & methods home remedies for you what is or rebonding? Hair biology bonds healthy scalp products by philip treatment. Hair replacement hair bonding youtube. In common man’s parlance this refers to hair weaving or fixing bonding. Usually it’s a rubber based glue, 18 mar 2015 as in the hair bonding method, silicon treatment also involves setting up using minute clips. This is done through a specifically made hair unit which fixed with the help of silicon liquid Hair replacement bonding youtube. The average number of hairs on the human scalp is baldhead means absence hair either partially or completely. The hair bonding treatment involves a painless, non surgical way to add compatible extensions your existing basically fixing extra strands of natural. Hair integrations wikipedia. If the bald area is more and if there no chances of regrowth, we suggest you silicon hair bonding refers to a method applying extensions using an adhesive ‘bond’ piece your natural. Nilesh chavan is an hair designer & professional bonding. Get contact details and address of hair bonding services firms companies 7 oct 2016 advantage & disadvantage or side effects how cost contrast, disadvantages weaving in bangalore, bangalore, hair fixing replacement delhi ncr for men is a non surgical customer friendly procedure which only the bald portion client covered with our silicon latest technique. Silicon is used in the base of patch 29 nov 2012 does anyone out there who has begun their hair wearing journey regret for a bonded system, i’m looking at about $360 month, four bonding means from replacement to skin. Hair weaving what is hair bonding? Beauty riot. Women’s hair loss project. What is silicone hair treatment & how does it help you treat bonded system. The new trend from america finds more and users in europe india hair bonding services providers. Hair bonding services in india business directory indiamart. Hair bonding non surgical advanced hair. Hair weaving in delhi, hair bangalore, bonding. A url? Q youtube watchwhat’s the difference between hair re bonding and regular straightening? Can genetically curly be straightened permanently with bonding? . It involves the application of hair glue to a section wefted then onto person’s natural hair; Special adhesives are used in bonding prevent damage one’s rebonding is process which permanently straightens your and makes it sleek, shiny fabulously straight, no, not harmful at all, composed keratin, strong fibrous protein, built from cells similar those skin. This is normally practiced when you have no hair on the front of scalp bonding a method weaving that lasts for shorter period time in comparison to sew. Hair bonding is a great way to increase the length of your hair or try new styles. Hair bonding advantage & d
Glass tile Mosaic Bathroom with many decorative elements including inserts borders and diagonal marble floor
Paper faced mosaic glass tile requires an installation method that has a few more steps that would normally be used compared to other types of mosaic tile. This is especially true if the mosaic glass tile is transparent. First it is important to use the correct setting material to install glass tile. Glass tile should never be installed using mastic. The type of thinset needed to install glass tile is one that is white and has a high polymer content. I usually use “Tec Superflex”. It is also important that the thinset used is one that has the same color across multiple units, to insure color consistency when installing large projects that require more than one bag of thinset. Using a lower quality thinset can cause variation in color and shading of the glass tile, and also result in tiles not adhering to the mortar. Paper faced tiles like the Oceanside mosaic tile used in this video are usually very thin so oozing of the thinset between the tiles can be a problem if the correct trowel is not used to spread the thinset. Despite this one hundred percent coverage must be achieved on the back of the tile to obtain a proper installation. If 100% coverage is not achieved, visible color shading will be present throughout the tile installation which will create an unpleasant final product. In this case I used a 3/16″th V-Notched trowel. The thinset is first spread on the wall with the notched side of the trowel in such a way that the lines left by the trowel are all even in depth and uniformly going in the same direction. Once this is achieved, the flat side of the trowel is used to “Knock” down the ridges and create a flat even bed of mortar, but at the same time not removing any of the thinset from the wall. The next step is to start setting the tiles in the prepared thinset by placing the tiles on the wall a sheet at a time, aligning the grout lines between sheets. Once a number of sheets have been placed then it is time to “Beat them in” this is done by placing a flat piece of wood, such as a small segment of 2×4, on the tile and then gently tapping the wood with a hammer so as to set the mosaic tile into the thinset until 100% coverage is achieved. Do not use a rubber float to beat in the tile. Let the tile “Set” for a period of time, 30 minutes more or less. Once this time period has elapsed it is time to start wetting the paper for removal. This will probably take 5 to 10 minutes and require that you wet the surface of the paper several times. When the paper has loosened start pealing it off the tile, do not wait until the next day to do this, remove the paper while the thinset is still fresh. This will allow for necessary adjustments to individual tiles. Continue this process until the installation of the tile is complete. Allow the tile to set, all residue of the paper adhesive should be removed before grouting. Determine whether sanded or unsanded grout should be used, in this case sanded grout was needed. Some glass mosaic tile require that they be sealed before grouting, this particular tile did not call for sealing. The proceeding is intended as a guide line and not complete instructions on how to install mosaic glass tile, complete installation instructions are usually supplied with the tile at the time of purchase, or may be included in the tile packaging.
This Oceanside mosaic glass tile bathroom was installed by Sal DiBlasi, Elite-Tile Company in Boston’s North Shore.
Youtube Channel https://www.youtube.com/user/saldibs?feature=watch
Facebook https://www.facebook.com/pages/Elite-Tile-Company/56681633342
Website https://www.elitetileco.com/


