Factory Wholesale PriceList for CV-709 silicone sealant for PV moudels to Philadelphia Factory

Short Description:
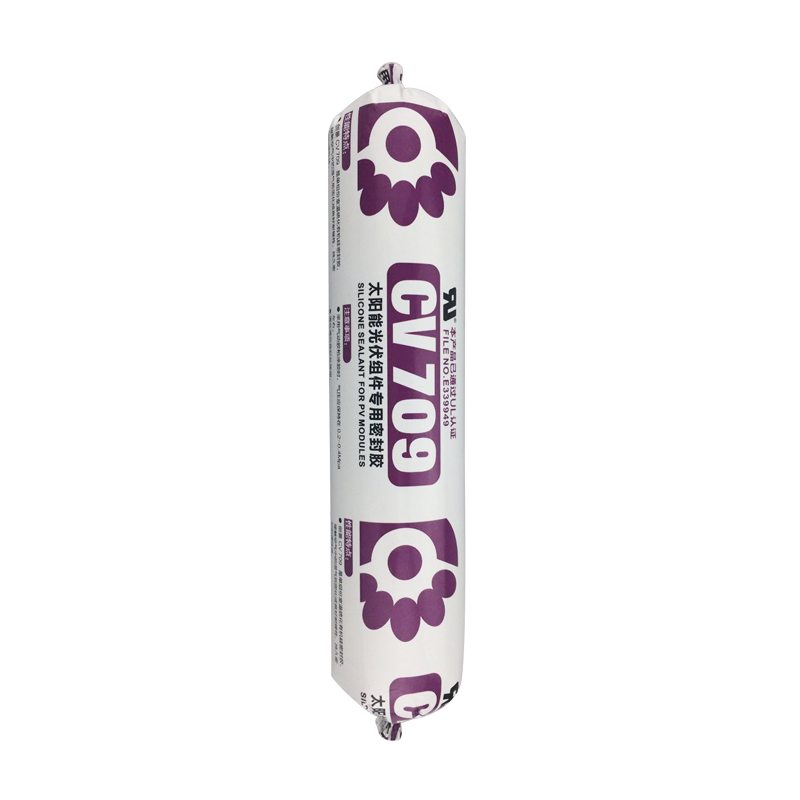
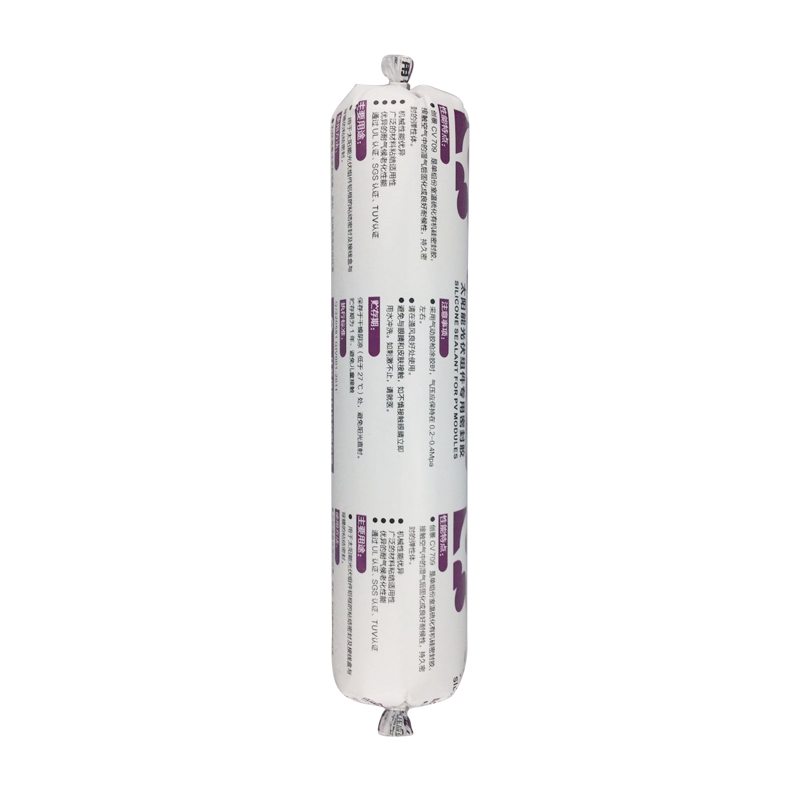
Description CV709 is a high-performance silicone sealant, one-component oxime type room temperature curing silicone rubber, has excellent weather resistance, high thixotropy, after curing for solar components involved in the base material has good caking property, by TUV for environmental requirements of the ROHS, UL E339949 Key Features 1. 100% silicone 2. No sag 3. high thixotropy 4. Water & weatherproof 5. For solar components involved in the base material has good bonding Basic Ap...
Gaining customer satisfaction is our company's aim forever. We will make great efforts to develop new and top-quality products, meet your special requirements and provide you with pre-sale, on-sale and after-sale services for Factory Wholesale PriceList for CV-709 silicone sealant for PV moudels to Philadelphia Factory, We look forward to supplying you with our products in the near future, and you will find our quotation is very reasonable and the quality of our products is very excellent!
Description
CV709 is a high-performance silicone sealant, one-component oxime type room temperature curing silicone rubber, has excellent weather resistance, high thixotropy, after curing for solar components involved in the base material has good caking property, by TUV for environmental requirements of the ROHS, UL E339949
Key Features
1. 100% silicone
2. No sag
3. high thixotropy
4. Water & weatherproof
5. For solar components involved in the base material has good bonding
Basic Application
1.Solar module frame seal
2.The adhesive of the solar energy back to the terminal block
3.General industrial assembly with seal
Technical data sheet
| Test standard | Test project | Unit | value |
| Before curing——25℃,50%R.H. | |||
| specific gravity | g/ml | 1.34-1.40 | |
| GB13477 | Operating time | min | 15 |
| GB13477 | surface drying time(25℃,50%R.H.) | min | 40-60 |
| 3 days after curing——25℃,50%R.H. | |||
| Temperature range | ℃ | -55~200 | |
| GB13477 | Durometer Hardness | Shore A | 40~55 |
| The ultimate tensile strength | Mpa | ≥2 | |
| GB13477 | Breaking elongation | % | 300-600 |
| Aluminum bonding shear strength | Mpa | ≥1.5 | |
| Electrical properties | |||
| Breakdown voltage | Kv/mm | ≥20 | |
| Volume resistance | ohm.cm | 9E+14 | |
| Dielectric constant | 3.1@50Hz | ||
Certification
UL E339949; TUV
Color
Black, White
Package
300ml in cartridge * 24 per box, 500ml in sausage *20 per box
Shelf life
12 months
Note
If you want the TDS or MSDS or other details, please contact with our sales person.
Turning the 3d printer to change the filament is kind of a pain, so I made a way to spin it, and store filament and tools!
Subscribe to my channel: https://bit.ly/1k8msFr
MORE PROJECTS, POSTS AND EVENTS
https://www.iliketomakestuff.com
GET MORE INFO ON THIS PROJECT:
https://www.iliketomakestuff.com/make-spinning-3d-printer-workstation
HERE’S WHAT YOU’LL NEED:
https://amzn.to/1NCVmAb – SawStop cabinet saw
https://amzn.to/1GMrfGL – Dewalt 20v drill driver combo
https://amzn.to/1HdQuwD – Grizzly G0555LANV Bandsaw
https://amzn.to/1GyGjbg – Grizzly Drill Press
https://amzn.to/1ntzLSF – Silicone spray
https://amzn.to/1ntzEGI – 12″ lazy susan bearing
https://amzn.to/1WnkyhQ – Pancake compressor/ brad nailer combo
https://amzn.to/1LZGfxW – Ultimaker 2 Extended 3D printer
Want to support ILTMS? Get early viewing, exclusive content and more…
https://www.iliketomakestuff.com/patreon
BUY A SHIRT, STICKER, PENCILS and MORE!!
https://www.iliketomakestuff.com/store
FOLLOW:
https://twitter.com/iliketomakestuf
https://instagram.com/iliketomakestuff
https://facebook.com/iltms
I used scrap plywood for this project, so it was a combination of 1/2″, 3/4″ plywood and MDF.
I cut down three pieces to 14 3/4″ squares, as this was a little larger than the footprint of my printer.
I cut a couple of strips for the side panels. These were a little taller than the diameter of a filament roll.
On one of these pieces, I centered a filament roll and traced the inner circle.
I made a mark at the far outside of the circle, and drew in a place for a 1/2″ dowel hole.
I lined the two pieces up and drilled a 1/2″ hole through both.
I sat the side pieces in place on the base and traced the edge. This shows me the safe area to drill holes. I did the same for the other square piece.
On both pieces, I drilled countersunk holes in the safe area.
The side pieces got glue on one side before being screwed to the bottom square.
I mistakenly glued the top at this point too, but don’t do that. Just screw it on.
I tested the spacing with a roll of filament hanging on the dowel rod.
I cut another scrap that fit within the open side of the box, to act as a drawer front.
Two pieces were cut down to act as the sides of the drawer. Their depth was about the depth of the box minus the diameter of the filament roll.
I sat the side panel on the side of the box and pivoted it off the bottom front edge. I made a mark on the side panel where I wanted it to hit the box top.
Using a straight edge, I drew a line from my mark to the opposite top corner.
With both side pieces taped together, I cut along my line on the bandsaw.
I trimmed a piece, for the back, down to the same height as the back side of the side panels.
Since I was out of plywood scrap, I cut the drawer bottom from MDF.
I applied glue to all of the surfaces that would touch.
I folded the pieces up into place and used some brad nails to hold everything in place while the glue dried.
Using a spacer (scrap), I marked the location for two hinges on the front, bottom edge.
I predrilled holes for the hinges, and screwed them in.
I held the drawer in place, upside down, to align and screw in the hinges.
I flipped the drawer up into place. It was tighter than I wanted, but fit correctly.
I sanded down the rough edges and the sides of the drawer where it touched the outer box.
I applied some paste wax to the areas that touched which made the drawer move very smoothly!
I 3d printed a quick knob (but any knob would work fine).
Using a very small bit, I drilled a hole right in the center of the drawer front.
I ran a screw in from the back side directly into the back of the knob to hold it in place.
I sat the printer in place, centered on the top of the box, and nailed on some small strips along the side of it, keeping them very snug to the printer.
On the base panel, I measured a lazy susan bearing, and found the difference in the base’s width and the bearings diameter. I split the difference and marked in that distance from each edge.
Having these four marks allowed me to easily center the bearing on the base.
The two parts of the bearing got lined up so you could see a hole all of the way through. I marked these (4) holes onto the base.
Each hole got drilled, with a countersink bit.
I centered the bearing the same way on the bottom of the cabinet, but screwed it in place using the four inner holes.
The bearing comes un-lubricated, so I sprayed in a little silicone spray and worked it into the bearing.
Laying the base on top of the bearing, I aligned the holes using a drill bit and my ice pick.
I drove in screws, through the base, into the bearing holes. These are small holes made to be grabbed by sheet metal screws.
I flipped the whole thing over and took it for a spin (pun intended).
I was able to fit four rolls of filament on the 7/16″ dowel.
I added all of the 3d printing tools to the drawer and put it in place in my office.
Now I can easily spin the machine to swap filaments! Second channel: bit.ly/iltms-2


