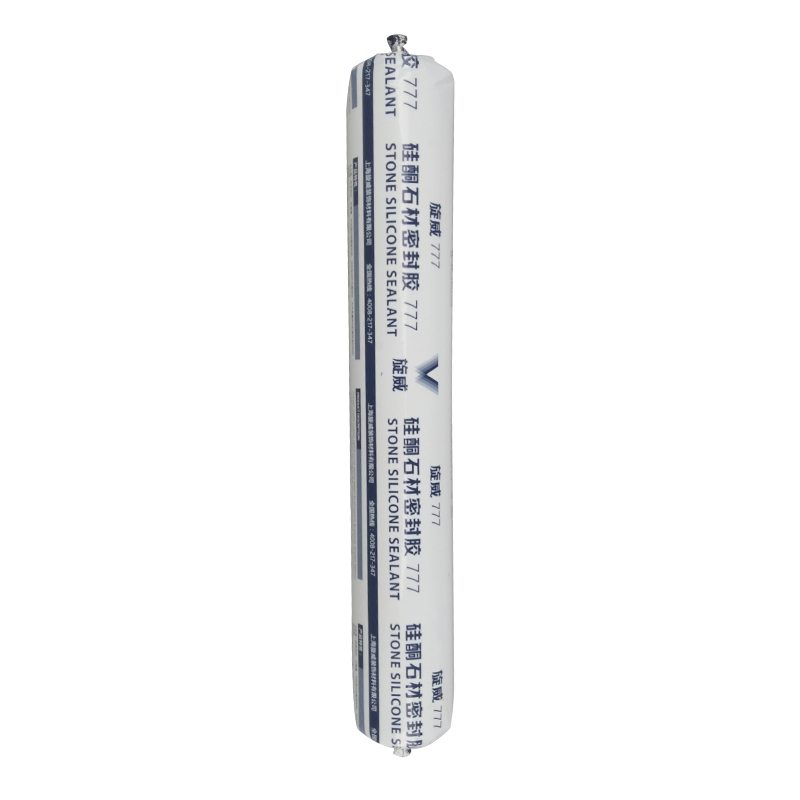
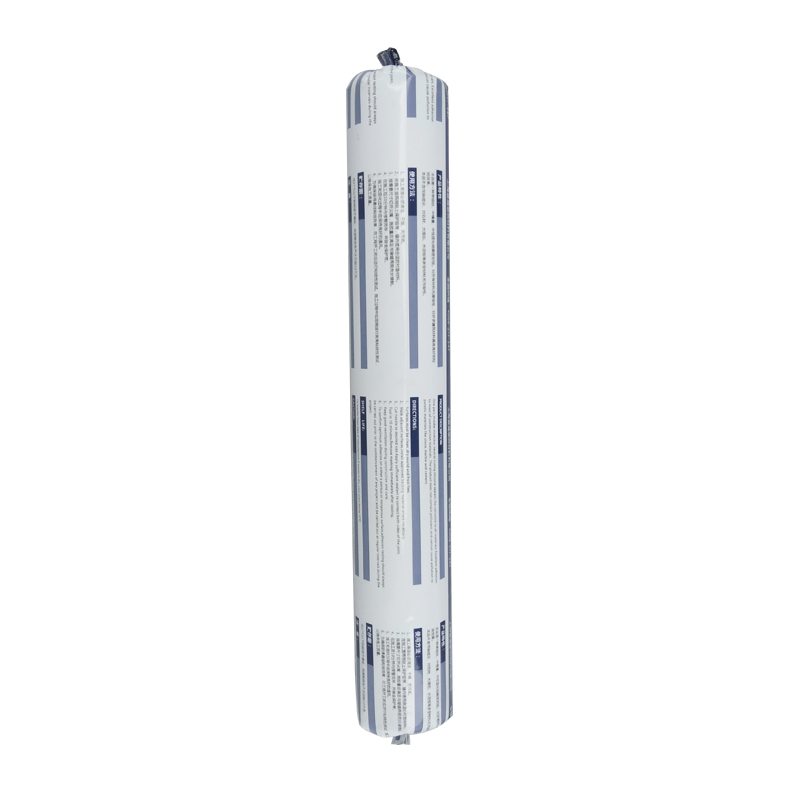
Factory Cheap Hot SV-777 silicone sealant for stone Supply to Japan

Short Description:
Description SV-777 silicone sealant for stone, is an elastomer sealant in modulus, single. Waterproof joints need to be sensitive to natural stone, glass and metal building clean appearance panel for sealing design, it to the moisture in the air after curing in contact, the formation of elastic rubber sealing performance, durability, weather resistance, good combination with most building materials. Key Features 1. 100% silicone 2. Minimized fluid migration 3. Low dirt pick up 4. Water &...
In order to best meet client's needs, all of our operations are strictly performed in line with our motto " High Quality, Competitive Price, Fast Service " for Factory Cheap Hot SV-777 silicone sealant for stone Supply to Japan, We look forward to establish a long-term business relationship with your esteem co-operation.
Description
SV-777 silicone sealant for stone, is an elastomer sealant in modulus, single. Waterproof joints need to be sensitive to natural stone, glass and metal building clean appearance panel for sealing design, it to the moisture in the air after curing in contact, the formation of elastic rubber sealing performance, durability, weather resistance, good combination with most building materials.
Key Features
1. 100% silicone
2. Minimized fluid migration
3. Low dirt pick up
4. Water & weatherproof
5. Primerless adhesion to most building materials
6. 25% movement capability
Basic Application
1.Stone curtain wall sealing
2.Engineering ceramic sealing
3.Stone and other materials such as glass, metal seam sealing
4.Other uses
Technical data sheet
| Test standard | Test project | Unit | value |
| Before curing——25℃,50%R.H. | |||
| ASTM C 679 | Flow, sagging or vertical flow | mm | 0 |
| VOC | g/L | <80 | |
| GB13477 | surface drying time(25℃,50%R.H.) | min | 30 |
| Curing time(25℃,50%R.H.) | Day | 7-14 | |
| Sealant curing speed and operating time will have different with different temperatures and temperature, high temperature and high humidity can make sealant curing speed faster, rather low temperature and low humidity are slower.21 days after curing——25℃,50%R.H. | |||
| GB13477 | Durometer Hardness | Shore A | 30 |
| GB13477 | The ultimate tensile strength | Mpa | 0.7 |
| Temperature stability | ℃ | -50~+150 | |
| GB13477 | Movement capability | % | 25 |
| ASTM C 1248 | Pollution / oil, natural stone | No | |
Certification
25HM GB/T 23261-2009;ASTM C920-2011
Color
Black,White,Gray
Package
300ml in cartridge * 24 per box, 590ml in sausage *20 per box
Shelf life
12 months
Note
If you want the TDS or MSDS or other details, please contact with our sales person.
Corner detail – Fixing where drywall ties into the log, log corners, exterior saddles anywhere there are openings.
Finishing log home corners with caulk is simple following these instructions.
TRANSCRIPT:
Hi, my name is Scott, with Weatherall Company, and I’m going to quickly cover how you handle a corner detail. This is an example of where drywall ties into the logs. What I’m doing here can be used where you have log corners, log saddles on the exterior, doing any type of corner detail.
So first, if I have openings like that you see here, I need to throw a little bit of backer rod in there. It’s fairly simple to do. Just quickly cut off … I usually find bits of scraps of backer rod lying around, and I put them in there, make sure they’re flush. That piece right there might need a piece of round backer rod, and I will put that in there. A lot of times I will carry around just kind of a dull, heavy chisel, and that will help, usually just help push stuff in there.
Now that is actually fine and we’re good to go, but any area where it opens up, probably more than a quarter of an inch, you’re going to want to fill. Same goes for the logs. If the logs are cut back from the drywall, you’re going to want to cut a piece, fill it, make sure it’s flush, and then we’ll go ahead and chink it.
I am using my Albion caulking gun for this, with a half inch nozzle. That helps provide the best detail for these joints. You don’t need to go over a half inch. I see some people put large pieces of backer rod and they will chink that to about the same width of their horizontal joints and that is overkill. It’s probably not the best joint design. It’s much easier and better just to go with the smaller tip. I wouldn’t go under a half inch. I wouldn’t do a quarter or an eighth inch of material.
It really is about this simple. Nice thing about this gun is I can move it around, I can go upside down with it. Again, I’ve got a 45 degree tip and I’m trying to keep that tip perpendicular to my work surface, and try and put that stuff in there as perfect as I can because it just makes for finishing a lot easier. And it should really just go about this quick. Really, not that difficult.
Usually right about here I will stop, release the pressure on the gun, and start from the bottom. I have better control over the gun that way. I try to keep the material as flat as I can. If I hold the gun up like this, I get the material too thick. It’s going to be a lot harder to trowel. If I can keep that tip flat, it can be a lot easier to finish the material.
Once you get used to it, it goes fairly fast. Shouldn’t take a whole heck of a lot of time to do these joints. A lot of times they just blend right in with the drywall. Now, we’ll usually go right over the molding. See how this molding is scribed into the log? We’ll cover that as well.
And then to trowel it, I usually just use my finger. And if you’ve done a good enough job applying it, you don’t really have to fiddle with it for too much. I usually just spray a little on the material and just go right over the top of it. All you’re doing is just gently seating the material against the log.
Build Article: https://craftedworkshop.com/live-edge… In this woodworking project, I’ll show you how to build a live edge river table as made famous by Greg Klassen. These beautiful tables feature a center glass section that flows along the live edge, giving the glass the look of a flowing river. Let’s get started!
Tools Used On Live Edge River Coffee Table:
Dewalt 20V Max Impact Driver : https://amzn.to/1QxJD7w
SawStop PCS 1.75-HP Professional Cabinet Saw : https://amzn.to/2aqqRyn
DEWALT FLEXVOLT 12″ Compound Sliding Miter Saw : https://amzn.to/2ah20gS
Supermax 19-38 Drum Sander : https://bit.ly/supermax1938
¼” x ½” Template Router Bit : https://amzn.to/2mLUtwd
DEWALT DW621 2-Horsepower Plunge Router : https://amzn.to/2niHu9f
Wood Whisperer Thread Taps : https://wwthreadtaps.com
Festool Domino XL DF 700 : https://bit.ly/festooldealers
Materials Used On Live Edge River Coffee Table:
ArtResin Epoxy Resin : https://bit.ly/artresin
Minwax Wipe-On Poly, Satin : https://amzn.to/2nGgu4K
Bolts to attach legs to top, ¼-20 x 1 ½ in my case : https://amzn.to/2mLwYDM
1x3s, for legs
Live Edge Slab, for top
Felt Pads, for bottom of legs : https://amzn.to/2o0pnCj
► SUBSCRIBE : https://goo.gl/V5gcNJ
► SUPPORT US : https://goo.gl/pmmpTQ
► FOLLOW CRAFTED WORKSHOP!
FACEBOOK: https://facebook.com/craftedworkshop
TWITTER: https://twitter.com/craftedworkshop
INSTAGRAM: https://instagram.com/craftedworkshop
PINTEREST: https://pinterest.com/craftedworkshop


