Europe style for SV-666 Neutral silicone sealant for Palestine Importers

Short Description:
Description SV-666 neutral silicone sealant is a neutral curing glue single component, the modulus of the. It is specially designed for windows and doors caulking sealing general plastic doors and windows. It has good adhesion to glass and aluminum alloy, and has no corrosion. Where to use It is fit for multiple purpose sealing and bonding applications to form a silicone rubber adhering to adjacent substrates e.g. glass, ceramic, tile, wood and metal. Key Features 1. 100% silicone 2. Eas...
The very rich projects management experiences and one to one service model make the high importance of business communication and our easy understanding of your expectations for Europe style for SV-666 Neutral silicone sealant for Palestine Importers, We welcome new and old customers from all walks of life to contact us for future business relationships and mutual success!
Description
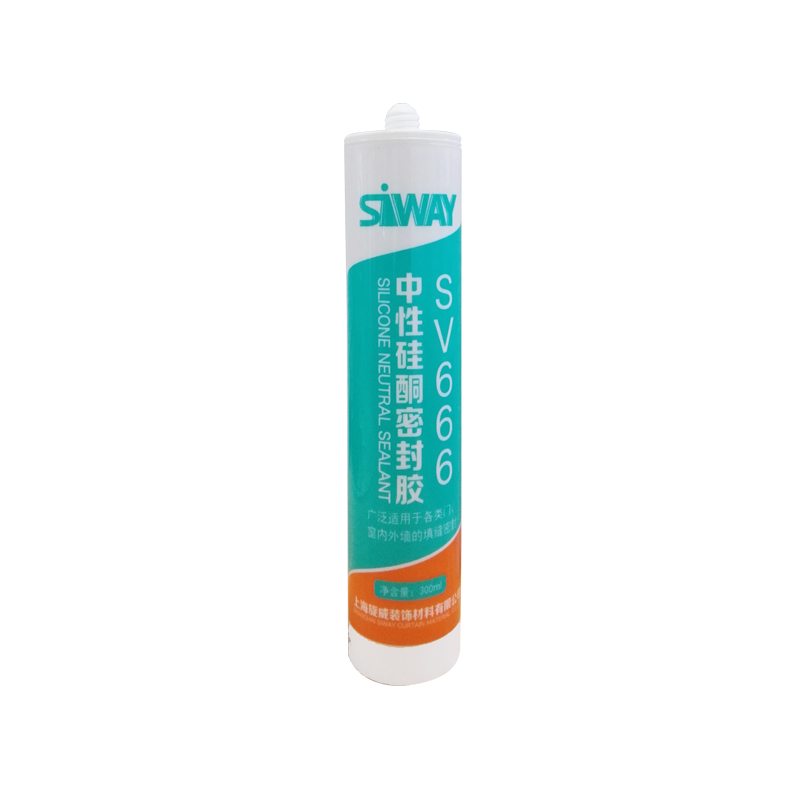
SV-666 neutral silicone sealant is a neutral curing glue single component, the modulus of the. It is specially designed for windows and doors caulking sealing general plastic doors and windows. It has good adhesion to glass and aluminum alloy, and has no corrosion.
Where to use
It is fit for multiple purpose sealing and bonding applications to form a silicone rubber adhering to adjacent substrates e.g. glass, ceramic, tile, wood and metal.
Key Features
1. 100% silicone
2. Easy to use
3. Waterproofing and weatherproofing
4. Primerless adhesion to most building materials
5. 12.5% movement capability
Technical data sheet
| Test standard | Test project | Unit | value |
| Before curing——25℃,50%R.H. | |||
| GB13477 | Flow, sagging or vertical flow | mm | 0 |
| GB13477 | surface drying time(25℃,50%R.H.) | min | 30 |
|
GB13477 |
Operating time | min | 20 |
| Curing time(25℃,50%R.H.) | Day | 7-14 | |
| Sealant curing speed and operating time will have different with different temperatures and temperature, high temperature and high humidity can make sealant curing speed faster, rather low temperature and low humidity are slower.21 days after curing——25℃,50%R.H. | |||
| GB13477 | Durometer Hardness | Shore A | 28 |
| GB13477 | The ultimate tensile strength | Mpa | 0.7 |
| Temperature stability | ℃ | -50~+150 | |
| GB13477 | Movement capability | % | 12.5 |
Certification
JC/T881-2001 12.5E;GB/T14683-2003 12.5E
Color
Black,White,Gray
Package
300ml in cartridge * 24 per box, 590ml in sausage *20 per box
Shelf life
12 months
Note
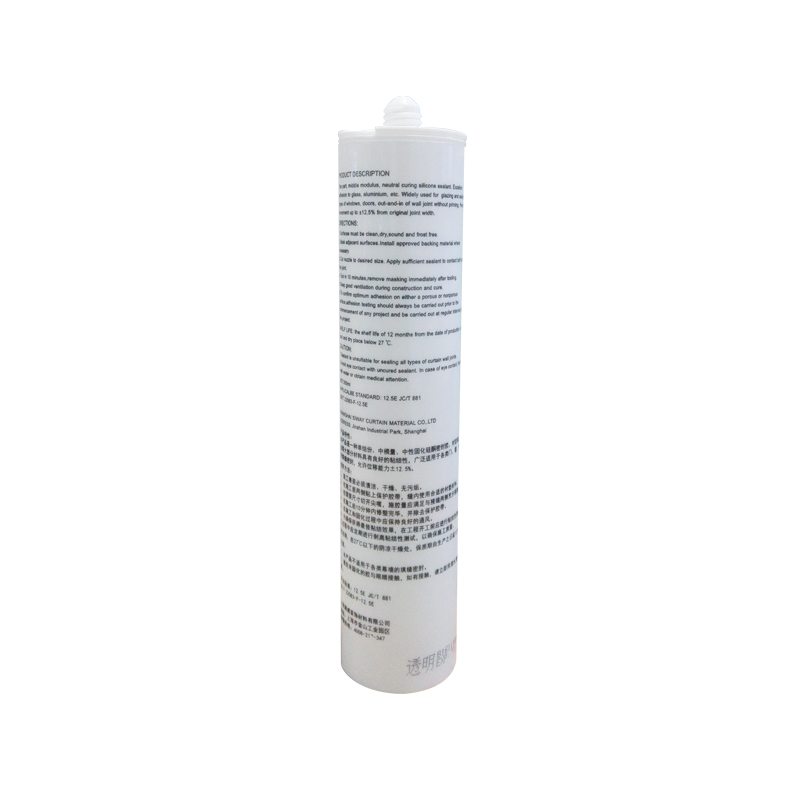
If you want the TDS or MSDS or other details, please contact with our sales person.
Visit Fixez.com for all of the DIY Galaxy S7 Edge replacement screens, parts and tools you need to fix your Samsung cell phone quickly, and affordably. https://www.fixez.com/store/samsung/samsung-galaxy-s7-edge
If you need your S7 Edge repaired ASAP instead- we have you covered there too. Contact one of our skilled technicians at 866-233-6460 or support@fixez.com and they will fix your Samsung device for you. They are available Monday – Friday, 9am to 5pm PST.
Subscribe to our YouTube Channel for additional DIY smartphone and tablet teardown and repair videos! https://www.youtube.com/channel/UCDJrZCUtdJQaJq0akRCt3Ng
Like us on Facebook: https://www.facebook.com/fixez.com
Follow us on Twitter: https://twitter.com/fixezdotcom
Samsung Galaxy S7 Edge Screen Repair, Teardown and Reassemble Guide Video Transcription:
Warning:
You are performing this repair at your own risk
We claim no responsibility for any damages that might occur
Find the premium tools used during this DIY repair here: https://www.fixez.com/categories/repair-tools
Step 1
Power down your Samsung Galaxy S7 Edge phone.
Step 2 (Samsung Galaxy S7 Edge SIM Card and microSD Card Tray)
Remove the Nano SIM card and microSD card tray.
Step 3 (Samsung Galaxy S7 Edge Rear Panel)
The Samsung Galaxy S7 Edge rear panel is glued on solidly and is a tight fit within the frame. Apply heat to soften the adhesive.
With the precision knife create enough space to insert a playing card.
Use playing cards to slice through the adhesive and help carefully separate the rear panel from Galaxy S7 Edge phone. Apply additional heat as needed.
Step 4 (Samsung Galaxy S7 Edge Antennas, Wireless Charging Coil and Loudspeaker)
Remove the following 12 Phillips screws.
With the spudger, pry up and remove the 3 modular pieces. These individual components are connected to the motherboard by way of tiny spring contacts, they include the S7’s antennas, loudspeaker, and wireless charging coil.
Step 5 (Samsung Galaxy S7 Edge Battery)
Detach the S7Edge battery from the motherboard.
The battery is well wedged and adhered in place. Use triangle opening tools to work around the battery and set it free from the adhesive securing it to the frame.
Remove the 3000 mAh Galaxy S7 Edge battery from the phone.
Step 6 (Samsung Galaxy S7 Edge Motherboard)
Disconnect the bevy of cables from the Galaxy S7 Edge motherboard.
Lift up the motherboard and detach the daughterboard connector on its underside, then remove it from the smartphone.
Step 7 (Samsung Galaxy S7 Edge Front-Facing Camera and Rear-Facing Camera)
Detach and remove the S7 Edge 5-megapixel front-facing selfie camera.
With the spudger, detach the 12-megapixel Galaxy S7 Edge rear-facing camera and remove it from the motherboard.
Step 8 (Samsung Galaxy S7 Edge Vibrator, Earpiece Speaker and
With the tweezers, carefully remove the S7 Edge spring-contact applied vibrator.
Pry up and remove the earpiece speaker.
Use the tweezers to peel up and remove the proximity sensor, ambient light and notification LED cable.
Step 9 (Samsung Galaxy S7 Edge Power Button Cable and Volume Buttons Cable)
Remove the power button cable, and then the bracket from the side of the S7 Edge frame.
Utilizing the tweezers, pry up the volume buttons cable, followed by the small bracket, and remove them from the S7 Edge phone.
Step 10 (Samsung Galaxy S7 Edge Headphone Jack)
Disconnect the signal cable and headphone jack cable from the S7 Edge daughterboard.
Remove the following Phillips screw.
Easily remove the S7 Edge headphone jack, complete with rubber seal.
Step 11 (Samsung Galaxy S7 Edge LCD Screen and Digitizer Assembly)
Use the heat gun warm up the adhesive securing the Galaxy S7 Edge LCD and digitizer assembly to the frame.
With the precision knife, carefully create separation and insert a playing card to start slicing through the adhesive.
Take your time and apply additional heat as needed.
Once you have sliced through the adhesive, be mindful of the home button and bottom soft buttons when decoupling the S7 Edge display assembly from the frame.
Step 12 (Samsung Galaxy S7 Edge Home Button)
Peel up the adhesive securing the S7 Edge home button cable to the frame.
Feed the cable thru the frame and remove the home button.
Step 13 (Samsung Galaxy S7 Edge Micro USB Port, Microphone and Soft Button Cables)
Peel up the S7 Edge soft button LED cables.
Remove the following 2 Phillips screws.
With the tweezers, carefully remove the Samsung Galaxy S7 Edge micro USB Port assembly from the frame. The assembly also includes the primary microphone and soft button cables.


