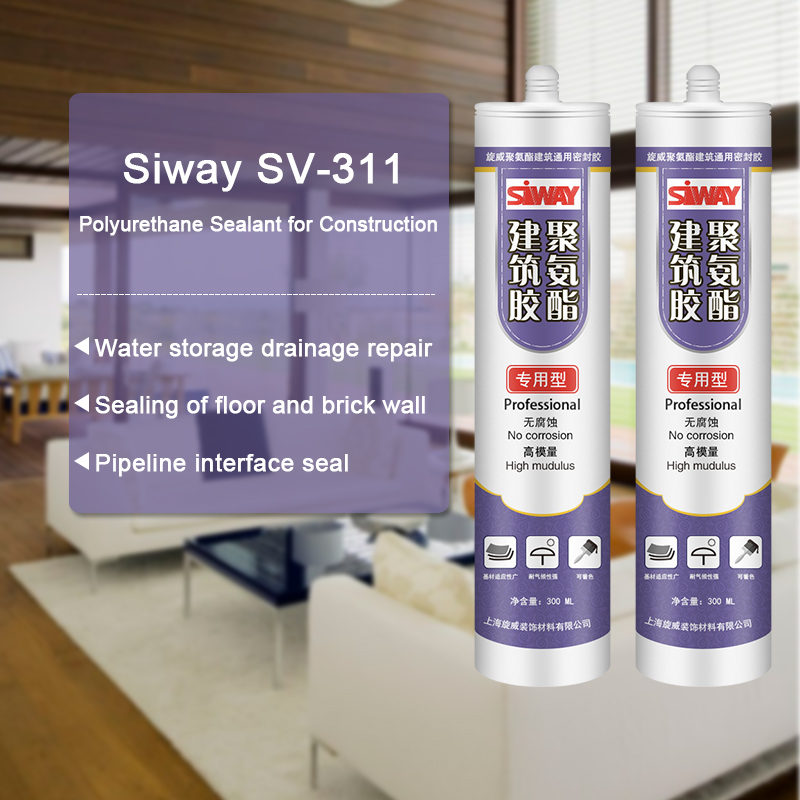
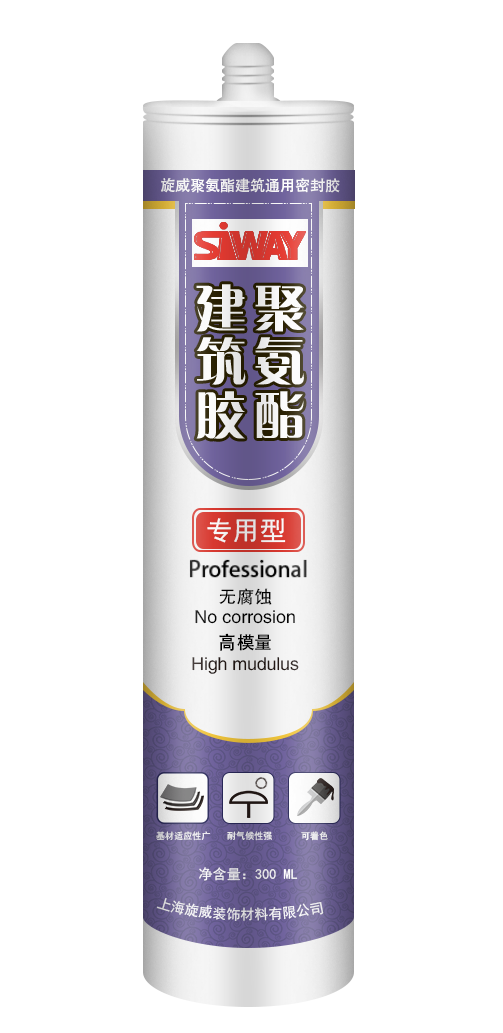
Europe style for SV-311 Polyurethane Sealant for Construction to Russia Factories
Short Description:
Description SV-311 is a one component polyurethane high modulus flexible sealant formulated as reliable bonding adhesive and joint sealant for construction industry, particularly where a higher modulus and lower movement capacity are required for joints with low or medium movement, e.g. connection joints between floor/stairs and wall, connection joints between floor and machinery, seam sealing / sealing of pipe ducts / ventilation systems, multipurpose joints in metal and wood construction w...
With our leading technology as well as our spirit of innovation,mutual cooperation, benefits and development, we will build a prosperous future together with your esteemed company for Europe style for SV-311 Polyurethane Sealant for Construction to Russia Factories, We sincerely welcome you come to visit us. Hope we have good cooperation in the future.
Description
SV-311 is a one component polyurethane high modulus flexible sealant formulated as reliable bonding adhesive and joint sealant for construction industry, particularly where a higher modulus and lower movement capacity are required for joints with low or medium movement, e.g. connection joints between floor/stairs and wall, connection joints between floor and machinery, seam sealing / sealing of pipe ducts / ventilation systems, multipurpose joints in metal and wood construction work.
Key Features
1. Non-sag consistency
2. Excellent adhesion to most common building materials
3. High tear strength
4. High tensile strength
5. Less fluid migration to porous material
Technical data sheet
| Test standard | Test project | Unit | value |
| GB13477 | density | g/m³ | 1.20±0.1 |
| GB13477 | Flow, sagging or vertical flow | mm | 0 |
| GB13477 | surface drying time(25℃,50%R.H.) | min | 30 |
| Curing speed | mm/24h | 3 | |
| GB13477 | Durometer Hardness | Shore A | 25-35 |
| GB13477 | 100% tensile strength | Mpa | ≤0.4 |
| GB13477 | The elastic recovery rate | % | 80 |
| Maximum seam width | mm | 35 | |
| Minimum seam width | mm | 8 |
Color
White, black, grey
Package
300ml plastic cartridges and 600ml in sausage
Shelf life
9 months
Note
If you want the TDS or MSDS or other details, please contact with our sales person.
Making a Cavity Pour Mold with Mold Max 30 RTV Silicone Rubber from Smooth-On.
Our model is a hand-carved hard wood 3-dimensional figure. Drill an air release hole in to the middle of a baseboard. Secure model to baseboard with screws. Apply plastic wrap to the original model to protect the surface. Cover the model with 1/2-inch (1.3 cm) clay blanket. Create a 2-inch (5.1 cm) flange for registration. Build a 3-inch (7.6 cm) clay dividing wall and apply clay supports. Drill indentations in the baseboard to register shell. Build a clay pour spout and a 1/2-inch clay dam. Apply Sonite Wax to baseboard and then apply Ease Release 200 to the entire surface.
Measure and mix duoMatrix NEO with a mix ratio of 2A:1B. Combine parts and mix thoroughly. For the first layer, apply a detail coat to the first half. Measure and mix duoMatrix NEO with chopped fiber. Apply this as the second layer. Apply a third layer of duoMatrix NEO without chopped fiber. A wood support leg is attached using duoMatrix NEO. Let cure for one hour.
Once the NEO has cured, remove the dividing wall. Drill indentations into shell for registration. Build a clay dam and pour spout. Apply Sonite Wax to baseboard and exposed shell and then apply Ease Release 200 to the entire surface. Measure and mix NEO for the second half of the support shell, following the same procedure used to create the first half. Again, a wood support leg is attached using NEO and the shell is allowed to cure one hour at room temperature. A rasp is used to create a smooth flange edge, and then three holes are drilled through the support shell. Bolts will help secure the support shell during casting.
Demold the support shell halves, remove the plastic wrap from the model, and then remove clay from the support shell. Create vent holes in support shell to allow air to escape. A 1/4-inch (6 mm) drill bit is used to drill holes through the support shell for a total of six air vents. Apply release agent to both the model and support shell. Register the support shell over the model and secure. Use bolts to hold the support shell halves together. Drywall screws are used to secure the support shell to the baseboard. Seal all seams with a hot glue gun. Place drinking straws into pre-drilled holes for air release, using clay to help secure and seal the straw. Only 1/4-inch of the straw will go into the support shell. IMPORTANT: Do not allow the drinking straws to touch the model. Trim the top two straws for easier access to the pour spout.
Measure and mix Mold Max 30 silicone rubber. Then vacuum the Mold Max 30. After vacuuming, pour Mold Max 30 into the pour spout. Cap the top of the straws with clay to stop the flow of rubber, saving material. Continue to pour rubber until the cavity is filled. Let Mold Max 30 rubber cure for 16 hours at room temperature. Once cured, remove the support shell and rubber mold from the model. Perfect detail is captured from the original model.
How to cast into the mold:
The mold is first primed with auto body primer. Smooth-Cast 300 liquid plastic is measured, mixed, and poured into the mold. After three minutes, the liquid plastic turns to a solid. Let Smooth-Cast 300 cure for 10 minutes at room temperature. Remove the support shell and demold casting. A perfect reproduction! The casting is ready to be painted.
Make It Now! with Smooth-On
https://www.smooth-on.com/
https://www.facebook.com/SmoothOn
https://twitter.com/SmoothOn
https://www.google.com/+smoothon
How to remove paint, carpet glue, mastic, sealer, epoxy and polyurethane from a concrete floor using a concrete grinder. Also includes advice and what you need to choose the right Concrete Grinder.
For more information visit us at https://bit.ly/1XnZoSX
Or call 1-800-997-3873
Alternative removal product – https://sealgreen.com/cleaners/coatings-and-mastic-removers/


