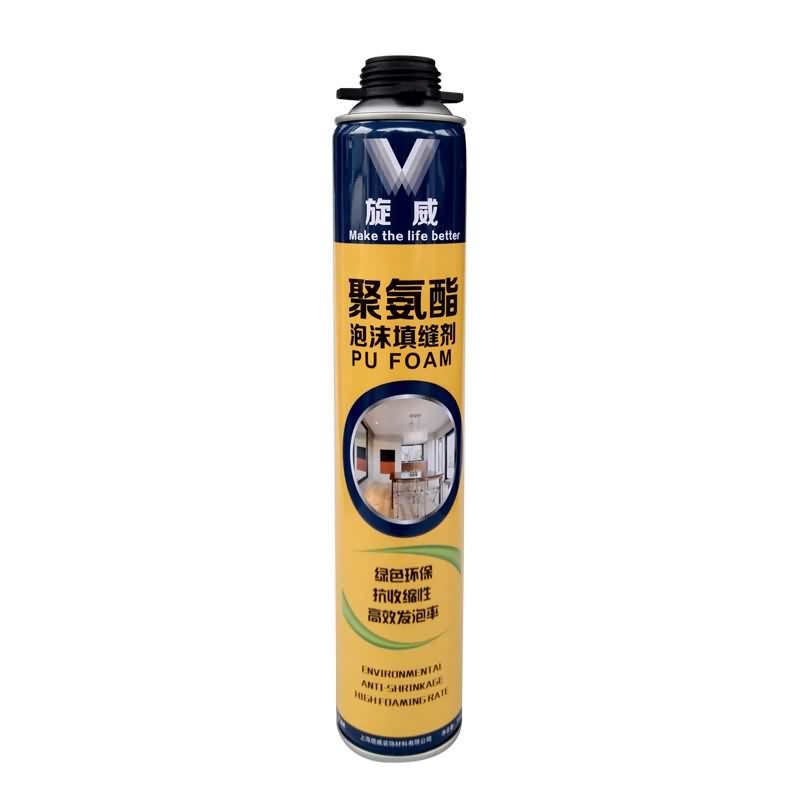
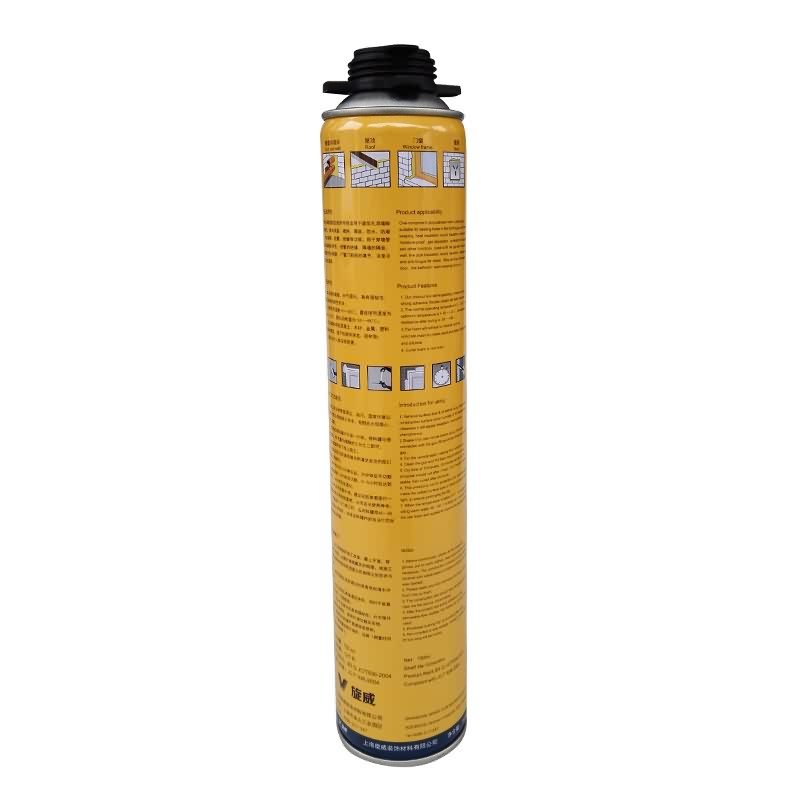
Competitive Price for Siway PU FOAM for Borussia Dortmund Factories
Short Description:
Description This product is the expansion, moisture curing, has the strong cohesiveness, elastic foam obturator structure; Save work to save time, reduce waste; High bond strength; Bubble can stick in the concrete, wood, metal, plastic, such as base material surface, but not including teflon, silicon resins; Key Features 1. Noise silencing effect 2. Strong bonding strength 3. Water & weatherproof 4. Primerless adhesion to most building materials Basic Application 1.Doors and Windows a...
Persisting in "High quality, Prompt Delivery, Competitive Price", we have established long-term cooperation with clients from both overseas and domestically and get new and old clients' high comments for Competitive Price for Siway PU FOAM for Borussia Dortmund Factories, Our tenet is 'Reasonable prices, efficient production time and best service .' We hope to cooperate with more customers for mutual development and benefits.
Description
This product is the expansion, moisture curing, has the strong cohesiveness, elastic foam obturator structure; Save work to save time, reduce waste; High bond strength;
Bubble can stick in the concrete, wood, metal, plastic, such as base material surface, but not including teflon, silicon resins;
Key Features
1. Noise silencing effect
2. Strong bonding strength
3. Water & weatherproof
4. Primerless adhesion to most building materials
Basic Application
1.Doors and Windows and wall body between the gap filling sealing, fixed bond
2.Language lab, studio, etc when decorating, gap to fill
Technical data sheet
|
Project |
Value |
||
|
Density, Kg/m³,Not less |
10 |
||
|
Thermal conductivity,35℃,W/(m·K) no more than |
0.050 |
||
|
Dimensional stability(23±2)℃,48,h no more than |
5 |
||
|
Operating temperature |
-10~+35℃ |
||
|
Optimum operating temperature |
+18~+25℃ |
||
|
Temperature range(After curing) |
-35~+80℃ |
||
|
Tensile bond strength kPa Not less |
Aluminum plate |
Standard condition,7d |
80 |
|
Immersion,7d |
60 |
||
|
PVC plate |
Standard condition,7d |
80 |
|
|
Immersion,7d |
60 |
||
|
Cement Plate |
Standard condition,7d |
60 |
|
|
Shear strength,kpa,Not less |
80 |
||
|
Foam expansion ratio,Not less |
Standard value-10 |
||
Certification
JC 936-2004
Color
White
Package
750ml in Bottle * 12 per box
Shelf life
12 months
Note
If you want the TDS or MSDS or other details, please contact with our sales person.
JetSeal
https://www.chemicalguys.com/ProductDetails.asp?ProductCode=WAC_118_16&Click=18676&utm_source=Social&utm_medium=YouTube&utm_campaign=WAC_118_16
JETSEAL109™ Protection Beyond Need, Shine Beyond Reason.
Jetseal109™ is a unique anti-corrosion sealant developed to provide the finest finish & protection available for paint, fiberglass, aluminum, chrome, alloy metals, and other substrates. Developed exclusively for the aerospace industry, JETSEAL109™ was engineered to provide the ultimate slick durable finish and multi layerable protection from the harshest environmental elements. Jetseal109™ is now available for automobiles in the same nano-tech ultra durable consistency.
This ability to chemical bond at a nano-tech scale allows the products to deliver superior results never before achieved from regular chemical formulations. Jetseal109™ is to be applied in 2 coats to assure proper coverage. Jetseal109™ will not crack, fade, discolor, or peel and can be used on all chrome, polished aluminum, Carbon Fiber, Carbon Fiber/Fiberglass Composites, Glass, Fiberglass, Gel Coated Fiberglass and even painted Plastic. Jetseal109™ delivers the finest shine and protection under the sun.
Check out our blog for clickable links to the items below!
Blog- https://www.heywandererblog.com/2017/06/diy-stock-tank-pool-everything-you-need.html
Instagram- www.instagram.com/heywanderer
E-mail- heywanderer@gmail.com
Things you will need:
- Stock tank (size of your choosing- ours is 8 ft.)
- Above Ground Pool Pump
- Weatherproof Silicone Sealant
- Hole Saw with Arbor
- Plunger Valves
- Pool Outlet
- 1-3 Rubber Washers (or Gaskets)
- 1 Strainer Nut
Other things you will need for maintenance:
- Chlorine Tablets
- Floating Pool Dispenser
- Water Testing Kit
Step 1- Find a nice level area to lay the stock tank on. If the area where you have chosen isn’t level, use sand or rocks to build up whatever side needs it. It is very important that your stock tank be level so there aren’t any unexpected leaks.
Step 2- Cut holes in your stock tank. I’m not going to lie- this is a pain in the butt. We bought a hole saw with an arbor and it took two people to get through the metal. You will need two holes, one at the top and one at the bottom. In an above ground pool, these aren’t usually right on top of each other, but ours are. We haven’t ever seen this as a problem.
Step 3- Start assembling the parts. In the pool pump package there is a packet with instructions, warnings and troubleshooting. This packet proved to be vital in the setup of the pool. I did end up getting 2 gaskets for the bottom section (the drain section), one for the inside of the pool and one for the outside. It only says you need one for the inside, but this was causing a drip for us. I also put thread seal tape around the connections that were closest to the pool. There are a lot of connections, and each one has a gasket, so you could probably get away without the tape. I didn’t put it on all the connections, the only ones that really seemed to matter were the ones that are connecting the hoses to the pool.
Step 4- Apply silicone waterproof sealant around all crevices involving the input and output parts. I did this on the inside of the pool and the outside. And I applied it VERY HEAVILY and did two layers, allowing one to dry before the second was applied. Sealing these crevices is one of the most important parts. This is what is going to keep the water in the pool. Well all of these steps are leading up to keeping water in the pool, but if there is any chance that it’s going to be getting out, this is what will save you.
Step 5- Test for leaks. Before I added water to the pool, I took a water bottle and poured a good amount of water on the input and output parts. You could also just use a water hose. I would make sure the hose wasn’t on full blast. You don’t want to accidentally penetrate the sealant.
Step 6- Once you are sure there aren’t any leaks, fill the pool just above the bottom hole/output. Check again to see if any leaks have started. If there aren’t any, fill the rest of the pool up!
Step 7- Turn the pump on. Make sure both plunger valves are open/unlocked. When you first do this water may not come out of the output, but there is a solution! Twist off the knob on top of the filter pump to let some air out. Some water may escape too and that’s okay, just be ready to screw it back on as soon as the water starts coming out.


