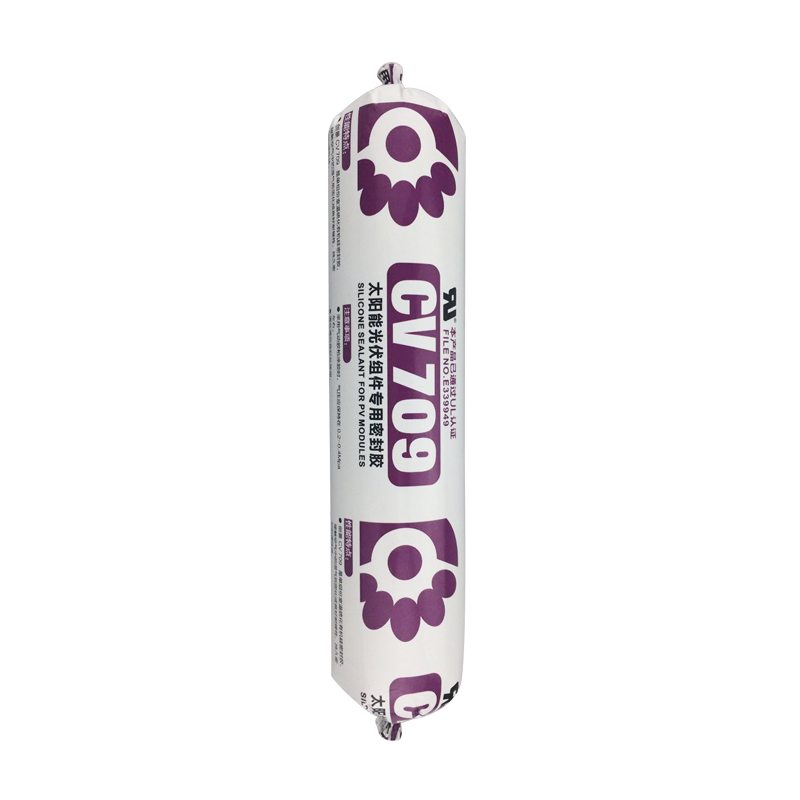
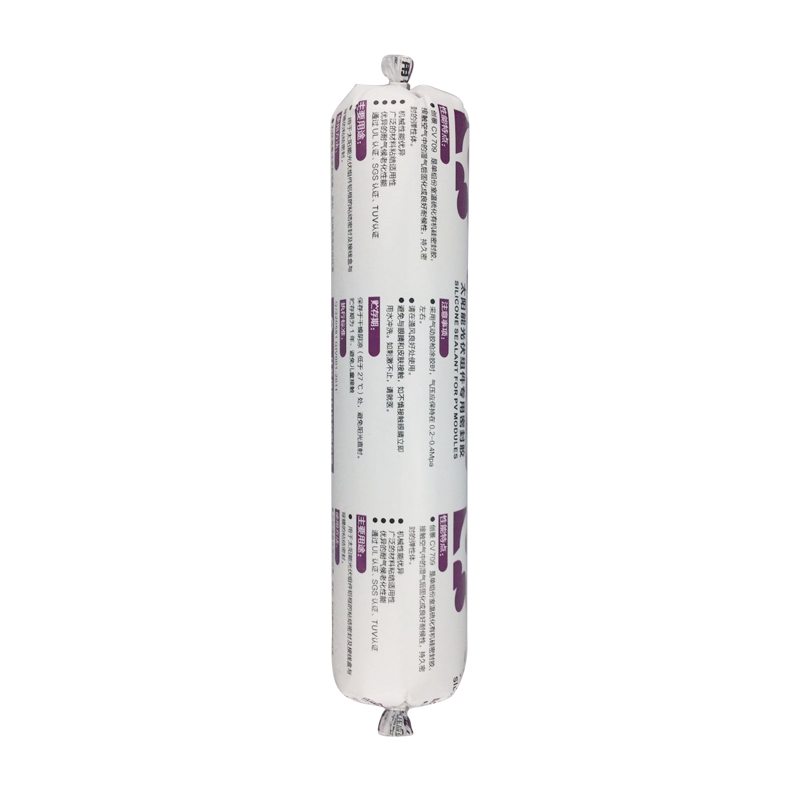
Chinese Professional CV-709 silicone sealant for PV moudels Export to Dominica
Short Description:
Description CV709 is a high-performance silicone sealant, one-component oxime type room temperature curing silicone rubber, has excellent weather resistance, high thixotropy, after curing for solar components involved in the base material has good caking property, by TUV for environmental requirements of the ROHS, UL E339949 Key Features 1. 100% silicone 2. No sag 3. high thixotropy 4. Water & weatherproof 5. For solar components involved in the base material has good bonding Basic Ap...
Reliable quality and good credit standing are our principles, which will help us at a top-ranking position. Adhering to the tenet of "quality first, customer supreme" for Chinese Professional CV-709 silicone sealant for PV moudels Export to Dominica, We are sincere and open. We look forward to your visit and establishing trustworthy and long-term standing relationship.
Description
CV709 is a high-performance silicone sealant, one-component oxime type room temperature curing silicone rubber, has excellent weather resistance, high thixotropy, after curing for solar components involved in the base material has good caking property, by TUV for environmental requirements of the ROHS, UL E339949
Key Features
1. 100% silicone
2. No sag
3. high thixotropy
4. Water & weatherproof
5. For solar components involved in the base material has good bonding
Basic Application
1.Solar module frame seal
2.The adhesive of the solar energy back to the terminal block
3.General industrial assembly with seal
Technical data sheet
| Test standard | Test project | Unit | value |
| Before curing——25℃,50%R.H. | |||
| specific gravity | g/ml | 1.34-1.40 | |
| GB13477 | Operating time | min | 15 |
| GB13477 | surface drying time(25℃,50%R.H.) | min | 40-60 |
| 3 days after curing——25℃,50%R.H. | |||
| Temperature range | ℃ | -55~200 | |
| GB13477 | Durometer Hardness | Shore A | 40~55 |
| The ultimate tensile strength | Mpa | ≥2 | |
| GB13477 | Breaking elongation | % | 300-600 |
| Aluminum bonding shear strength | Mpa | ≥1.5 | |
| Electrical properties | |||
| Breakdown voltage | Kv/mm | ≥20 | |
| Volume resistance | ohm.cm | 9E+14 | |
| Dielectric constant | 3.1@50Hz | ||
Certification
UL E339949; TUV
Color
Black, White
Package
300ml in cartridge * 24 per box, 500ml in sausage *20 per box
Shelf life
12 months
Note
If you want the TDS or MSDS or other details, please contact with our sales person.
How to install epoxy natural stone flooring
Everlast pebblestone is very easy to install.
Full instructions and tool list needed is here: https://www.everlastepoxy.com/pebblestone-river-rock/how-to-install
The first step is to prepare the concrete by removing any existing coating. You can rent this floor maintainer at almost any tool rental location, this one is available at home depot for $34 for 4 hours.
If you are removing a coating then get a coating removal attachment, for bare concrete use the concrete prep tool, for a plywood subfloor use 36 grit sandpaper.
The next step is to prime the floor. Unless your floor has a moisture problem – then don’t prime the floor. Call us about our Vapor Vent system, a concrete moisture solution.
For this project they used Everlast Outdoor Tough Weatherproof polyavastic because this epoxy natural stone flooring is exposed to sunlight and they want the floor to look nice for years. If they went with one of the UV resistant epoxies that other companies sell the protection would erode in a few months and the floor would turn yellowish and the finish would be chaulky. So they made the wise decision to use Everlast polyavastic and now their floor will look nice for years.
The next step is to pour out all of one unit of part B into one can of part A and blend well and then roll on the primer. Cut the primer with solvent. If you are using our outdoor polyavastic cut it with MEK, if our indoor epoxy cut with xylene.
Let the primer dry overnight.
Mark out your first section on the floor so you can make sure your gauge rake is set to the proper depth and that you get the correct coverage. You may need to mark out the next section before blending each new batch until you are confident that you are getting the right coverage. This is a patio so we are doing 3 foot by 8 foot sections of 24 square feet for each batch. This gives us a depth of 1/2 an inch.
Now you are ready to install the epoxy natural stone flooring. Pour out all of one unit of part B into one can of part A and blend well. Then pour 2 bags of pebbles into a $17 metal tub and pour the blended resin over the pebbles. Mix the resin in thoroughly with a mud mixing drill. Be sure to blend it thoroughly so that there are no dry patches of pebbles.
Pour out the pebbles and spread them with the gauge rake to get a uniform coverage inside the 24 square foot section.
Next even the pebbles out with a 16 inch finish trowel. We prefer the Marshalltown lightweight finish trowels. It is important to take your time and do a nice job. Try to have an even finish with no trowel marks or stray rocks sticking up. It is easy to do a nice job, but it does take extra time. If you try to hurry it will not look nice.
If you leave uneven areas or holes while you are installing epoxy natural stone flooring then after the floor is finished some of the pebbles could start coming out in those areas. So the better of a job you do troweling, the less likely you will have to patch the floor area later on.
The next step is to let the pebblestone get hard. Indoor epoxy will be cured the next morning. Outdoor polyavastic will take an extra day to cure.
The next step is to scrape off any stray pebbles that are sticking up and sweep or blow off the floor to remove the extra pebbles. Then mix up some more polyavastic or epoxy and roll a topcoat over the floor.
If you use an indoor epoxy topcoat it will be ready to walk on the next morning and the outdoor polyavastic topcoat will take an extra day to cure.
Now you will have the nicest looking floor in town, so be prepared to offer your services to your friends and neighbors! Have fun and enjoy!
To order your Everlast Pebblestone visit https://www.everlastepoxy.com/pebblestone-river-rock/natural-stone-flooring
Installing a bathroom vanity allows more storage in a limited space. Before you start, make sure the plumbing behind the wall is secure and that there are no leaks. Then, remove the old cabinet.
Tools and materials you’ll need:
- Caulking gun
- Drill
- Hole saw
- Level
- Measuring tape
- Pencil
- Safety glasses
- Screwdriver
- Stud finder
- Utility knife
- Wrench
- 3 in board screws
- Cabinet and countertop
- Silicone sealant for kitchen and bathroom
- Shims
More tips and tricks on bathroom renovations on rona.ca: https://bit.ly/XCYNuc


