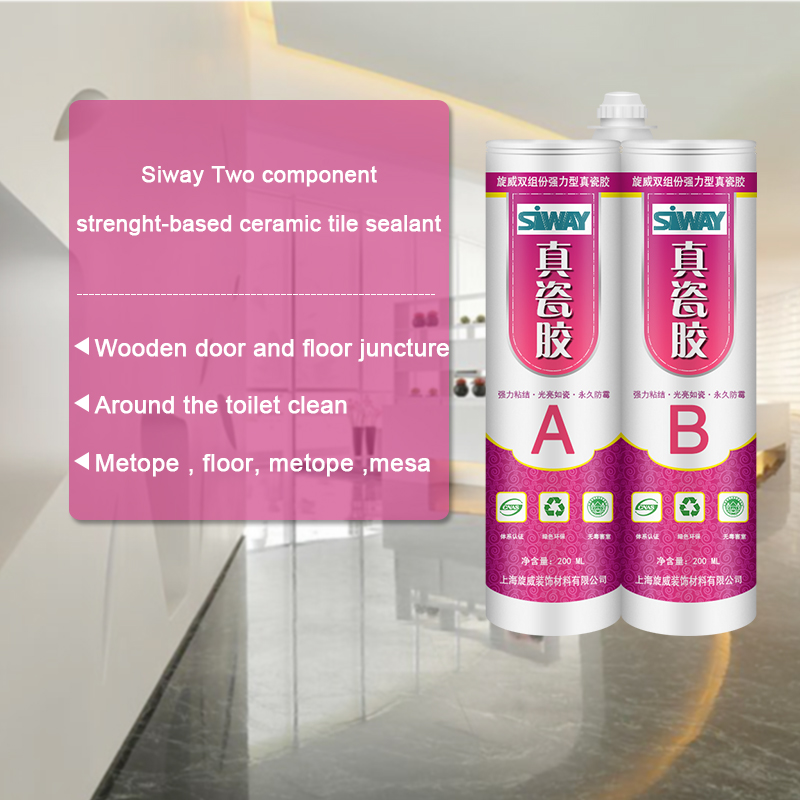
China wholesale SV-8800 Silicone Sealant for Insulating Glass Wholesale to Greenland

Short Description:
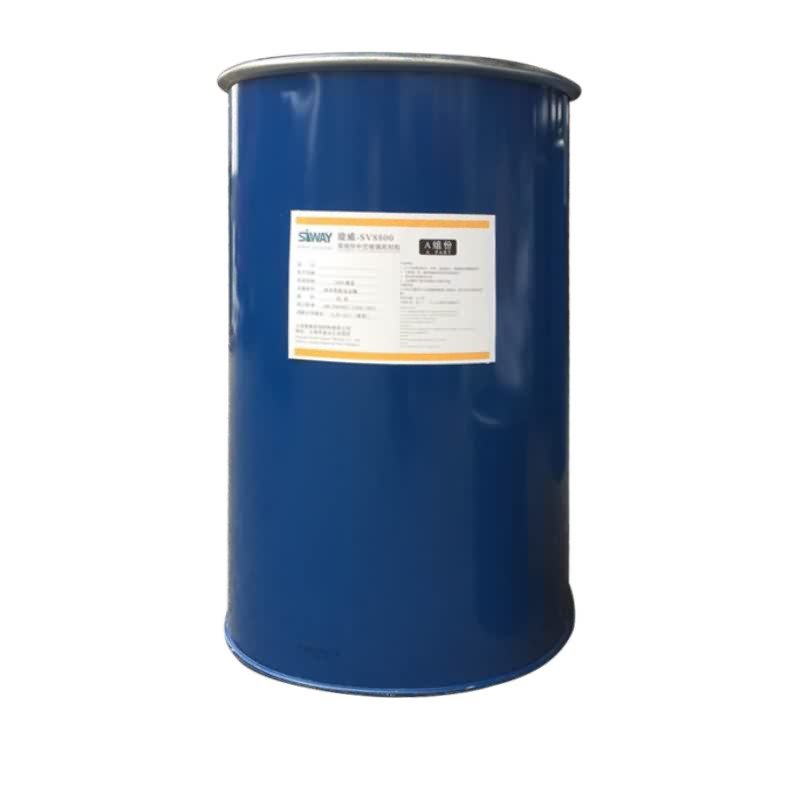
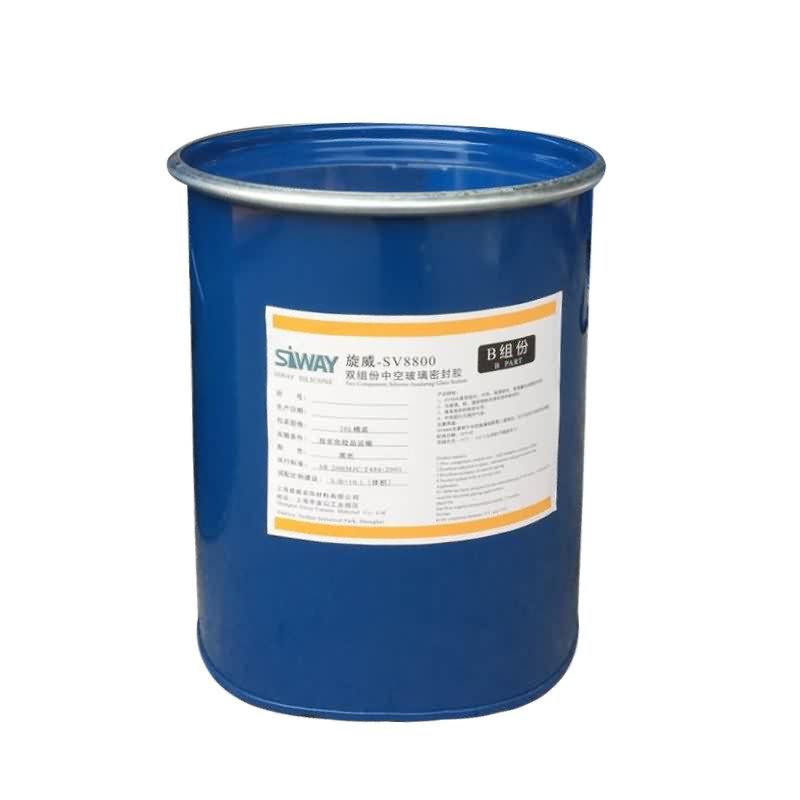
Description SV-8800 is two components, high modulus; neutral curing silicone sealant specifically developed for assembly of high performance insulated glass units as secondary sealing material. Where to use It is a two-component silicone that offers variable work life with high bonding strength to maintain the integrity of insulating glass unit, suits both commercial and residential IGU. Key Features 1. High Modulus 2. UV resistance 3. Low vapor and gas transmission 4. Primerless adhesion...
Our target is to consolidate and improve the quality and service of existing products, meanwhile constantly develop new products to meet different customers' demands for China wholesale SV-8800 Silicone Sealant for Insulating Glass Wholesale to Greenland, We appreciate your enquiry and it's our honor to work with every friend worldwide.
Description
SV-8800 is two components, high modulus; neutral curing silicone sealant specifically developed for assembly of high performance insulated glass units as secondary sealing material.
Where to use
It is a two-component silicone that offers variable work life with high bonding strength to maintain the integrity of insulating glass unit, suits both commercial and residential IGU.
Key Features
1. High Modulus
2. UV resistance
3. Low vapor and gas transmission
4. Primerless adhesion to coated glass
5. 100% compatible to SV-8890
Technical data sheet
| Test standard | Test project | Unit | value |
| Before curing——25℃,50%R.H. | |||
| GB13477 | Specific gravity(After mixing) | 1.33 | |
| GB13477 | Operating time | min | 20-40 |
| GB13477 | surface drying time(25℃,50%R.H.) | min | 80-188 |
| corrosivity | No | ||
| 7 days after curing——25℃,50%R.H. | |||
| GB/T 531 | Durometer Hardness | Shore A | 40 |
| GB13477 | The tensile modulus at 12.5% elongation | Mpa | 0.18 |
| The ultimate tensile strength | Mpa | 0.92 | |
| GB13477 | Elongation limit (fracture) | % | 150 |
Certification
GB-24266-2009;
Color
Component A(Base) – White, Component B(Catalyst)- Black
Package
1. Component A(Base): (190L), Component B(Catalyst) (18.5L)
2. Component A(Base):24.5kg (18L), Component B(Catalyst): 1.9kg (1.8L)
Shelf life
12 months
Note
If you want the TDS or MSDS or other details, please contact with our sales person.
Over time I’ve been noticing small cracks appearing on my Keystone Cougar fifth wheel trailers plastic fenders. The cracking is taking place around the screws holding the fenders to the trailer sidewall. It started off with one or two but is slowly progressing to more and more every year. If this kept up and left unchecked, I fear one day I’d lose a fender during travel.
So, I decided this summer to pull the fenders off and see what could be done to beef them up, stop the cracking and prevent a full on failure. A reader recently contacted me via email with some insight to the problem. He believes the cracking might be caused by the indented area for the screws not being flush with the backside.
Ray,
At the end of your shelf repair video, you showed a shot of the cracks around the mounting screws for the fenders.
I just removed the fenders from my trailer so I could caulk the steel wheel tubs to the side of the trailer.
Upon reinstallation of the plastic fenders, I noticed that the indents for the screws are not flush with the back side.
If you over tighten the screws it is going to crack the plastic.
There is room enough to put a washer between the fender and the sidewall.
You might be able to epoxy a washer on the back side to reinforce the plastic.
I enjoy your videos.
Arthur
I elected to take Arthur’s advice and use some washers on the back side of the fender behind the screw holes. Instead of using epoxy I chose to use SikaFlex 291 sealant. I embedded the washer into the Sikaflex and then applied a healthy layer of it all around the indented plastic area. On the front side of the fender behind each screw, I added a small rubber grommet.
Time will tell but I believe the repair and modifications made should help extend the life of my fenders and at least prevent a catastrophic failure at speed on a highway. If not, thanks to thunderbird97 on YouTube for pointing me to a website to order up a replacement set.
“thunderbird97 - Ray here is a website I ordered my fender skirts in case you need it, https://www.icondirect.com , the only difference was old ones were thicker, new ones are made out of better material, holes matched up perfect. Here is the Canada site www.icondirect.ca”
———————————–
Follow our RVing adventures at https://www.loveyourrv.com and https://rvhappyhour.com
Connect with Love Your RV!
Pinterest ► https://www.pinterest.com/loveyourrv
Google+ ► https://plus.google.com/+LoveYourRVonGPLUS
Facebook ► https://www.facebook.com/LoveYourRV
Twitter ► https://twitter.com/loveyourrv
Blog Feed ► https://feeds.feedburner.com/LoveYourRV
Monthly Newsletter ► https://www.loveyourrv.com/mailing-list-sign-up/
Don’t forget to Subscribe! ► https://www.youtube.com/subscription_center?add_user=LoveYourRV
Here are the items that I used to setup my Truck Bed Lights using LED Strips. I have linked you to the direct items at amazon so you can purchase them and receive free shipping.
Waterproof LED Light Strips (Double Intensity) — https://amzn.to/Iswa1W
Waterpoorf Heat Shrink Butt Splices — https://amzn.to/IgTtfK
Soldering Iron (the one I use) — https://amzn.to/1eqny76
Rocker Switches — https://amzn.to/18nME8j
Silicon Sealant — https://amzn.to/17Xg8cN
Digital Multimeter — https://amzn.to/1bVlKjo
That list should get you started, and you can use my video as a DIY How-to. There are many ways to tap into power for your Truck Bed Lights, but I chose the trailer harness. You can tap into rear lights, cargo lights, even run a wire directly from the battery if that is easier for you.