Bottom price for SV-8800 Silicone Sealant for Insulating Glass for Cologne Factories

Short Description:
Description SV-8800 is two components, high modulus; neutral curing silicone sealant specifically developed for assembly of high performance insulated glass units as secondary sealing material. Where to use It is a two-component silicone that offers variable work life with high bonding strength to maintain the integrity of insulating glass unit, suits both commercial and residential IGU. Key Features 1. High Modulus 2. UV resistance 3. Low vapor and gas transmission 4. Primerless adhesion...
Our eternal pursuits are the attitude of "regard the market, regard the custom, regard the science" and the theory of "quality the basic, trust the first and management the advanced" for Bottom price for SV-8800 Silicone Sealant for Insulating Glass for Cologne Factories, We warmly welcome you to establish cooperation and create a bright future together with us
Description
SV-8800 is two components, high modulus; neutral curing silicone sealant specifically developed for assembly of high performance insulated glass units as secondary sealing material.
Where to use
It is a two-component silicone that offers variable work life with high bonding strength to maintain the integrity of insulating glass unit, suits both commercial and residential IGU.
Key Features
1. High Modulus
2. UV resistance
3. Low vapor and gas transmission
4. Primerless adhesion to coated glass
5. 100% compatible to SV-8890
Technical data sheet
| Test standard | Test project | Unit | value |
| Before curing——25℃,50%R.H. | |||
| GB13477 | Specific gravity(After mixing) | 1.33 | |
| GB13477 | Operating time | min | 20-40 |
| GB13477 | surface drying time(25℃,50%R.H.) | min | 80-188 |
| corrosivity | No | ||
| 7 days after curing——25℃,50%R.H. | |||
| GB/T 531 | Durometer Hardness | Shore A | 40 |
| GB13477 | The tensile modulus at 12.5% elongation | Mpa | 0.18 |
| The ultimate tensile strength | Mpa | 0.92 | |
| GB13477 | Elongation limit (fracture) | % | 150 |
Certification
GB-24266-2009;
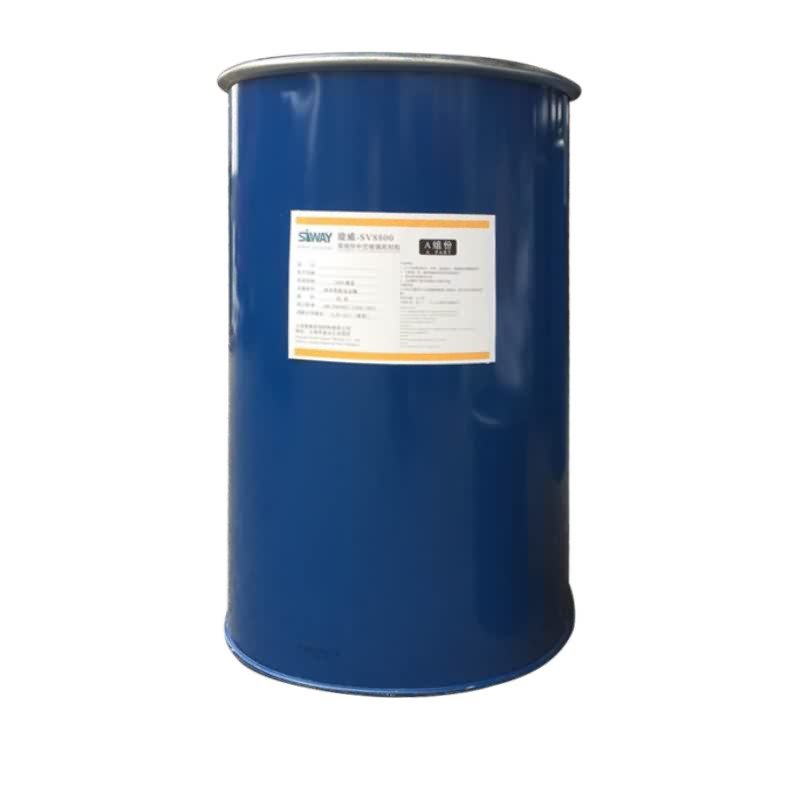
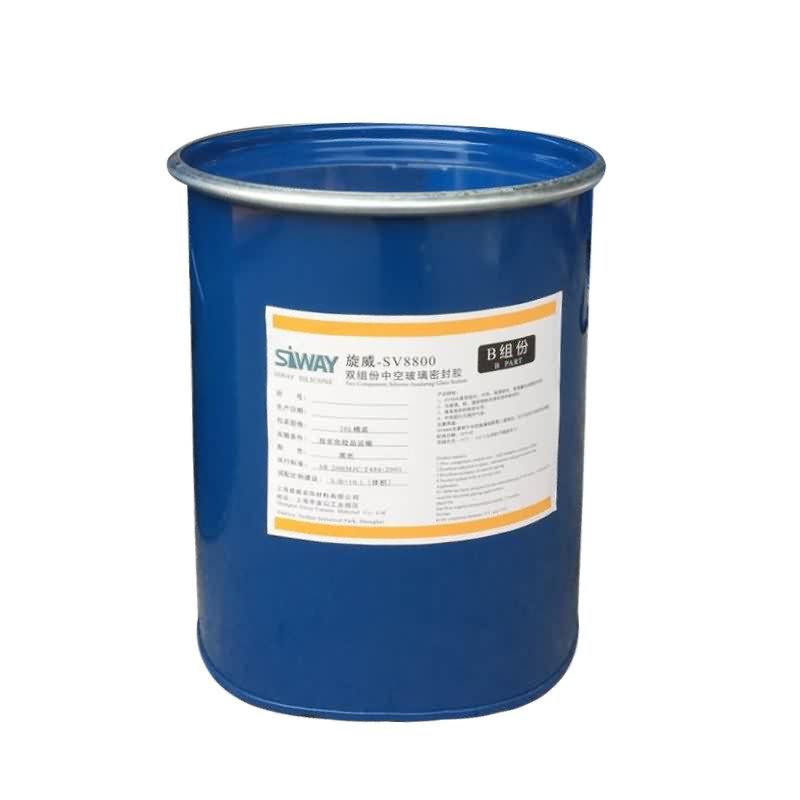
Color
Component A(Base) – White, Component B(Catalyst)- Black
Package
1. Component A(Base): (190L), Component B(Catalyst) (18.5L)
2. Component A(Base):24.5kg (18L), Component B(Catalyst): 1.9kg (1.8L)
Shelf life
12 months
Note
If you want the TDS or MSDS or other details, please contact with our sales person.
See the features and benefits of Sikalastic®-1K, a one component, highly elastic, cementitious fibre-reinforced mortar for the flexible waterproofing of concrete structures.
Corner detail – Fixing where drywall ties into the log, log corners, exterior saddles anywhere there are openings.
Finishing log home corners with caulk is simple following these instructions.
TRANSCRIPT:
Hi, my name is Scott, with Weatherall Company, and I’m going to quickly cover how you handle a corner detail. This is an example of where drywall ties into the logs. What I’m doing here can be used where you have log corners, log saddles on the exterior, doing any type of corner detail.
So first, if I have openings like that you see here, I need to throw a little bit of backer rod in there. It’s fairly simple to do. Just quickly cut off … I usually find bits of scraps of backer rod lying around, and I put them in there, make sure they’re flush. That piece right there might need a piece of round backer rod, and I will put that in there. A lot of times I will carry around just kind of a dull, heavy chisel, and that will help, usually just help push stuff in there.
Now that is actually fine and we’re good to go, but any area where it opens up, probably more than a quarter of an inch, you’re going to want to fill. Same goes for the logs. If the logs are cut back from the drywall, you’re going to want to cut a piece, fill it, make sure it’s flush, and then we’ll go ahead and chink it.
I am using my Albion caulking gun for this, with a half inch nozzle. That helps provide the best detail for these joints. You don’t need to go over a half inch. I see some people put large pieces of backer rod and they will chink that to about the same width of their horizontal joints and that is overkill. It’s probably not the best joint design. It’s much easier and better just to go with the smaller tip. I wouldn’t go under a half inch. I wouldn’t do a quarter or an eighth inch of material.
It really is about this simple. Nice thing about this gun is I can move it around, I can go upside down with it. Again, I’ve got a 45 degree tip and I’m trying to keep that tip perpendicular to my work surface, and try and put that stuff in there as perfect as I can because it just makes for finishing a lot easier. And it should really just go about this quick. Really, not that difficult.
Usually right about here I will stop, release the pressure on the gun, and start from the bottom. I have better control over the gun that way. I try to keep the material as flat as I can. If I hold the gun up like this, I get the material too thick. It’s going to be a lot harder to trowel. If I can keep that tip flat, it can be a lot easier to finish the material.
Once you get used to it, it goes fairly fast. Shouldn’t take a whole heck of a lot of time to do these joints. A lot of times they just blend right in with the drywall. Now, we’ll usually go right over the molding. See how this molding is scribed into the log? We’ll cover that as well.
And then to trowel it, I usually just use my finger. And if you’ve done a good enough job applying it, you don’t really have to fiddle with it for too much. I usually just spray a little on the material and just go right over the top of it. All you’re doing is just gently seating the material against the log.