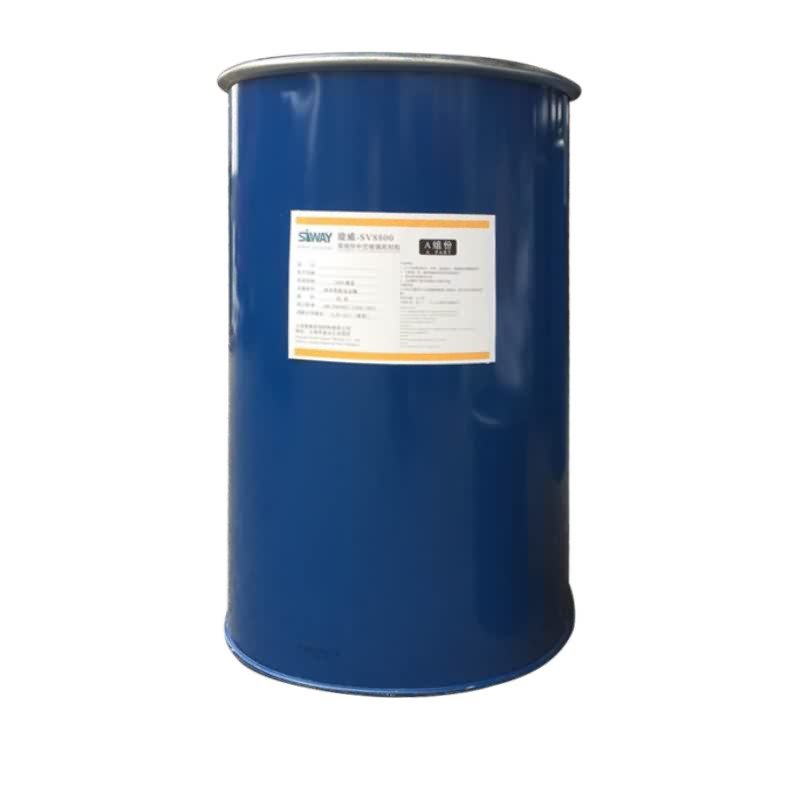
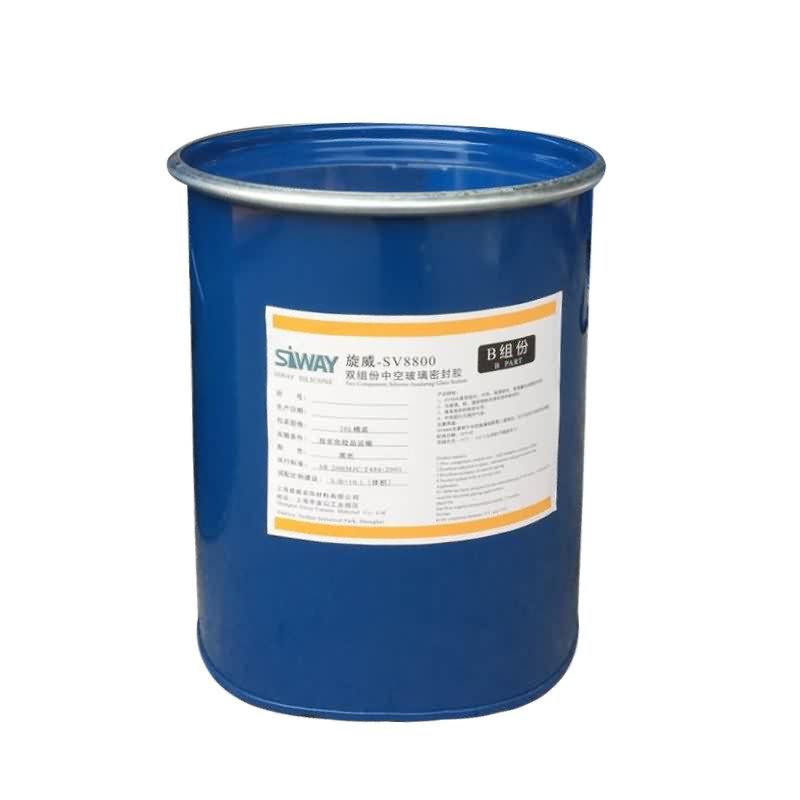
Big discounting SV-8800 Silicone Sealant for Insulating Glass to Tunisia Factory

Short Description:
Description SV-8800 is two components, high modulus; neutral curing silicone sealant specifically developed for assembly of high performance insulated glass units as secondary sealing material. Where to use It is a two-component silicone that offers variable work life with high bonding strength to maintain the integrity of insulating glass unit, suits both commercial and residential IGU. Key Features 1. High Modulus 2. UV resistance 3. Low vapor and gas transmission 4. Primerless adhesion...
Always customer-oriented, and it's our ultimate target to be not only the most reliable, trustable and honest supplier, but also the partner for our customers for Big discounting SV-8800 Silicone Sealant for Insulating Glass to Tunisia Factory, We welcome customers, business associations and friends from all parts of the world to contact us and seek cooperation for mutual benefits.
Description
SV-8800 is two components, high modulus; neutral curing silicone sealant specifically developed for assembly of high performance insulated glass units as secondary sealing material.
Where to use
It is a two-component silicone that offers variable work life with high bonding strength to maintain the integrity of insulating glass unit, suits both commercial and residential IGU.
Key Features
1. High Modulus
2. UV resistance
3. Low vapor and gas transmission
4. Primerless adhesion to coated glass
5. 100% compatible to SV-8890
Technical data sheet
| Test standard | Test project | Unit | value |
| Before curing——25℃,50%R.H. | |||
| GB13477 | Specific gravity(After mixing) | 1.33 | |
| GB13477 | Operating time | min | 20-40 |
| GB13477 | surface drying time(25℃,50%R.H.) | min | 80-188 |
| corrosivity | No | ||
| 7 days after curing——25℃,50%R.H. | |||
| GB/T 531 | Durometer Hardness | Shore A | 40 |
| GB13477 | The tensile modulus at 12.5% elongation | Mpa | 0.18 |
| The ultimate tensile strength | Mpa | 0.92 | |
| GB13477 | Elongation limit (fracture) | % | 150 |
Certification
GB-24266-2009;
Color
Component A(Base) – White, Component B(Catalyst)- Black
Package
1. Component A(Base): (190L), Component B(Catalyst) (18.5L)
2. Component A(Base):24.5kg (18L), Component B(Catalyst): 1.9kg (1.8L)
Shelf life
12 months
Note
If you want the TDS or MSDS or other details, please contact with our sales person.
https://www.sincosilicone.com/
Email: info@sincosilicone.com
offers a wide variety of contract manufacturing, assembly, molding and to better serve your needs.
If you cannot drain your aquarium to repair a leak from the inside, and you need to work from the outside, you have to beat hydraulic pressure.
The way you can do it, is by patching from bottom (where your leak is) to top.
1) Use a 2″ tape (scotch / masking / duct / whatever). See the patch in my other video: https://www.youtube.com/watch?v=3HRAjfYTesQ
2) patch this tape with a coat or 2 of a plastic bag.
3) put a stripe of silicone (any kind – since it’s external). Now your “bandaid” is ready.
4) put this patch on your Leakage in a way that the dripping is chased up. You cannot completely seal since hydraulic pressure is stronger than silicone. But the silicone is strong enough to push the water flow 1″-2″ up. Just make sure you chase the leak Upwards – not downwards, and not side ways.
5) every 20 minutes or so, you can take of your patch (the plastic bag helps here), and put a new patch, 2″ higher up (repeat steps 1-4) with a small overlap between the previous and the new silicone, so that you continue chasing upwards. If you miss (leak goes in another direction, repeat on this section, till you get it up).
6) as you go upwards, at some point the hydraulic pressure will be low enough that your leakage stops completely. even if you are not lucky, once you reach the top water level, the water pressure is 0, and your leakage will be over.
My leak was at the bottom front left side, and I had to work up slowly against 15″ of water (about 40cm on a 50cm deep aquarium).
When I started this, I did’t know how it was going to turn out. In hindsight I would of course drain 1/3 of the water or 1/5 of the water – anything that is doable without taking out the fish (my initial constraint) or impacting the bio-equilibrium. Doing this would reduce pressure and essentially make it easier (it would take less stages of 2″ patching).
As a conclusion, I can say that in any case drain your aquarium as much as you can – it will help.
Then, if your leak is situated above the water level – work from the inside, using aquarium safe silicone, and if your leak is below that, use the method in this video.
As this was my first external repair it doesn’t look nice, and possibly I could have tried with less silicone, or maybe I could have trimmed it afterwards. However right now I cannot afford the headace of causing a new leak just for the sake of aesthetics.


