30 Years Factory CV-709 silicone sealant for PV moudels for Mauritius Importers

Short Description:
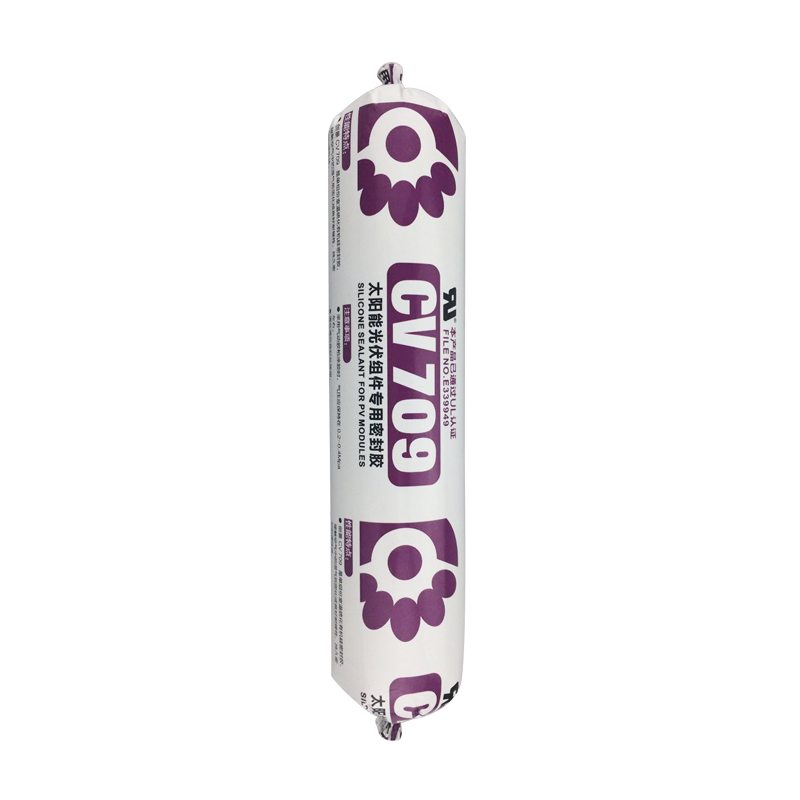
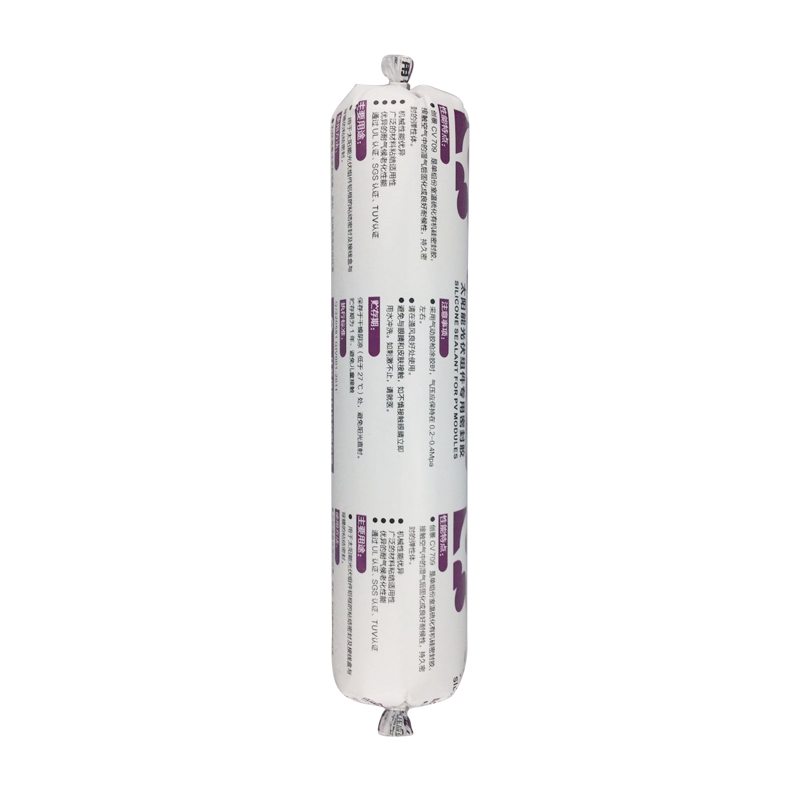
Description CV709 is a high-performance silicone sealant, one-component oxime type room temperature curing silicone rubber, has excellent weather resistance, high thixotropy, after curing for solar components involved in the base material has good caking property, by TUV for environmental requirements of the ROHS, UL E339949 Key Features 1. 100% silicone 2. No sag 3. high thixotropy 4. Water & weatherproof 5. For solar components involved in the base material has good bonding Basic Ap...
We pursue the management tenet of "Quality is superior, Service is supreme, Reputation is first", and will sincerely create and share success with all clients for 30 Years Factory CV-709 silicone sealant for PV moudels for Mauritius Importers, Our mission is to help you create long-lasting relationships with your clients through the power of promotional products.
Description
CV709 is a high-performance silicone sealant, one-component oxime type room temperature curing silicone rubber, has excellent weather resistance, high thixotropy, after curing for solar components involved in the base material has good caking property, by TUV for environmental requirements of the ROHS, UL E339949
Key Features
1. 100% silicone
2. No sag
3. high thixotropy
4. Water & weatherproof
5. For solar components involved in the base material has good bonding
Basic Application
1.Solar module frame seal
2.The adhesive of the solar energy back to the terminal block
3.General industrial assembly with seal
Technical data sheet
| Test standard | Test project | Unit | value |
| Before curing——25℃,50%R.H. | |||
| specific gravity | g/ml | 1.34-1.40 | |
| GB13477 | Operating time | min | 15 |
| GB13477 | surface drying time(25℃,50%R.H.) | min | 40-60 |
| 3 days after curing——25℃,50%R.H. | |||
| Temperature range | ℃ | -55~200 | |
| GB13477 | Durometer Hardness | Shore A | 40~55 |
| The ultimate tensile strength | Mpa | ≥2 | |
| GB13477 | Breaking elongation | % | 300-600 |
| Aluminum bonding shear strength | Mpa | ≥1.5 | |
| Electrical properties | |||
| Breakdown voltage | Kv/mm | ≥20 | |
| Volume resistance | ohm.cm | 9E+14 | |
| Dielectric constant | 3.1@50Hz | ||
Certification
UL E339949; TUV
Color
Black, White
Package
300ml in cartridge * 24 per box, 500ml in sausage *20 per box
Shelf life
12 months
Note
If you want the TDS or MSDS or other details, please contact with our sales person.
How to cast a reproduction concrete sink basin by making a 2-part Vytaflex urethane production rubber mold.
Step One: Construct Mold Box
Measure original sink basin. Use melamine board (formica coated) to make mold box segments, which will ensure easier separation from mold rubber.
Step Two: Create Spacer Board
Center model on board to use as a spacer board. Create perimeter outline for cutting. Center model on baseboard. Position spacer board and align with baseboard. Mark alignment point on baseboard and spacer board. Use modeling clay to create a gasket. Use non-sulfur based clay only. This will prevent rubber from going underneath model. Modeling clay will fill negative space between original model and spacer board. Remove excess clay.
Step Three: Acorn Nuts will be Used to Create Registration Keys
Hot melt glue will be used to secute acorn nuts. Place extra key for mold orientation.
Step Four: Assemble and Seal Mold Box
Screw melamine boards together with dray wall screws. Seal seams with hot melt glue.
Step Five: Release Mold Box and Model
Apply Universal Mold Release to all surfaces.
Step Six: Measure, Mix and Pour VytaFlex 40 Mold Rubber
VytaFlex 40 mix ratio: 1 part A to 1 part B by volume. Measure, mix, and pour the liquid rubber. Do not pour beyond sink hole. Let rubber cure for 16 hours at room temperature.
Step Seven: Prepare to Make Second Half of Mold
Use non-sulfur clay to fill in surface irregularities. Measure and cut reverse side baseboard. Secure reverse side baseboard. Turn over mold box. Remove original baseboard to expose concave half of model. Remove spacer board. Remove acorn nuts from rubber mold. Remove clay gasket. Remove clay residue.
Step Eight: Seal Drill Holes and Release Mold Box
Fill drill holes with non-sulfur clay. Seal seams with hot melt glue. Apply Universal Mold Release to all surfaces.
Step Nine: Measure, Mix and Pour VytaFlex 40 Mold Rubber
Let rubber cure for 16 hours at room temperature.
Step Ten: Demold Original Model
Remove mold box side walls. Gently pry original model to expose mold cavity. Concrete mold ready for casting.
Step Eleven: Casting Concrete
Apply In and Out II release agent to all surfaces. Secure 2-part mold with straps and baseboards. Place mold on vibration table. Fill mold with concrete and vibrate. Let concrete cure 24 hours.
Step Twelve: Demold Concrete Casting
A perfect concrete reproduction of the original. Concrete mold is ready to be cast again.
Make It Now! with Smooth-On
https://www.smooth-on.com/
https://www.facebook.com/SmoothOn
https://twitter.com/SmoothOn
https://www.google.com/+smoothon
How to create a concrete leaf casting, for decoration at home or in your garden. It’s as easy as making mud pies with Master Gardener A. Tice as she demonstrates how to create various leaf decorations. Background music: “Let It Whip” by Dazz Band— so, Let It Whip with your OWN concrete leaf design! Have Fun and create your own using a variety of leaf shapes!
Materials: Tools:
20# concrete vinyl patch old trowel
concrete bonding adhesive 5 Gal bucket
Liquid Cement Color (concrete dye-optional) several small buckets
40# play sand large plastic “Rubbermaid”
plastic wrap tub
old table old paint brush
water dust mask
large trash bags or plastic drop cloth vinyl (rubber) gloves
masking tape toothpicks
several leaves with few/no holes or tatters. wire cutters
18 G wire or PVC pipe pieces for mounting. pliers
Big Leaf option: concrete reinforcing fibers
***Leaves can wilt quickly, so if possible, cut them just before and keep them in a bucket of water until you are ready.
NOTE: some sources use 3 parts fine #1 sand to 1 part Portland cement instead of the vinyl concrete patch. I like the “patch” better as it’s easier and smoother.