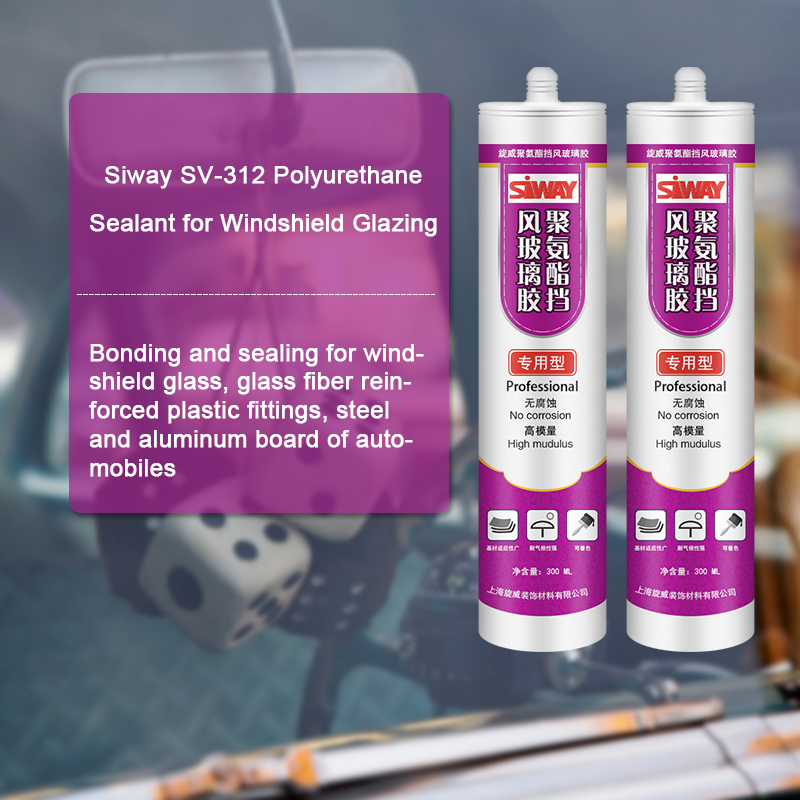
21 Years Factory SV-312 Polyurethane Sealant for Windshield Glazing Export to Grenada
Short Description:
Description SV-312 is an isocyanate-free, high modulus,non conductive, thixotropic, single component modified polyurethane adhesive, which polymerizes rapidly under the effect of atmospheric moisture. It has been specially designed for bonding of fixed glass in automotive repair. It allows a drive away time of 6 hours in vehicles with or without airbag. *Providing the ambient temperature is at least 23°C and relative humidity 50 %. At lower temperatures and humidities drive away time will be...
Our company has been focusing on brand strategy. Customers' satisfaction is our best advertising. We also supply OEM service for 21 Years Factory SV-312 Polyurethane Sealant for Windshield Glazing Export to Grenada, We sincerely welcome friends from all over the world to cooperate with us on the basis of long-term mutual benefits.
Description
SV-312 is an isocyanate-free, high modulus,non conductive, thixotropic, single component modified polyurethane adhesive, which polymerizes rapidly under the effect of atmospheric moisture. It has been specially designed for bonding of fixed glass in automotive repair.
It allows a drive away time of 6 hours in vehicles with or without airbag.
*Providing the ambient temperature is at least 23°C and relative humidity 50 %.
At lower temperatures and humidities drive away time will be longer.
Where to use
Bonding and sealing for windshield glass, glass fiber reinforced plastic fittings, steel and aluminum board of automobiles.
Key Features
a. Fast curing under room temperature, no sagging, solvent free
b. High bonding strength,
c. Good chemical and water resistance
d. No conductive
e. Excellent noise, vibration and impaction resistance
f. Automotive OEM quality
Technical data sheet
| Test standard | Test project | Unit | value |
| GB13477 | Flow, sagging or vertical flow | mm | 0 |
| GB13477 | surface drying time(25℃,50%R.H.) | min | 30 |
| Curing speed | mm/24h | 3 | |
| GB/T 531.1-2008 | Durometer Hardness | Shore A | 45 |
| GB/T 2793 | Non-volatile components | % | ≥96 |
| GB/T 528 | The tensile strength | Mpa | 2.5Mpa |
| GB/T 528 | Elongation at break | % | ≥400% |
| GB/T 528 | Tear strength | N/mm | ≥5.0 |
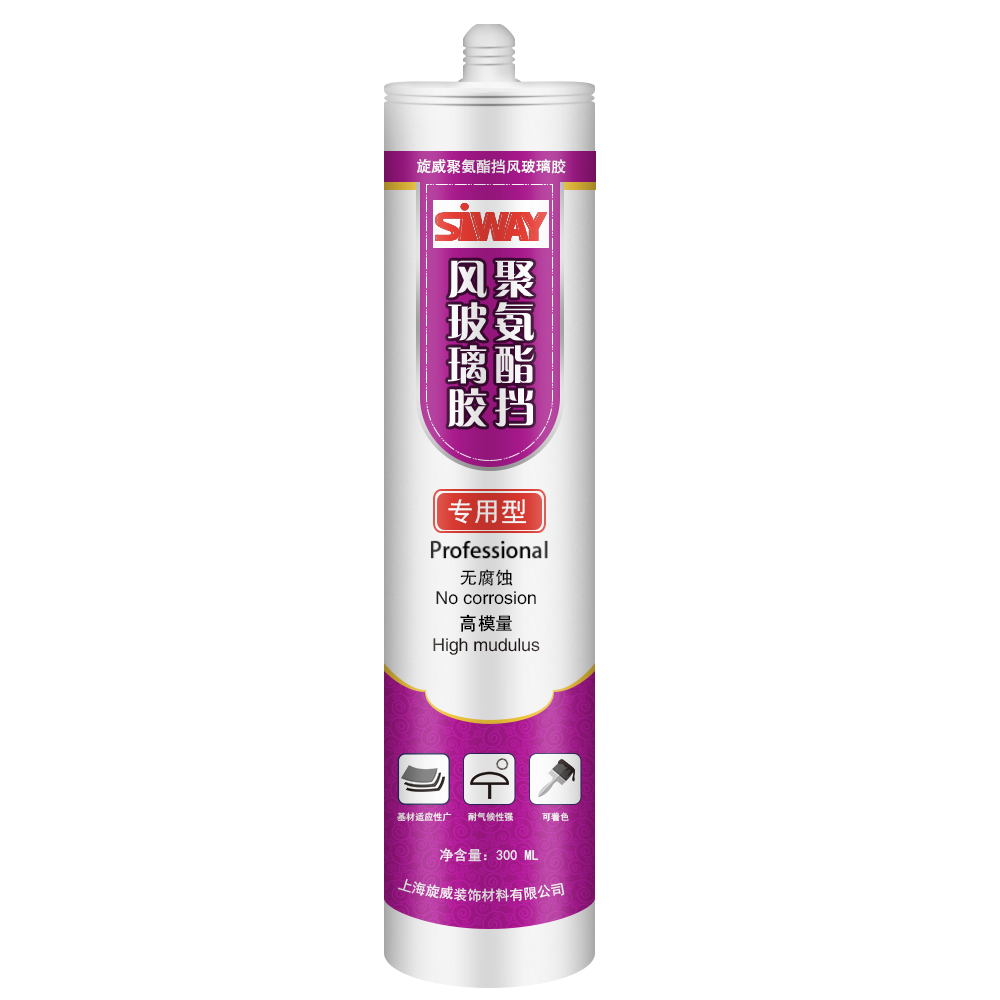
Color
White, black, grey
Package
300ml plastic cartridges and 600ml in sausage
Shelf life
9 months
Note
If you want the TDS or MSDS or other details, please contact with our sales person.
Walls and Floors have teamed up with BAL to bring you an easy-to-follow, step-by-step guide on how to waterproof a shower or wetroom, to get the area ready for tiling onto. Our professional tiler takes you through the process, and explains what he’s doing in layman’s terms.
If it’s time your bathroom had a refresh, and you’re looking to decorate your shower area, Walls and Floors have a great selection of tiles to choose from. We have thousands of stylish bathroom tiles – perfect for restrooms, water closets and en suites! The bath and shower area is a place where we can relax and underwind after a hard day’s work – that’s why it’s important that our bathrooms look nice. Moroccan Tiles are perfect for bringing a powerful, eye-catching, cultured appearance to your bathroom walls. Metro Tiles are also a winning choice when it comes to tiling a bathroom wall. For a textured, massaging feeling underfoot, try our River Pebble Tiles – sheets of smooth pebbles arranged in a mosaic formation. It’s important to use anti slip floor tiles when tiling a bathroom floor space. If you’re stepping in and out of the bath or shower with wet feet, you don’t want to slip over. Anti slip flooring adds a little more friction to your stride. Browse our selection of Bathroom wall and floor tiles now: https://www.wallsandfloors.co.uk/category/bathroom-tiles/
Waterproofing can be a less daunting task than it sounds, by using a product such as BAL Waterproofing Kit for Showers. It’s a simple, easy-to-use kit containing everything you need to waterproof the area.
When tiling any wet areas, for example the shower, or around a bath area, you must make some further considerations. Remember – grouts and adhesives are only water resistant and not waterproof. The main thing you need to do is waterproof the background that you’re going to be tiling onto.
In the video, our tiler uses in BAL WP1 kit. He shows you how to use it to waterproof your background, before you start to tile.
Before you begin, make sure you’ve got your safety wear on. Put on your gloves to protect your hands from any irritant substances, and wear goggles to prevent any nasty splashes from going in your eyes.
Also, make sure that you protect your shower tray. Put a protective sheet down. Make sure you mask up any fixtures or fittings that are exposed – such as the shower rail, etc. You’re then ready to start waterproofing the background.
Once you are happy that the background is in a fit and proper condition, and has been properly prepared, you can begin waterproofing. Firstly, pour some of the undiluted primer into a paint tray. And then, using a roller, simply paint the primer onto the walls. This will help remove surface dust, and will also aid adhesion. It is advised to start from the top of the wall and work down – just in case the primer slightly runs down the wall surface.
When priming, you should prime the walls the width of the shower tray and the height of the ceiling. This should be done on all walls that are in contact with the shower tray base. The primer is blue so that when you apply it to the walls, you can check that you have covered all areas. When the primer dries, the colour will fade. This should take approximately fifteen minutes, depending on the room temperature.
So once the primer is dry, you can then apply the WP1 coating to the same areas. Start by applying the coating first, fairly liberally – to all the corners, and where the walls meet the shower tray. Once this is done, cut the roll of tape to the required size, and place this into any corners and where the wall meets the tray. Push the tape to the wall; pushing out the air, and put another WP1 coating on top of the tape to secure in place.
When the first coat is dry, then apply a second coat of the waterproof coating. On the second coat, it is best to apply it to the wall in the opposite direction to that in which the first coast was applied. This will ensure that you have not left any gaps. So, all that’s left in the waterproofing kit is the polyester matting.
In the installation in the video, the tiler is working around a shower tray. It may be that you have a wet room floor, or a floor that has a timber construction. If this is the case, you can use the polyester matting, and apply in the same fashion, with the coating to add some strength and rigidity to the coating on the floor.
Once you’ve applied the second coat and this is dry, this will now be ready to tile and fully waterproof. However, we advise that you wait another 24 hours before you start to tile.
The last thing to remember is that on your final tile cut, you overlap the polyester tape. With a nice sharp Stanley knife, make sure you trim that off before undertaking any siliconing.
Have you determined that your Audi oil leak is coming from the valve cover gasket or cam chain tensioner gasket? This video demonstrates the basic overview of what will be involved when replacing leaking Audi valve cover gasket and cam chain tensioner gaskets. This is most easily done at the same time as a timing belt replacement – as many of the disassembly / assembly procedures are the same.
Blauparts informational pages also explain why these oil leaks happen (especially on V6 30 valve engines). If you’re getting ready to spend money on repairs associated with seals, gaskets, or breather hose replacement, please read more regarding Audi Vw oil leaks: https://bit.ly/1QlfdqS
This video shows a Audi Allroad with the 2.7T engine. The principles also apply to all VW Passat, Audi A4, A6, and S4 models with 2.8L or 2.7L 30 valve engines. Audis and VWs with a 1.8T or 4.2L engine also experience these same problem areas.
SHOP BLAU® Valve Cover & Cam Chain Gasket Kits: https://bit.ly/1T1tqdf
More Info on Audi VW Oil Leaks: https://bit.ly/1QlfdqS
Website: https://www.blauparts.com/


