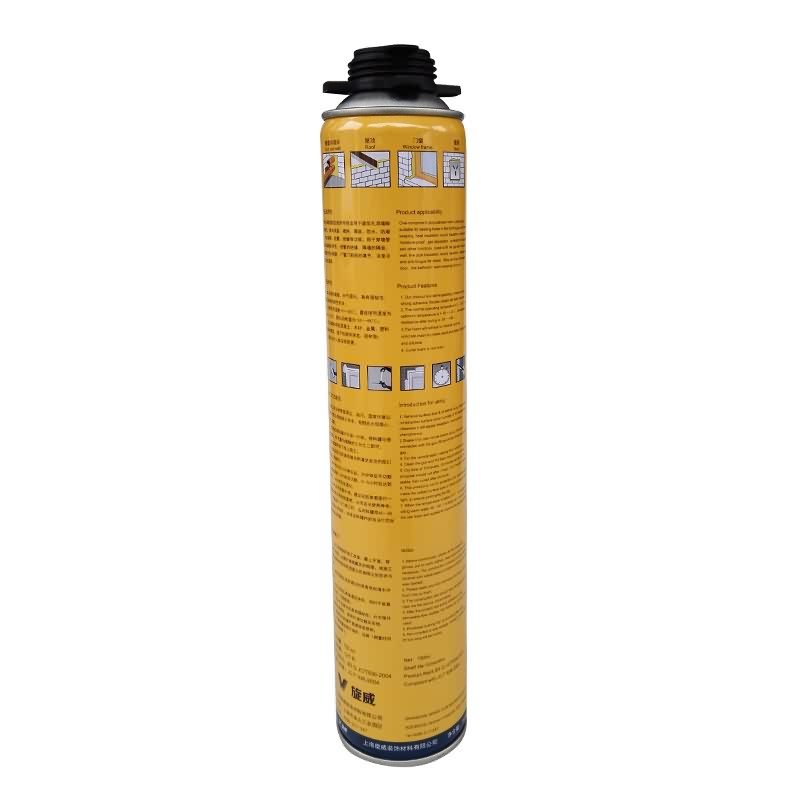
2017 New Style Siway PU FOAM for Istanbul Factory


Short Description:
Description This product is the expansion, moisture curing, has the strong cohesiveness, elastic foam obturator structure; Save work to save time, reduce waste; High bond strength; Bubble can stick in the concrete, wood, metal, plastic, such as base material surface, but not including teflon, silicon resins; Key Features 1. Noise silencing effect 2. Strong bonding strength 3. Water & weatherproof 4. Primerless adhesion to most building materials Basic Application 1.Doors and Windows a...
To be the stage of realizing dreams of our employees! To build a happier, more united and more professional team! To reach a mutual benefit of our customers, suppliers, the society and ourselves for 2017 New Style Siway PU FOAM for Istanbul Factory, Our tenet is clear all the time: to deliver high quality product at competitive price to customers around the world. We welcome potential buyers to contact us for OEM and ODM orders
Description
This product is the expansion, moisture curing, has the strong cohesiveness, elastic foam obturator structure; Save work to save time, reduce waste; High bond strength;
Bubble can stick in the concrete, wood, metal, plastic, such as base material surface, but not including teflon, silicon resins;
Key Features
1. Noise silencing effect
2. Strong bonding strength
3. Water & weatherproof
4. Primerless adhesion to most building materials
Basic Application
1.Doors and Windows and wall body between the gap filling sealing, fixed bond
2.Language lab, studio, etc when decorating, gap to fill
Technical data sheet
|
Project |
Value |
||
|
Density, Kg/m³,Not less |
10 |
||
|
Thermal conductivity,35℃,W/(m·K) no more than |
0.050 |
||
|
Dimensional stability(23±2)℃,48,h no more than |
5 |
||
|
Operating temperature |
-10~+35℃ |
||
|
Optimum operating temperature |
+18~+25℃ |
||
|
Temperature range(After curing) |
-35~+80℃ |
||
|
Tensile bond strength kPa Not less |
Aluminum plate |
Standard condition,7d |
80 |
|
Immersion,7d |
60 |
||
|
PVC plate |
Standard condition,7d |
80 |
|
|
Immersion,7d |
60 |
||
|
Cement Plate |
Standard condition,7d |
60 |
|
|
Shear strength,kpa,Not less |
80 |
||
|
Foam expansion ratio,Not less |
Standard value-10 |
||
Certification
JC 936-2004
Color
White
Package
750ml in Bottle * 12 per box
Shelf life
12 months
Note
If you want the TDS or MSDS or other details, please contact with our sales person.
Here I am doing basic glass cutting on a scrap piece of glass, actually it’s a mirror. For much more videos about basic glass cutting, etc. see the playlist: https://www.youtube.com/playlist?list=PL4A57AB2EFB9566F9&feature=plcp
Do not attempt to cut (pre) Tempered Glass, it cannot be cut and is designed to shatter to small pieces for safty purposes. You can cut (flat) Plate Glass.
The “glass cutter” does not actually cut through the glass, it just scratches or “scores” it, so it should be called either a “glass scratcher/scorer” or a “tool of glass cutting”.
The score is then used when you actually break or snap the glass along this “weakened” line (or even curves are possible). Technically, you try to “bend” both sides along the score downward to “open” (not compress) the crack up to the back side of the glass. In the vid. I show holding the piece of glass with my hands as a lot of people seem to do – especially with small pieces, but it’s safer to put the glass on a firm surface first and/or wear gloves.
To remove the sharp parts after cutting the glass, I used some sandstone I found down by the river. Just about any stone or cement will do, just dont use something too hard like smooth quartz since it tends to just “glide” over the glass. Use both straight and circular motion with the stone at about a 45 degree angle to the glass to bevel it to a non-sharp/thin semi-round surface. It is good though to have an electric grinder or rotary tool like a Dremel incase the break leaves some sizeable bumps of glass areas that would be difficult to grind by hand. If you dont have that, perhaps a larger piece of smooth cement might work ok.
Be sure to sweep up and vacuum any glass shards.
Note you can use a flat rule made of metal, wood, or plastic to guide the glass cutter, but be sure its not too thin since you do not want to damage the “cutting wheel” (the part that scores the glass) if it came in contact with metal.
About the tool I made; the ruler-straightedge with the rubber attached to the back. The rubber (or nylon) was cut from a bicycle inner-tube, and was attached with contact cement which is very sticky and somewhat flexible. This glue is sometimes called “rubber cement”. I got a tube for about $1. I also lightly scratched both surfaces of the rubber for better adhesion of the glue and for better “holding” ability on the glass. I guess you could also use some flat erasor type material too instead of the inner tube material. Silicone rubber or a thin coat or beads of dried caulking might be ok. Some tape can possibly be used to secure the straightrule, but you might have to clean up any residue left from the tape unless you put the tape right on the rule itself. When you cut the bicycle tube, avoid breathing the powder (usually talc or talcum), so rinse the tube segment with hot soapy water and let it dry.
Keep the “scoring wheel” oiled. I just keep/store that end in a glass with some clear oil in it. I use cheap “mineral oil” from the dollar/drug store.
Find some flat glass pieces and practice a bit on them so that you are prepared to cut glass when you need to.
Here is a good website about glass cutters, care and use:
https://www.freepatternsforstainedglass.com/your-glass-cutter.html
This video shows 2 Glass Block Windows being installed in my basement windows. I can be reached on Facebook.
Contents, Rounded to nearest minute:
At 0:51 step 1: Materials needed;
At 1:32 step 2: Demolition of old wooden frame;
At 2:00 step 3: Mortar application to form rough opening;
At 6:07 step 4: Window insertion and setting with glass block mortar;
At 11:27 completed window installation minus silicone caulk.
Turn off CC unless you really need it. Some of my titles interfere with the closed caption titles.
Speaking does not begin until 2:24 just in case you think something is wrong with the sound.