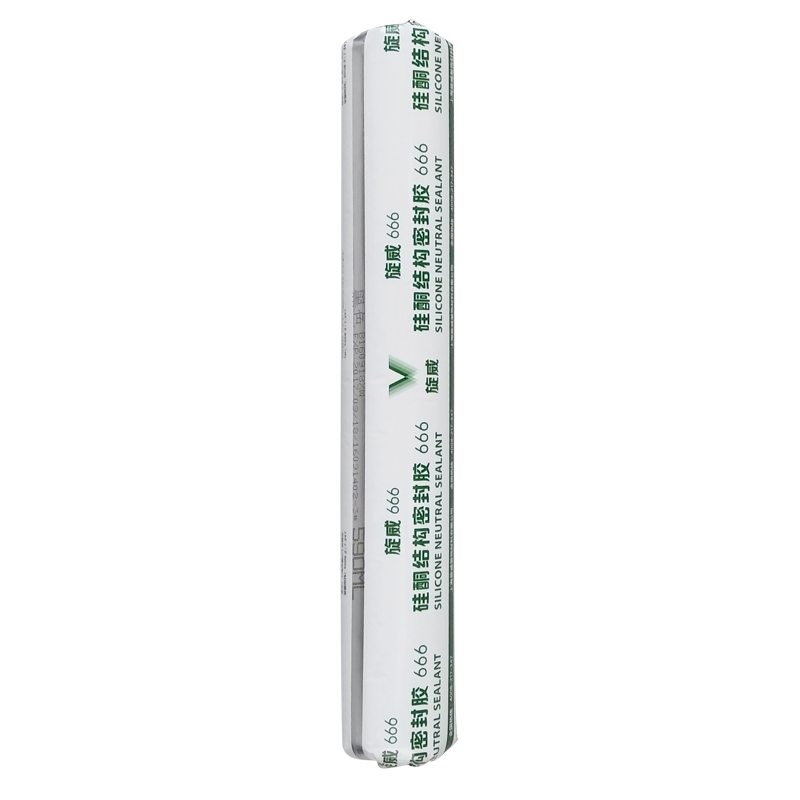
20 Years Factory SV-666 General Use Neutral Sealant to Brunei Importers

Short Description:
Description SV-666 neutral silicone sealant is a neutral curing glue single component, the modulus of the. It is specially designed for windows and doors caulking sealing general plastic doors and windows. It has good adhesion to glass and aluminum alloy, and has no corrosion. Where to use It is fit for multiple purpose sealing and bonding applications to form a silicone rubber adhering to adjacent substrates e.g. glass, ceramic, tile, wood and metal. Key Features 1. 100% silicone 2. Eas...
We also offer product sourcing and flight consolidation services. We have our own factory and sourcing office. We can provide you with almost every type of product related to our product range for 20 Years Factory SV-666 General Use Neutral Sealant to Brunei Importers, we are seeking for extensive cooperation with honest customers, achieving a new cause of glory with customers and strategic partners.
Description
SV-666 neutral silicone sealant is a neutral curing glue single component, the modulus of the. It is specially designed for windows and doors caulking sealing general plastic doors and windows. It has good adhesion to glass and aluminum alloy, and has no corrosion.
Where to use
It is fit for multiple purpose sealing and bonding applications to form a silicone rubber adhering to adjacent substrates e.g. glass, ceramic, tile, wood and metal.
Key Features
1. 100% silicone
2. Easy to use
3. Waterproofing and weatherproofing
4. Primerless adhesion to most building materials
5. 12.5% movement capability
Technical data sheet
| Test standard | Test project | Unit | value |
| Before curing——25℃,50%R.H. | |||
| GB13477 | Flow, sagging or vertical flow | mm | 0 |
| GB13477 | surface drying time(25℃,50%R.H.) | min | 30 |
|
GB13477 |
Operating time | min | 20 |
| Curing time(25℃,50%R.H.) | Day | 7-14 | |
| Sealant curing speed and operating time will have different with different temperatures and temperature, high temperature and high humidity can make sealant curing speed faster, rather low temperature and low humidity are slower.21 days after curing——25℃,50%R.H. | |||
| GB13477 | Durometer Hardness | Shore A | 28 |
| GB13477 | The ultimate tensile strength | Mpa | 0.7 |
| Temperature stability | ℃ | -50~+150 | |
| GB13477 | Movement capability | % | 12.5 |
Certification
JC/T881-2001 12.5E;GB/T14683-2003 12.5E
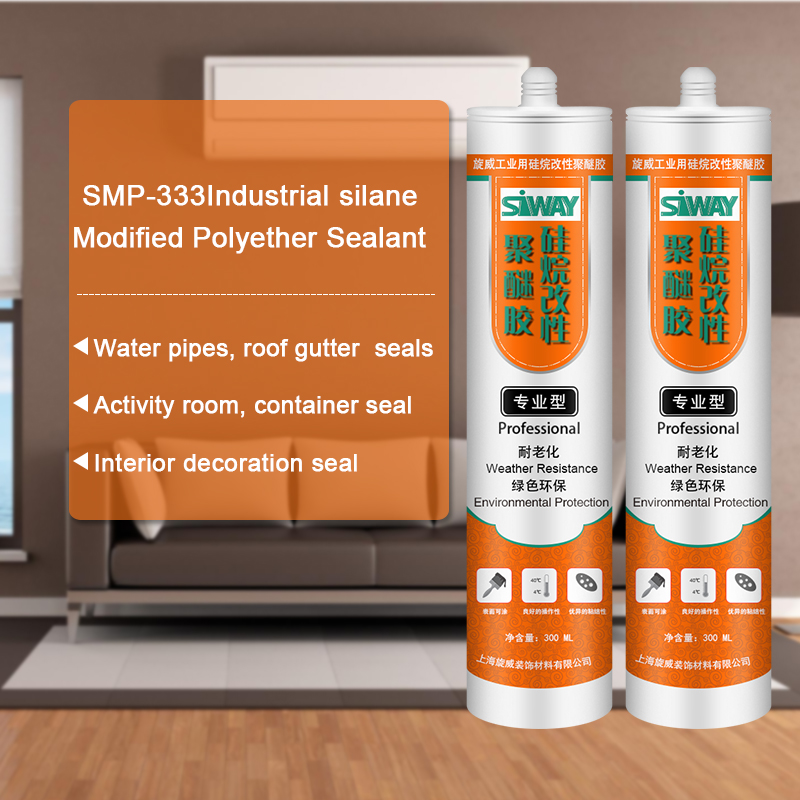
Color
Black,White,Gray
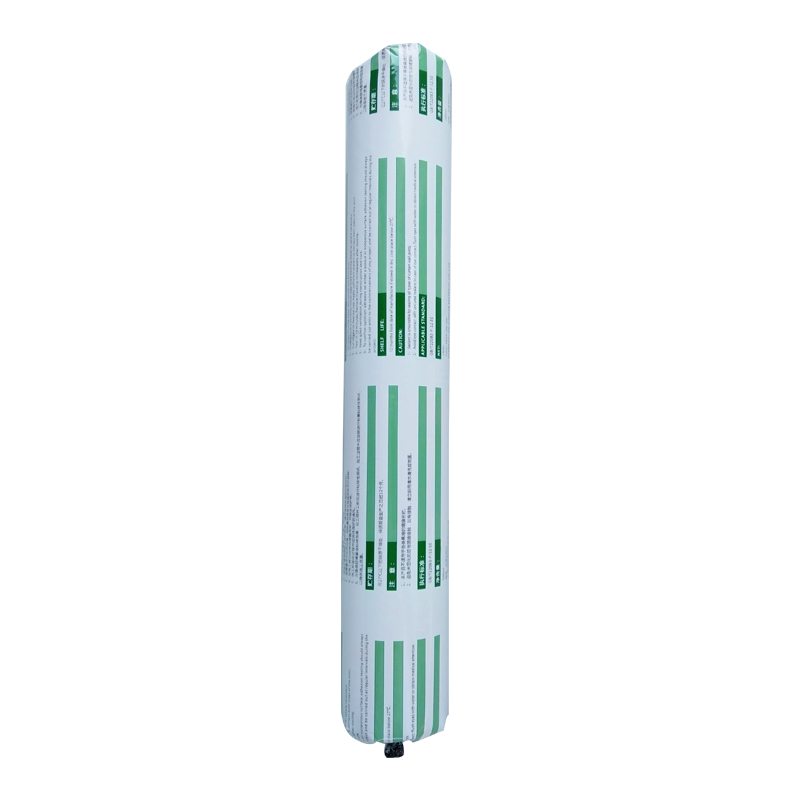
Package
300ml in cartridge * 24 per box, 590ml in sausage *20 per box
Shelf life
12 months
Note
If you want the TDS or MSDS or other details, please contact with our sales person.
https://www.smooth-on.com/Vacuum-Bagging/c1334/index.html for more information about vacuum bagging.
The aftermarket auto parts industry has grown significantly over the past decade. Increased competition and short lead times have created a demand for faster production methods and techniques. Implementing Smooth-On’s vacuum bagging silicone into a resin infusion production method has enabled manufacturers to shorten turn-around time by reducing labor required to tailor the bag and make a part. And because the silicone bag is reusable, the cost of consumables is minimized, if not eliminated.
Making Re-usable Vacuum Bags Offers Several Advantages;
* Reusable Bags Reduces Labor Costs Up To 90%
* Reusable Bags Can Be Used To Quickly Produce Many Parts
* Cured Silicone Rubber Resists Attack from Chemically Harsh Resins
* Heat Resistance up to 500°F / 260°C
* Non-hazardous; No Odor
* Reusable Bag Eliminates Traditional Bag Film Waste
“Smooth-On’s vacuum bagging silicone has reduced our time to make a part by more than 50%.”
Danny Dispenza – Owner
Nordan Composite Technology
Composite part specialist for Formula 1,
Grand Prix and Indy racing cars
Patchogue, NY USA
Prepare the Tool
2 coats of paste wax are applied to the tool. Allow to dry at room temperature. Wax is buffed to a glossy finish. 2 coats of PVA are applied to the tool. Allow to dry at room temperature.
EpoxAcoat Red: Surface Coat Resin
EpoxAcoat Red is dispensed and mixed thoroughly. 2 coats of EpoxAcoat Red are applied. Allow EpoxAcoat Red to partically cure for 1 hour. Vacuum host is attached to the underside of the tool and secured. Vacuum system, including resin trap, is ready for the infusion process. Glass matting is laid onto tacky surface coat. Vacuum bag made using Smooth-On’s EZ-Spray Silicone 20. Pre-engineed channel secures bag to tool, allowing for 100% positive vacuum. Custom made vacuum bag conforms to the tool surface.
EpoxAmite 100 Laminating Epoxy
EpoxAmite is dispensed and mixed thorougly. Vacuum is turned on to start the infusion process. Clamp is removed from resin feed line. Resin flows into bag under vacuum. Resin thoroughly and uniformly saturates glass under vacuum. Bag translucency allows for visual monitoring of the rate of resin infusion. When glass matting is fully saturated, feed line is clamped off. Resin is allowed to fully cure under vacuum at room temperature.
Demold
Vacuum bag is removed. Silicone vacuum bag is ready for another cycle. Finished part is removed from tool. Vacuum bag produces a part that is precise, void free and has a perfectly smooth finish.
Make It Now! with Smooth-On
https://www.smooth-on.com/
https://www.facebook.com/SmoothOn
https://twitter.com/SmoothOn
https://www.google.com/+smoothon
Walls and Floors have teamed up with BAL to bring you an easy-to-follow, step-by-step guide on how to waterproof a shower or wetroom, to get the area ready for tiling onto. Our professional tiler takes you through the process, and explains what he’s doing in layman’s terms.
If it’s time your bathroom had a refresh, and you’re looking to decorate your shower area, Walls and Floors have a great selection of tiles to choose from. We have thousands of stylish bathroom tiles – perfect for restrooms, water closets and en suites! The bath and shower area is a place where we can relax and underwind after a hard day’s work – that’s why it’s important that our bathrooms look nice. Moroccan Tiles are perfect for bringing a powerful, eye-catching, cultured appearance to your bathroom walls. Metro Tiles are also a winning choice when it comes to tiling a bathroom wall. For a textured, massaging feeling underfoot, try our River Pebble Tiles – sheets of smooth pebbles arranged in a mosaic formation. It’s important to use anti slip floor tiles when tiling a bathroom floor space. If you’re stepping in and out of the bath or shower with wet feet, you don’t want to slip over. Anti slip flooring adds a little more friction to your stride. Browse our selection of Bathroom wall and floor tiles now: https://www.wallsandfloors.co.uk/category/bathroom-tiles/
Waterproofing can be a less daunting task than it sounds, by using a product such as BAL Waterproofing Kit for Showers. It’s a simple, easy-to-use kit containing everything you need to waterproof the area.
When tiling any wet areas, for example the shower, or around a bath area, you must make some further considerations. Remember – grouts and adhesives are only water resistant and not waterproof. The main thing you need to do is waterproof the background that you’re going to be tiling onto.
In the video, our tiler uses in BAL WP1 kit. He shows you how to use it to waterproof your background, before you start to tile.
Before you begin, make sure you’ve got your safety wear on. Put on your gloves to protect your hands from any irritant substances, and wear goggles to prevent any nasty splashes from going in your eyes.
Also, make sure that you protect your shower tray. Put a protective sheet down. Make sure you mask up any fixtures or fittings that are exposed – such as the shower rail, etc. You’re then ready to start waterproofing the background.
Once you are happy that the background is in a fit and proper condition, and has been properly prepared, you can begin waterproofing. Firstly, pour some of the undiluted primer into a paint tray. And then, using a roller, simply paint the primer onto the walls. This will help remove surface dust, and will also aid adhesion. It is advised to start from the top of the wall and work down – just in case the primer slightly runs down the wall surface.
When priming, you should prime the walls the width of the shower tray and the height of the ceiling. This should be done on all walls that are in contact with the shower tray base. The primer is blue so that when you apply it to the walls, you can check that you have covered all areas. When the primer dries, the colour will fade. This should take approximately fifteen minutes, depending on the room temperature.
So once the primer is dry, you can then apply the WP1 coating to the same areas. Start by applying the coating first, fairly liberally – to all the corners, and where the walls meet the shower tray. Once this is done, cut the roll of tape to the required size, and place this into any corners and where the wall meets the tray. Push the tape to the wall; pushing out the air, and put another WP1 coating on top of the tape to secure in place.
When the first coat is dry, then apply a second coat of the waterproof coating. On the second coat, it is best to apply it to the wall in the opposite direction to that in which the first coast was applied. This will ensure that you have not left any gaps. So, all that’s left in the waterproofing kit is the polyester matting.
In the installation in the video, the tiler is working around a shower tray. It may be that you have a wet room floor, or a floor that has a timber construction. If this is the case, you can use the polyester matting, and apply in the same fashion, with the coating to add some strength and rigidity to the coating on the floor.
Once you’ve applied the second coat and this is dry, this will now be ready to tile and fully waterproof. However, we advise that you wait another 24 hours before you start to tile.
The last thing to remember is that on your final tile cut, you overlap the polyester tape. With a nice sharp Stanley knife, make sure you trim that off before undertaking any siliconing.