18 Years Factory offer Siway two component strength-basded ceramic tile sealant for Bolivia Manufacturers
Short Description:
Product introduction Siway two component strength-basded ceramic tile sealant is an upgraded version of epoxy common beauty gap sealant, excellent toughness and impact resistance, surface brightness, such as porcelain, efficient, durable antibacterial mouldproof, waterproof sealing, 100% do not flow, construction simple, harmful index is far lower than the standard “GB18583-2008″ interior decoration, etc. Is widely used in high-grade kitchen, sanitary ware, high-grade family is de...
In order to give you convenience and enlarge our business, we also have inspectors in QC Team and assure you our best service and product for 18 Years Factory offer Siway two component strength-basded ceramic tile sealant for Bolivia Manufacturers, welcomes all overseas friends and merchants to establish collaboration with us. We will provide you with honest, high quality and efficient service to meet your requirements.
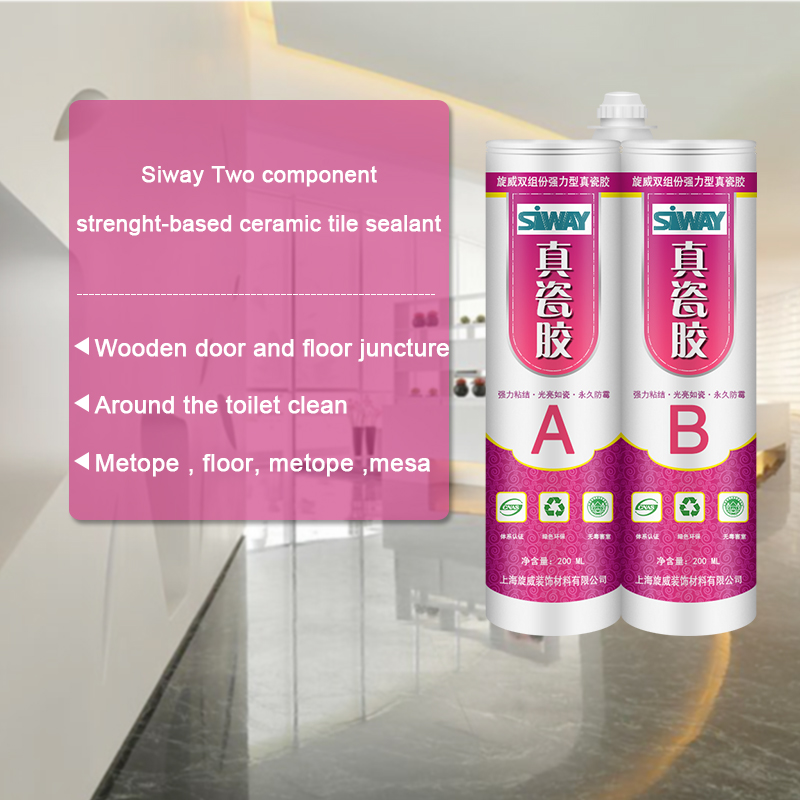
Product introduction
Siway two component strength-basded ceramic tile sealant is an upgraded version of epoxy common beauty gap sealant, excellent toughness and impact resistance, surface brightness, such as porcelain, efficient, durable antibacterial mouldproof, waterproof sealing, 100% do not flow, construction simple, harmful index is far lower than the standard “GB18583-2008″ interior decoration, etc. Is widely used in high-grade kitchen, sanitary ware, high-grade family is decorated in joint seal and hotel decoration,, without excitant or unpleasant smell, in use process to bring you new construction concept and aesthetic effect.
Note: the position of construction
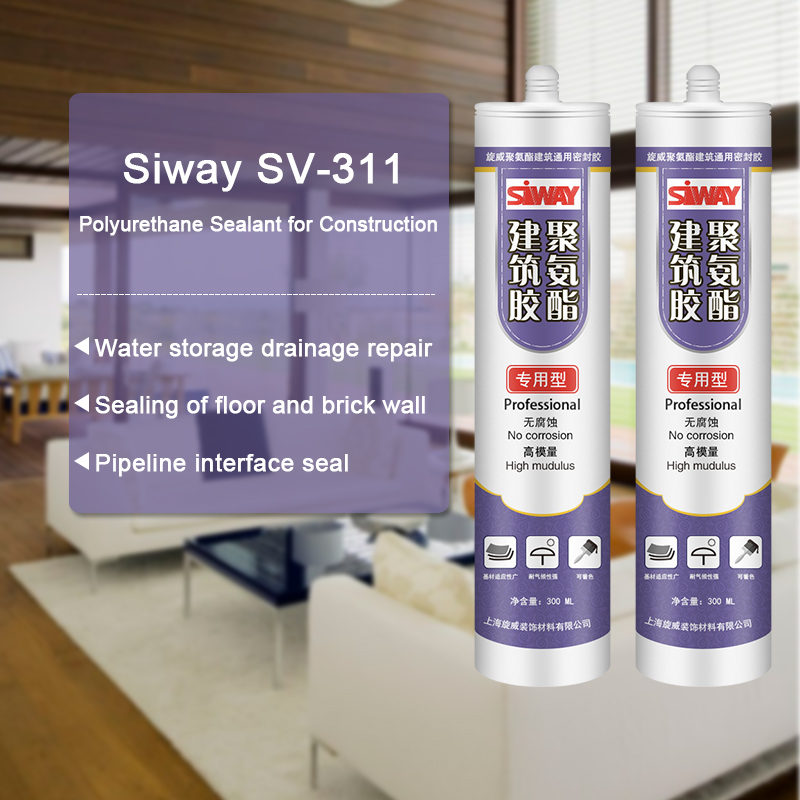
1, metope and floor, metope and mesa, and side beams and floor juncture
2, square face plate around the seams with mesa
Around 3, round face and mesa juncture, circular beams and floor juncture
4, around the toilet clean and floor juncture
5, wooden door and floor juncture
In 6, the tub edge or metope seams with mesa
Scope of application
1, window, furniture and so on, all kinds of counter aperture, cabinets, all kinds of edges, kitchen toilet all kinds of edges, can also be used to paste all kinds of hard materials.
In 2, the guesthouse, hotel, family bath crock, implement, sink, shower room and xiancai basins of installation, waterproof, plugging and other kitchen ware and decorative processing.
Method of use
1, clean the construction surface, remove dirt, oil and other impurities, then along the hem the ceramic tile with crepe paper.
2, mount rubber mouth, combined with glue gun, glue mouth mouth before the glue to glue on the glue, the glue liquid located in cement mix, edging out front a small amount of adhesive solution, in order to avoid mixed uneven, lead to not curable, and then into the ceramic tile aperture.
3, scrape to evenness with blade, slight trim the edges.
4, this product operation time 30 minutes, 4-6 hours at 25 ℃ room temperature curing, 24 hours of maximum intensity.
THE ONLY CHOICE IS DRY GUY WATERPROOFING
RECOMMENDED FOR GORE-TEX® , EVENT®, AND ALL WATERPROOF CLOTHING
• Ideal for breathable and other textile fabrics
• Preserves the breathability of modern membrane textiles.
• Makes the fabric waterproof and dirt repellent
• Environmentally-friendly pump spray without propellant gas
• Free from fluorocarbons
• Biodegradable
Check out our blog for clickable links to the items below!
Blog- https://www.heywandererblog.com/2017/06/diy-stock-tank-pool-everything-you-need.html
Instagram- www.instagram.com/heywanderer
E-mail- heywanderer@gmail.com
Things you will need:
- Stock tank (size of your choosing- ours is 8 ft.)
- Above Ground Pool Pump
- Weatherproof Silicone Sealant
- Hole Saw with Arbor
- Plunger Valves
- Pool Outlet
- 1-3 Rubber Washers (or Gaskets)
- 1 Strainer Nut
Other things you will need for maintenance:
- Chlorine Tablets
- Floating Pool Dispenser
- Water Testing Kit
Step 1- Find a nice level area to lay the stock tank on. If the area where you have chosen isn’t level, use sand or rocks to build up whatever side needs it. It is very important that your stock tank be level so there aren’t any unexpected leaks.
Step 2- Cut holes in your stock tank. I’m not going to lie- this is a pain in the butt. We bought a hole saw with an arbor and it took two people to get through the metal. You will need two holes, one at the top and one at the bottom. In an above ground pool, these aren’t usually right on top of each other, but ours are. We haven’t ever seen this as a problem.
Step 3- Start assembling the parts. In the pool pump package there is a packet with instructions, warnings and troubleshooting. This packet proved to be vital in the setup of the pool. I did end up getting 2 gaskets for the bottom section (the drain section), one for the inside of the pool and one for the outside. It only says you need one for the inside, but this was causing a drip for us. I also put thread seal tape around the connections that were closest to the pool. There are a lot of connections, and each one has a gasket, so you could probably get away without the tape. I didn’t put it on all the connections, the only ones that really seemed to matter were the ones that are connecting the hoses to the pool.
Step 4- Apply silicone waterproof sealant around all crevices involving the input and output parts. I did this on the inside of the pool and the outside. And I applied it VERY HEAVILY and did two layers, allowing one to dry before the second was applied. Sealing these crevices is one of the most important parts. This is what is going to keep the water in the pool. Well all of these steps are leading up to keeping water in the pool, but if there is any chance that it’s going to be getting out, this is what will save you.
Step 5- Test for leaks. Before I added water to the pool, I took a water bottle and poured a good amount of water on the input and output parts. You could also just use a water hose. I would make sure the hose wasn’t on full blast. You don’t want to accidentally penetrate the sealant.
Step 6- Once you are sure there aren’t any leaks, fill the pool just above the bottom hole/output. Check again to see if any leaks have started. If there aren’t any, fill the rest of the pool up!
Step 7- Turn the pump on. Make sure both plunger valves are open/unlocked. When you first do this water may not come out of the output, but there is a solution! Twist off the knob on top of the filter pump to let some air out. Some water may escape too and that’s okay, just be ready to screw it back on as soon as the water starts coming out.