15 Years Manufacturer Siway PU FOAM to Greenland Factory

Short Description:
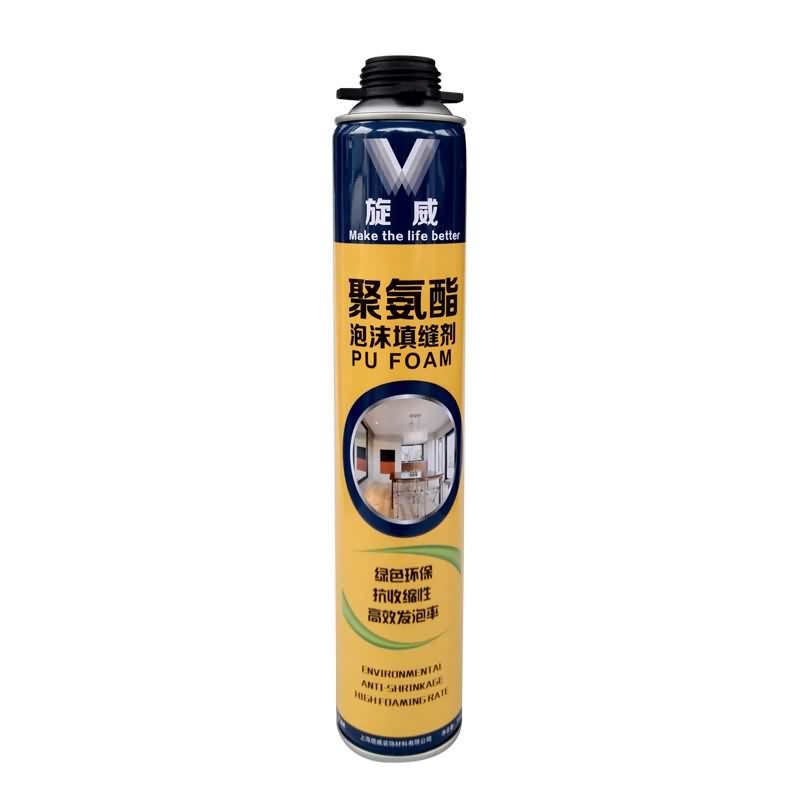
Description This product is the expansion, moisture curing, has the strong cohesiveness, elastic foam obturator structure; Save work to save time, reduce waste; High bond strength; Bubble can stick in the concrete, wood, metal, plastic, such as base material surface, but not including teflon, silicon resins; Key Features 1. Noise silencing effect 2. Strong bonding strength 3. Water & weatherproof 4. Primerless adhesion to most building materials Basic Application 1.Doors and Windows a...
Reliable quality and good credit standing are our principles, which will help us at a top-ranking position. Adhering to the tenet of "quality first, customer supreme" for 15 Years Manufacturer Siway PU FOAM to Greenland Factory, Our professional technical team will be wholeheartedly at your service. We sincerely welcome you to visit our website and company and send us your inquiry.
Description
This product is the expansion, moisture curing, has the strong cohesiveness, elastic foam obturator structure; Save work to save time, reduce waste; High bond strength;
Bubble can stick in the concrete, wood, metal, plastic, such as base material surface, but not including teflon, silicon resins;
Key Features
1. Noise silencing effect
2. Strong bonding strength
3. Water & weatherproof
4. Primerless adhesion to most building materials
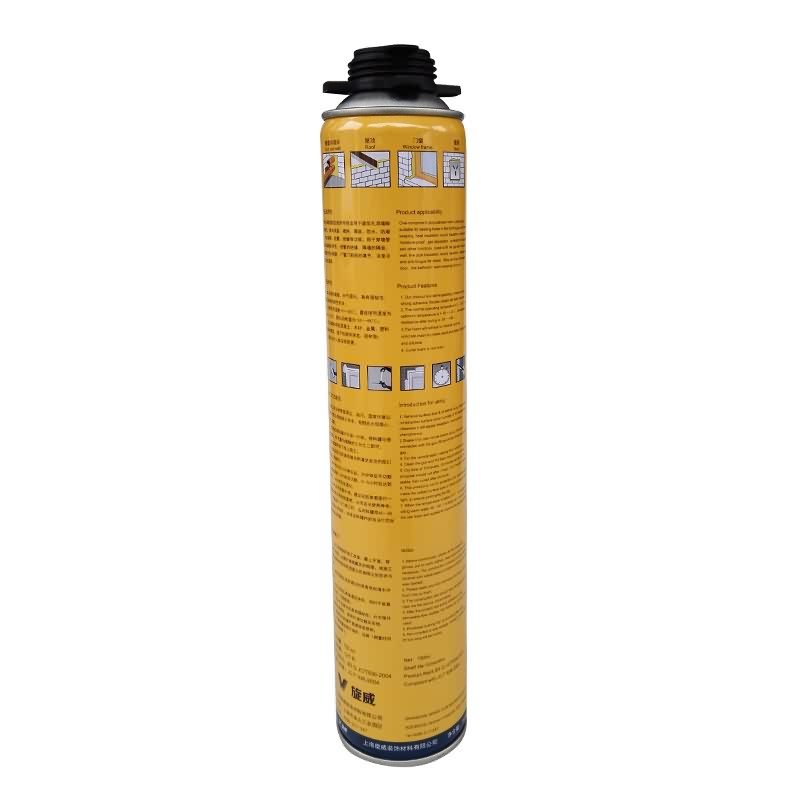
Basic Application
1.Doors and Windows and wall body between the gap filling sealing, fixed bond
2.Language lab, studio, etc when decorating, gap to fill
Technical data sheet
|
Project |
Value |
||
|
Density, Kg/m³,Not less |
10 |
||
|
Thermal conductivity,35℃,W/(m·K) no more than |
0.050 |
||
|
Dimensional stability(23±2)℃,48,h no more than |
5 |
||
|
Operating temperature |
-10~+35℃ |
||
|
Optimum operating temperature |
+18~+25℃ |
||
|
Temperature range(After curing) |
-35~+80℃ |
||
|
Tensile bond strength kPa Not less |
Aluminum plate |
Standard condition,7d |
80 |
|
Immersion,7d |
60 |
||
|
PVC plate |
Standard condition,7d |
80 |
|
|
Immersion,7d |
60 |
||
|
Cement Plate |
Standard condition,7d |
60 |
|
|
Shear strength,kpa,Not less |
80 |
||
|
Foam expansion ratio,Not less |
Standard value-10 |
||
Certification
JC 936-2004
Color
White
Package
750ml in Bottle * 12 per box
Shelf life
12 months
Note
If you want the TDS or MSDS or other details, please contact with our sales person.
We are using a horse hair bit to remove excess glue from the Rubrails of an Inflatable boat.We build custom tubes for any inflatable rib in Miami and can ship worldwide. Email me at Luxuryribtenders@gmail.com or you can text me at 7864479019
-~-~~-~~~-~~-~-
Please watch: “Rib Fishing Biscayne Bay”
Alfred Said, “Watch this video”
-~-~~-~~~-~~-~-
UTVHitchworks.com – Welcome to UTV Hitchworks, Home of the Farmboy. In this video we are demonstrating how to install the Bulkhead Bed Extension for the Kubota RTV-X series vehicles. The first step is to raise the dump bed. Please follow all safety precautions while the dump bed is in the up position. The Bulkhead Bed Extension requires a drill fitted with a 3/8” bit, a 12mm socket driver or a 12mm socket, and a 12 mm wrench. Once the dump bed is raised, take the socket driver and the wrench and remove the two top bolts on the dump bed. This step must be completed on both sides of the dump bed. Make sure the bottom bolt is left in place on both sides. Next, place the Bulkhead Bed Extension into position, lining up the two holes on either side. This step may require more than 1 person. Install the Bulkhead Bed Extension so that the writing is able to be read from behind the vehicle. Reinstall the bolts previously removed through the dump bed and the Bulkhead Bed Extension. Make sure that all four bolts are installed in the same orientation in which they were removed. Once all four bolts are in place, tighten them all fully using the socket driver and wrench. The final step is to drill through the wall of the dump bed using the drill fitted with the 3/8” bit while the bed is still in the up position. Align the drill with the hole in the center of the Bulkhead Bed Extension. The holes on either side of the center hole are optional, if more rigidity is required. Lastly, insert the provided carriage bolt so that the carriage head is on the inside of the dump bed. Tighten fully. The completed installation should look like this image. For questions on installation please call 513-260-3705.


