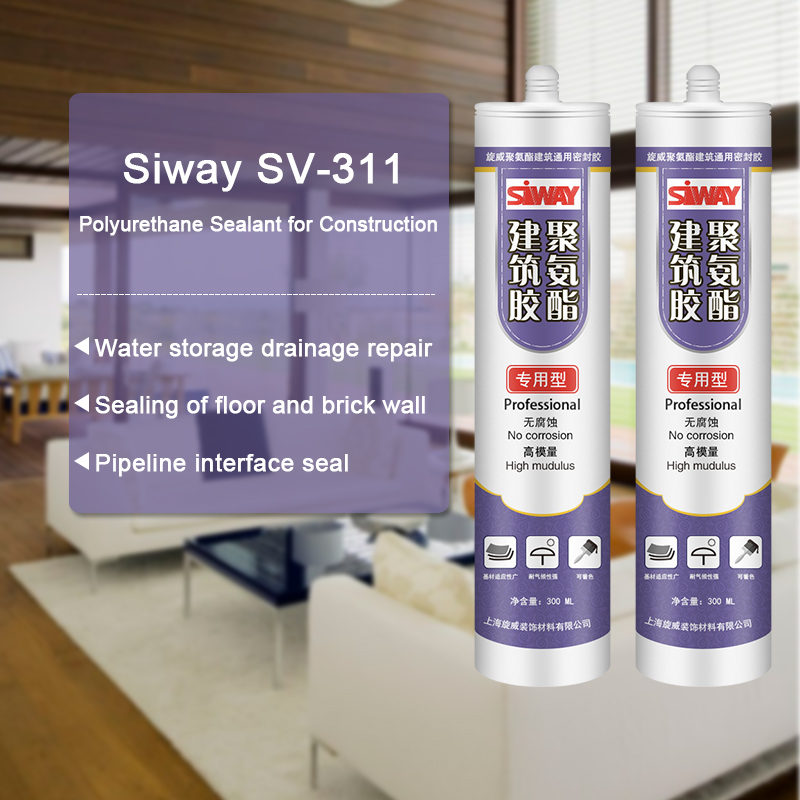
15 Years Factory SV-311 Polyurethane Sealant for Construction Export to Finland
Short Description:
Description SV-311 is a one component polyurethane high modulus flexible sealant formulated as reliable bonding adhesive and joint sealant for construction industry, particularly where a higher modulus and lower movement capacity are required for joints with low or medium movement, e.g. connection joints between floor/stairs and wall, connection joints between floor and machinery, seam sealing / sealing of pipe ducts / ventilation systems, multipurpose joints in metal and wood construction w...
With our rich experience and considerate services, we have been recognized as a reliable supplier for many international buyers for 15 Years Factory SV-311 Polyurethane Sealant for Construction Export to Finland, Welcome to contact us if you are interested in our product, we will give you a surprice for Qulity and Price.
Description
SV-311 is a one component polyurethane high modulus flexible sealant formulated as reliable bonding adhesive and joint sealant for construction industry, particularly where a higher modulus and lower movement capacity are required for joints with low or medium movement, e.g. connection joints between floor/stairs and wall, connection joints between floor and machinery, seam sealing / sealing of pipe ducts / ventilation systems, multipurpose joints in metal and wood construction work.
Key Features
1. Non-sag consistency
2. Excellent adhesion to most common building materials
3. High tear strength
4. High tensile strength
5. Less fluid migration to porous material
Technical data sheet
| Test standard | Test project | Unit | value |
| GB13477 | density | g/m³ | 1.20±0.1 |
| GB13477 | Flow, sagging or vertical flow | mm | 0 |
| GB13477 | surface drying time(25℃,50%R.H.) | min | 30 |
| Curing speed | mm/24h | 3 | |
| GB13477 | Durometer Hardness | Shore A | 25-35 |
| GB13477 | 100% tensile strength | Mpa | ≤0.4 |
| GB13477 | The elastic recovery rate | % | 80 |
| Maximum seam width | mm | 35 | |
| Minimum seam width | mm | 8 |
Color
White, black, grey
Package
300ml plastic cartridges and 600ml in sausage
Shelf life
9 months
Note
If you want the TDS or MSDS or other details, please contact with our sales person.
Buy Lund Fender Flares: https://www.realtruck.com/lund-riveted-fender-flares/
Lund riveted fender flares are guaranteed to provide added protection and enhance the looks of your truck or SUV. These fender flares are perfect for stock or oversize tires and rims. Part of the Lund elite series flares, the RX-Rivet style offers a big truck bolt on look. Lund Fender Flares are constructed of heavy duty ABS materials that offer unsurpassed durability and weather resistance. Their flexible design will not warp or crack and the ABS design is UV resistant. Lund fender flares are available in smooth or textured finishes and come in black.
Check out our Promotions and Deals: https://www.realtruck.com/lets-talk-trucks/
Subscribe to our Channel: https://www.youtube.com/user/RealTruckCom
Follow us on Facebook: https://www.realtruck.com/facebook/?ut…
Follow us on Twitter: https://www.realtruck.com/twitter/?utm…
Follow us on Google+: https://www.realtruck.com/gplus/?utm_c…
FREE SHIPPING
Give us a call at 866-262-3738
#RealTruck #Lund #FenderFlares #HowTo #RockstheRam
How To Install Lund Riveted Fender Flares – Rocks the Ram Build
Video Transcription: Hi, guys. John here with RealTruck.com. Today, we have the Lund riveted style fender flares and I’m going to be showing you how to install these on this truck and the first step in installing our new fender flares from Lund is to get these old factory ones off. Now on these new or these factory ones there’s a push in clip, not all your vehicles are going to have those clips, just depends on what make and model vehicle that you’re working on. The rest of it is all screw type bolts and we’re just going to use our drill and pull those out. All your vehicles are going to be similar, but somewhat different. This one I already know is held on with the 3M sticky tape on the back side, so it’s going to be a little stiff to pull off. Now we’re going to clean this up a little bit, spray some adhesive remover on this glue part, let it soak for a little while and we’ll get that all peeled off, and get ready to put our new ones on. Okay, we’ve got all the dirt and muck wiped off of here. So now what we want to do is just use some general purpose adhesive remover and we’re going to spray that on here. Let it soak for about 15 minutes and then spray it again and start peeling it off. Okay, while we’ve got our adhesive remover soaking we’re going to go ahead and put our rivets into our fender flare, pretty easy process. These come with a self-locking style nut which basically, if you’re familiar with them, they have like a nylon insert which once you put them on stops them from working their way back off. Now once you start tightening these up, one of things to keep in mind is that this is a really durable material that these are made out of, but if you go cranking down really hard on them, it is possible to crack the area around where they go. So guys don’t just put all your stuff into it and really wrench them, just make them so they’re tight and not wobbling around. You can see they look pretty good. We got all of our rivet style bolts in there. The next thing we want to do is go ahead and install our rubber seal. What this does is this helps keep a nice snug fit against your vehicle without this sharp plastic rubbing the body. We’ve got our seal all the way around up to the corner here. Now, what you want to is go ahead and take your razor knife and cut this off. I’ll go ahead and I’ll put a piece across here as well. Now that we’ve got our fender flare all ready to go, the seals on well.
I think the well system made of Duct Seal is the best for installing a transducer on a kayak hull. (thru-hull).
I is easy to make, easy to undo or redo. No tools are required at all. No sanding no heavy cleaning required at all. It is the cheapest and the fastest. There is no waiting time. You make it and go fish.
Though, I found that gluing the transducer on the hull, regardless of glue types (including Duct Seal), is not quite dependable. Because there is an inherent problem that is air pockets or air bubbles form between the hull and the transducer.
Build a well for the transducer and fill the well with water is the best way to achieve consistent and accurate readings for a long period of time.
On the video, I explained and demonstrated why a transducer well made of Duct Seal is the best way for installing a transducer on a kayak hull.
Joe


