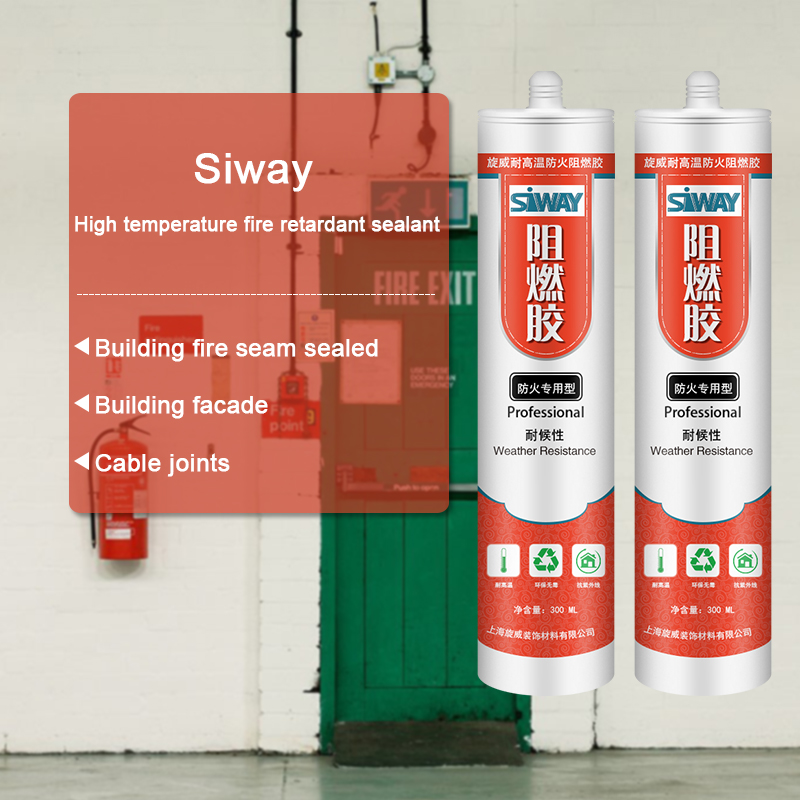
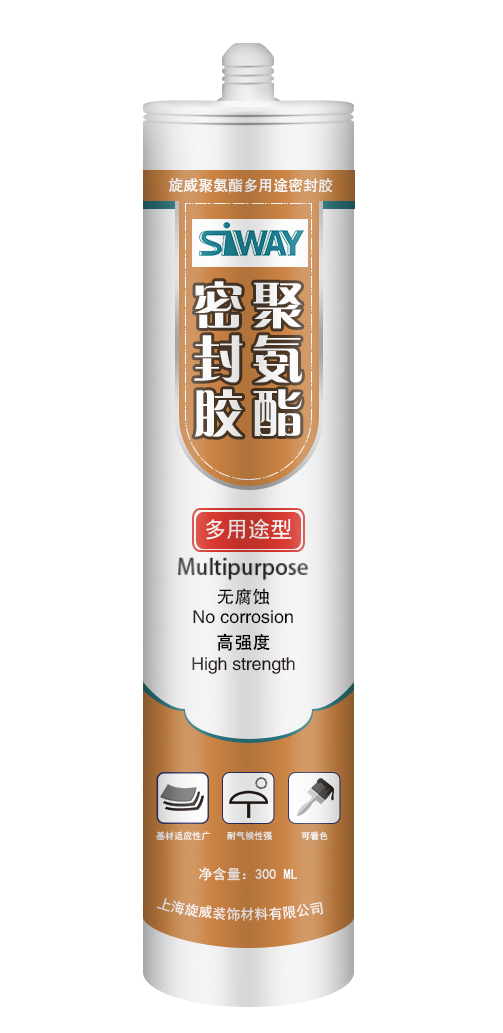
13 Years manufacturer SV-313 Multipurpose Polyurethane Sealant for Turin Importers

Short Description:
Description SV-313 is one-component, room temperature curing polyurethane sealant with good adhesive property. It has many advantages such as high strength, good elasticity, aging resistant, vibration exhaustion resistant, low temperature resistant, paintable and convenient to use, etc. Where to use Bonding and sealing for the joints in automobiles, railway trains, refrigerator cars, containers, cold storages, ships, pipelines and buildings. Characteristic a. Fast curing under r...
We are commitment to offer the competitive price ,outstanding products quality, as well as fast delivery for 13 Years manufacturer SV-313 Multipurpose Polyurethane Sealant for Turin Importers, We are always looking forward to forming successful business relationships with new clients around the world.
Description
SV-313 is one-component, room temperature curing polyurethane sealant with good adhesive property. It has many advantages such as high strength, good elasticity, aging resistant, vibration exhaustion resistant, low temperature resistant, paintable and convenient to use, etc.
Where to use
Bonding and sealing for the joints in automobiles, railway trains, refrigerator cars, containers, cold storages, ships, pipelines and buildings.
Characteristic
a. Fast curing under room temperature , no sagging, solvent free
b. High adhesive strength, wide application range for base materials
c. Good chemical and water resistance
d. Excellent aging resistance
e. Excellent noise, vibration and impaction resistance
f. Good damp resistance and anti mildew
g. Paintable, abrasionable
Technical Data
| Item | Index | Test method | |
| Appearance | Grey, White paste | Black past | By eyes |
| Hardness, Shore A | ≥35 | ≥45 | GB/T 531.1-2008 |
| Sagging, mm | ≤3.0 | No | GB/T 13477.6-2002 |
| Solid content, % | ≥95 | ≥96 | GB/T 2793-1995 |
| Tack free time, Min | ≤120 | ≤60 | GB/T 13477.5-2002 |
| Curing rate, mm/24h | ≥3.0 | ≥3.0 | |
| Shear strength, Mpa | ≥0.8 | ≥2.0 | GB/T 7124-2008 |
| Tensile strength, Mpa | ≥1.5 | ≥2.5 | GB/T 528-2009 |
| Elongation at break,% | ≥450 | ≥400 | GB/T 528-2009 |
| Tensile strength at 100%, Mpa | ≥1.0 | ≥2.0 | GB/T 528-2009 |
| Tear strength, N/mm | ≥5.0 | ≥5.0 | GB/T 529-2009 |
Color
White, black, grey
Package
300ml plastic cartridges and 600ml in sausage
Shelf life
9 months
Note
If you want the TDS or MSDS or other details, please contact with our sales person.
Hot off the press, check out these Gearbest Summer Sales for great deals!: https://tidd.ly/a1f5ee3 & https://tidd.ly/9fd6b969
I got the Bluetooth OBDII Adapter from here – https://tidd.ly/625a3033 $3.49, works well.
In this video, I show you how the thermostat works, how to test it, and how to diagnose an issue with the cooling system of an E46.
I used an OBDII to bluetooth adaptor and the android app Torque to keep an eye on the temperature, you can also record the screen with “AZ Screen Recorder” so that you can watch it later, and see the flucuation in temperature while driving.
Below are the steps as I remember them, they may be incomplete, but shoud give a good idea of how to do it:
1.) Drive the car onto a ramp.
2.) Remove the push pin center fasteners/philips screws from the lower engine protection pan.
3.) Drain the coolant from the radiator drain screw, open the bleed screw and cap to increase flow. Optional: Drain the coolant from the engine block by removing the 13mm bolt on the block below cylinder #2(2nd from the front, rear cylinder is #6 closest to the rear of the car), MAKE sure you close the all the other bleed screws and cap before doing this, so that the coolant flows slowly, once the 13mm bolt is out, then you can open the top bleed screw by the radiator cap to increase flow.
4.) Remove the plastic intake duct to the filter box.
5.) Use a 32mm open end wrench and turn clockwise on the fan nut, if you don’t have a fan clutch bar to hold it steady, use a hammer to hit the wrench in the clockwise position to unlock the nut, it should come loose with a medium hammer hit, if it is siezed on there, you’ll need a clutch bar to hold it steady. You can retighten with the same method(hammering).
6.) Remove all the bolts for the thermostat, remove the hoses for the thermostat by pulling the locking pins, a flat head can be used to pry the hoses away from the thermostat.(The plastic will break if it’s brittle).
7.) Clean the surface with a flat scraper, be careful of the sharp edges of the aluminum block.
8.) Use an RTV silicone meant for water pumps, and create a bead along the outside of the new gasket on the new thermostat. These thermostats have been known to leak due to a poor rubber gasket(BMW should us a high quality silicone gasket), so the RTV silicone is a must if you don’t want a leak.
9.) Install everything as you removed it, except the radiator cap and top bleed screw, leave those loose since you’ll be adding coolant.
10.) With the engine off, fill the system with approximately 8.5L of 50/50 antifreeze. Any antifreeze meant for new engines(aluminum) blocks will do. To avoid a mess, wrap a rag around the bleed screw and radiator fill port to catch radiator fluid.
11.) Turn on the engine, the coolant that was full will now be drained by the water pump, top up the coolant once again.
12.) Drive the car down from the ramps, put the cabin heater on high, fan on high. Rev the engine a bit(~3500RPM max, or the radiator fluid will splash out of the fill port), pump it a few times to move the air out from the system to the radiator cap/bleed screw location. Top up the coolant once again as required.
13.) Give it 5 minutes to heat up and open the thermostat, rev the engine a bit and add coolant as needed.
14.) Once coolant starts to leak from the bleed screw, close it. Now the engine should be warm, the thermostat should be open, and the air bubbles should be out of the system. Now the system should be full of fluid, and have no air bubbles.
15.) Install the radiator cap, drive the vehicle around the block a few times, getting it revved up to about 4500RPM should get the remaining air bubbles out, nothing crazy like 6500RPM is required.
16.) Park the car, and let it cool for at least 2 hours, then open the bleed screw beside the radiator cap again, it should release some air and then fluid should come out, as soon as fluid comes out close it, and your system should operate properly.
Engine a properly working cooling system!
Cyber Sales – https://tidd.ly/a9ddc6db
LED Lights and Flashlights – https://tidd.ly/802191a7
Outdoor Sports Equipment – https://tidd.ly/d8073d97
Please support my channel by using my affiliate links above!
Produits de moulage et formations sur https://www.pascal-rosier.com et https://www.pascalrosier.com