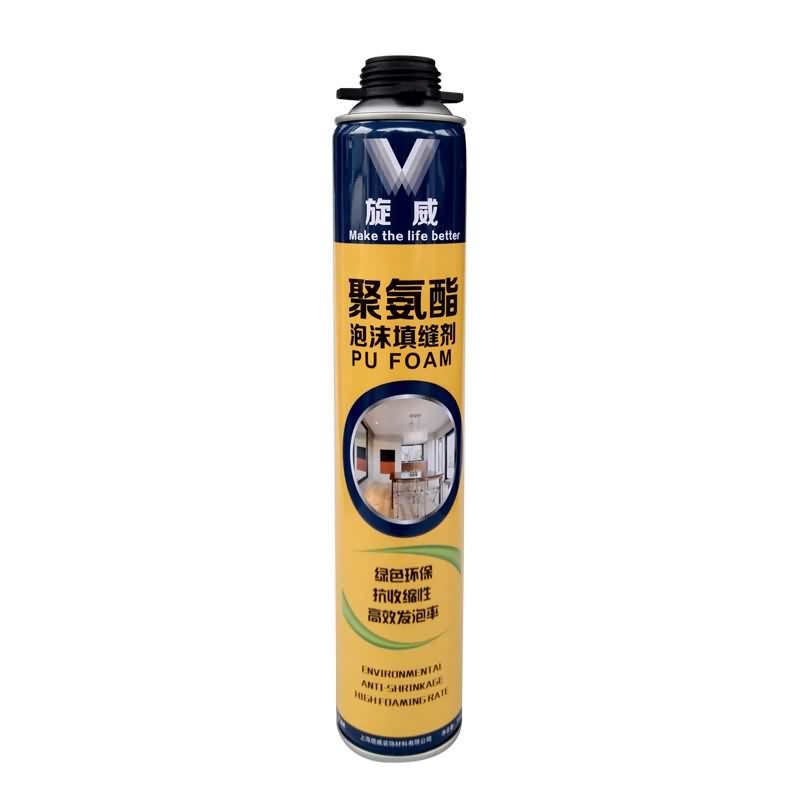
12 Years manufacturer Siway PU FOAM for Singapore Manufacturers

Short Description:
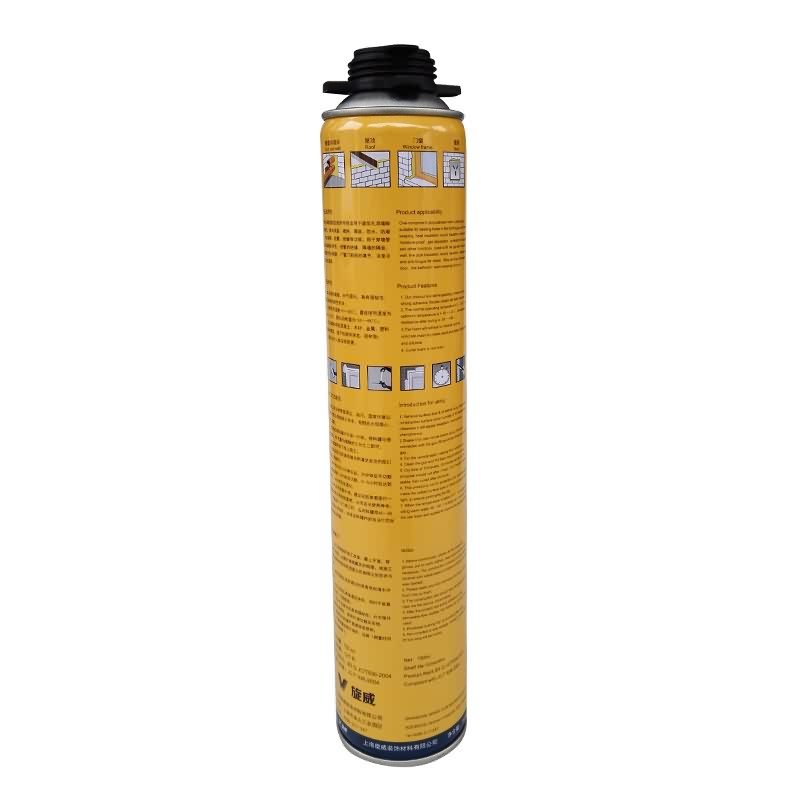
Description This product is the expansion, moisture curing, has the strong cohesiveness, elastic foam obturator structure; Save work to save time, reduce waste; High bond strength; Bubble can stick in the concrete, wood, metal, plastic, such as base material surface, but not including teflon, silicon resins; Key Features 1. Noise silencing effect 2. Strong bonding strength 3. Water & weatherproof 4. Primerless adhesion to most building materials Basic Application 1.Doors and Windows a...
No matter new customer or old customer, We believe in long term and trusted relationship for 12 Years manufacturer Siway PU FOAM for Singapore Manufacturers, We welcome new and old customers from all walks of life to contact us for future business relationships and mutual success.
Description
This product is the expansion, moisture curing, has the strong cohesiveness, elastic foam obturator structure; Save work to save time, reduce waste; High bond strength;
Bubble can stick in the concrete, wood, metal, plastic, such as base material surface, but not including teflon, silicon resins;
Key Features
1. Noise silencing effect
2. Strong bonding strength
3. Water & weatherproof
4. Primerless adhesion to most building materials
Basic Application
1.Doors and Windows and wall body between the gap filling sealing, fixed bond
2.Language lab, studio, etc when decorating, gap to fill
Technical data sheet
|
Project |
Value |
||
|
Density, Kg/m³,Not less |
10 |
||
|
Thermal conductivity,35℃,W/(m·K) no more than |
0.050 |
||
|
Dimensional stability(23±2)℃,48,h no more than |
5 |
||
|
Operating temperature |
-10~+35℃ |
||
|
Optimum operating temperature |
+18~+25℃ |
||
|
Temperature range(After curing) |
-35~+80℃ |
||
|
Tensile bond strength kPa Not less |
Aluminum plate |
Standard condition,7d |
80 |
|
Immersion,7d |
60 |
||
|
PVC plate |
Standard condition,7d |
80 |
|
|
Immersion,7d |
60 |
||
|
Cement Plate |
Standard condition,7d |
60 |
|
|
Shear strength,kpa,Not less |
80 |
||
|
Foam expansion ratio,Not less |
Standard value-10 |
||
Certification
JC 936-2004
Color
White
Package
750ml in Bottle * 12 per box
Shelf life
12 months
Note
If you want the TDS or MSDS or other details, please contact with our sales person.
Titebond WeatherMaster Sealant
If you cannot drain your aquarium to repair a leak from the inside, and you need to work from the outside, you have to beat hydraulic pressure.
The way you can do it, is by patching from bottom (where your leak is) to top.
1) Use a 2″ tape (scotch / masking / duct / whatever). See the patch in my other video: https://www.youtube.com/watch?v=3HRAjfYTesQ
2) patch this tape with a coat or 2 of a plastic bag.
3) put a stripe of silicone (any kind – since it’s external). Now your “bandaid” is ready.
4) put this patch on your Leakage in a way that the dripping is chased up. You cannot completely seal since hydraulic pressure is stronger than silicone. But the silicone is strong enough to push the water flow 1″-2″ up. Just make sure you chase the leak Upwards – not downwards, and not side ways.
5) every 20 minutes or so, you can take of your patch (the plastic bag helps here), and put a new patch, 2″ higher up (repeat steps 1-4) with a small overlap between the previous and the new silicone, so that you continue chasing upwards. If you miss (leak goes in another direction, repeat on this section, till you get it up).
6) as you go upwards, at some point the hydraulic pressure will be low enough that your leakage stops completely. even if you are not lucky, once you reach the top water level, the water pressure is 0, and your leakage will be over.
My leak was at the bottom front left side, and I had to work up slowly against 15″ of water (about 40cm on a 50cm deep aquarium).
When I started this, I did’t know how it was going to turn out. In hindsight I would of course drain 1/3 of the water or 1/5 of the water – anything that is doable without taking out the fish (my initial constraint) or impacting the bio-equilibrium. Doing this would reduce pressure and essentially make it easier (it would take less stages of 2″ patching).
As a conclusion, I can say that in any case drain your aquarium as much as you can – it will help.
Then, if your leak is situated above the water level – work from the inside, using aquarium safe silicone, and if your leak is below that, use the method in this video.
As this was my first external repair it doesn’t look nice, and possibly I could have tried with less silicone, or maybe I could have trimmed it afterwards. However right now I cannot afford the headace of causing a new leak just for the sake of aesthetics.