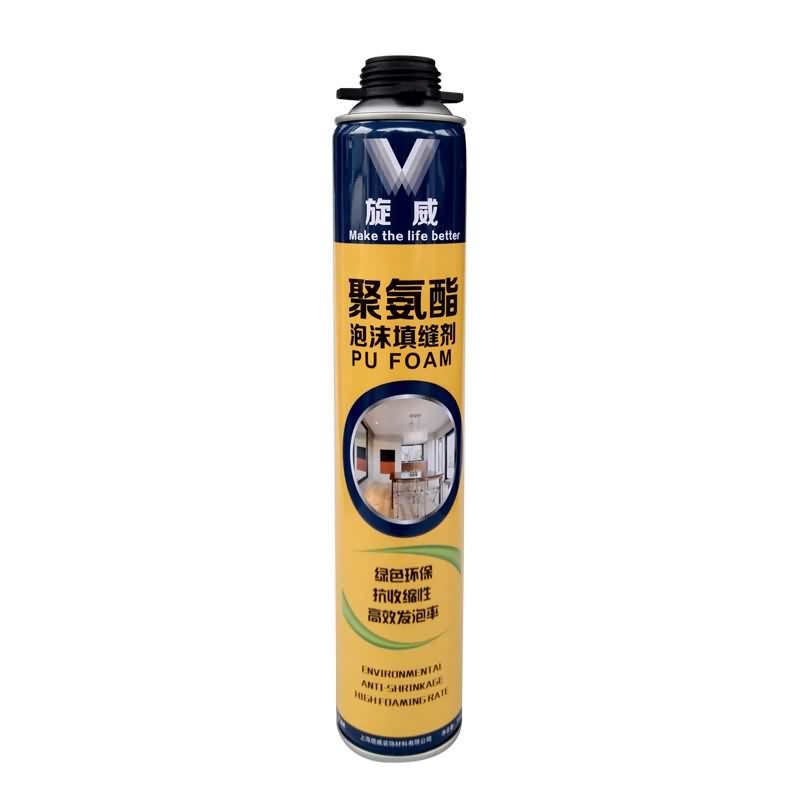
11 Years Manufacturer Siway PU FOAM for Morocco Factory

Short Description:
Description This product is the expansion, moisture curing, has the strong cohesiveness, elastic foam obturator structure; Save work to save time, reduce waste; High bond strength; Bubble can stick in the concrete, wood, metal, plastic, such as base material surface, but not including teflon, silicon resins; Key Features 1. Noise silencing effect 2. Strong bonding strength 3. Water & weatherproof 4. Primerless adhesion to most building materials Basic Application 1.Doors and Windows a...
In order to best meet client's needs, all of our operations are strictly performed in line with our motto " High Quality, Competitive Price, Fast Service " for 11 Years Manufacturer Siway PU FOAM for Morocco Factory, We also ensure that your selection will be crafted with the highest quality and reliability. Please feel free to contact us for further information.
Description
This product is the expansion, moisture curing, has the strong cohesiveness, elastic foam obturator structure; Save work to save time, reduce waste; High bond strength;
Bubble can stick in the concrete, wood, metal, plastic, such as base material surface, but not including teflon, silicon resins;
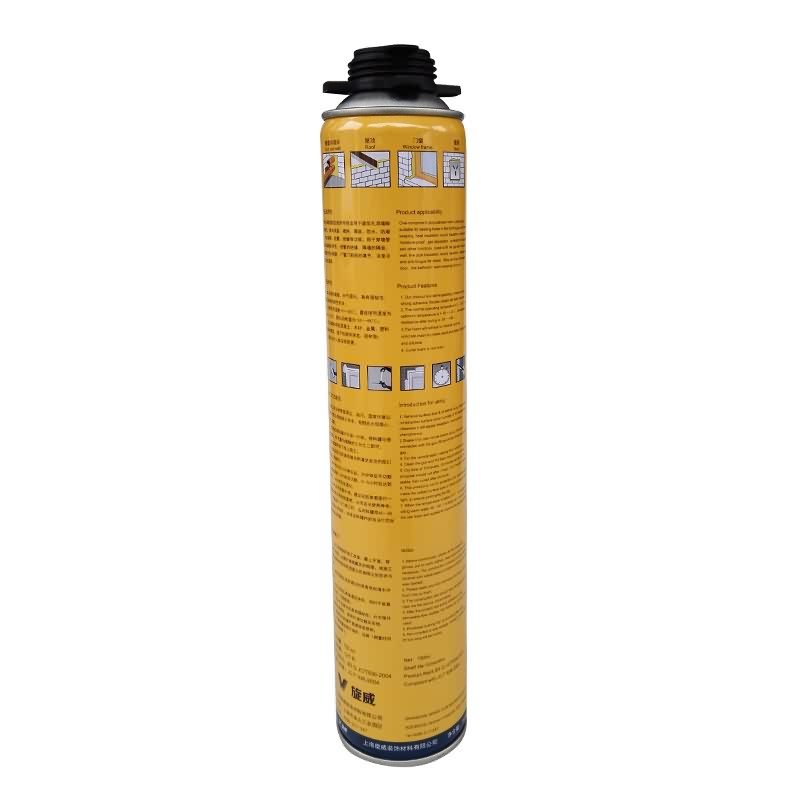
Key Features
1. Noise silencing effect
2. Strong bonding strength
3. Water & weatherproof
4. Primerless adhesion to most building materials
Basic Application
1.Doors and Windows and wall body between the gap filling sealing, fixed bond
2.Language lab, studio, etc when decorating, gap to fill
Technical data sheet
Certification
JC 936-2004
Color
White
Package
750ml in Bottle * 12 per box
Shelf life
12 months
Note
If you want the TDS or MSDS or other details, please contact with our sales person.
The Nautilus Shell Right is a fascinating replica of a Nautilus shell cross-section. This flexible silicone mold creates a beautiful rendition of the spirally coiled, multi-chambered shell in perfect proportions. The center of the shell features small, fanned arcs that increase in size as they spiral around to the outside of the shell design. Add this mesmerizing design to the side of any ocean themed cake to create an unforgettable focal point. Use with Nautilus Shell Left to create perfectly mirrored designs or a beautiful ocean scroll border. Each detail in the Nautilus shell decoration unmolds with unmatched accuracy on account of the molds unique flexible composition. – See more at: https://marvelousmolds.com/silicone-molds/nautilus#sthash.XZySjtxP.dpuf
Ocean and Seashell silicone molds videos: https://www.youtube.com/playlist?list=PLs8RlQj6tNyRdAzdpMlS8On7ZCDp2F4lu
More Marvelous Mold® videos: https://www.youtube.com/channel/UCEf8u5U6ZuK5LhC2P-fxLYA
Website: https://marvelousmolds.com/
Facebook: https://www.facebook.com/MarvelousMolds
Twitter: https://twitter.com/MarvelousMolds@MarvelousMolds
Pintrest: https://www.pinterest.com/marvelousmolds/
Instagram: https://www.instagram.com/marvelousmolds/
Beach Party – Islandesque by Kevin MacLeod is licensed under a Creative Commons Attribution license (https://creativecommons.org/licenses/by/4.0/)
Source: https://incompetech.com/music/royalty-free/index.html?isrc=USUAN1100613
Artist: https://incompetech.com/
GAF- Mastering The Roof (chapter 14)
The Liberty™ System is designed for both new roofing and re-roofing applications.
Full Installation Guide for Low Slope Modified Roofing (Cold-Applied Liberty System).
Low Slope Roofing Systems such as Liberty should only be installed on roof slopes of 2 in 12″ or higher. Never install it on roofs with ponding water.
This guide covers following procedures:
Deck Preparation
Base Ply Install
Middle Ply Install
Cap Sheet Installation
Drip Edge, Flashing and Accessory Installation details.
Low slope areas such as the roofs of carports, garages, porches and sun rooms – anything below a 2/12 pitch requires special attention.
Without the drainage of a steep slope, these roofs can take a hard beating from rain, ice and snow.
You’ve probably seen the problem leaks that occur where these low slope roofs tie in with the main house.
To provide you with materials that can meet these challenges, GAF has developed a series of self adhering membranes that go down easy, apply with simple tools and provide maximum protection. Lets take a look at these revolutionary low slope products and see how they install.
Liberty is a system for low slopes with a pitch between 1/2” to 6” per foot. Designed as a Whether installing Liberty Mechanically Attached Base Sheet, or Liberty Self Adhered Base Sheet, your edge metal details are the same.
At the edge of the roof, install drip edges. Primed Metal drip edge is required at eaves and rakes on Liberty Systems. At eaves and rakes, install a bed of Topcoat® Matrix 201 Premium SBS Flashing Cement to set the metal drip edge into. Next, to better seal the flange to the Base Sheet Base/Ply, nail the drip edge 3” on centers in a staggered pattern using roofing nails. Finally, apply a 1/16 to 1/8 inch troweling of Matrix 201 Premium SBS Flashing Cement to the top of the metal prior to installing the Liberty Cap Sheet over drip edges. Using a notched trowel helps assure a proper application rate of adhesive.
Working from the center of the length of Base Ply Sheet, allow the sheet to roll onto the primed deck, being careful to avoid wrinkles and trapped air while maintaining proper alignment with the selvage edge of the previous course.
Firmly hand press the sheet to avoid wrinkles and trapped air as the Base/Ply adheres to the underlying base sheet or primed deck.
Now fold the other half of the sheet back on itself exposing the remaining release film. Remove the release film and roll the sheet in place working from the center of the sheet outward towards the ends of the sheet.
Flashing of walls, roof terminations and penetrations can also be done with Liberty membranes and pre-flashed, SBS M-Weld Units.
As with all vertical flashings, the flashing is nailed off at the top and counter flashed.
Talent On Camera
Liberty is just one of the self-adhered products offered by GAF. Others include the Freedom series of self-adhered TPO roofing membranes.
Freedom membrane is a tough commercial grade membrane that is easy to install, long lasting and energy efficient with a white reflective surface. For further information on self adhered roofing technology, visit GAF.com or call 1-800-ROOF-411. That’s 1-800-766-3411.


