13 Years Factory wholesale SV-995 Neutral Silicone Sealant to Islamabad Manufacturers

Short Description:
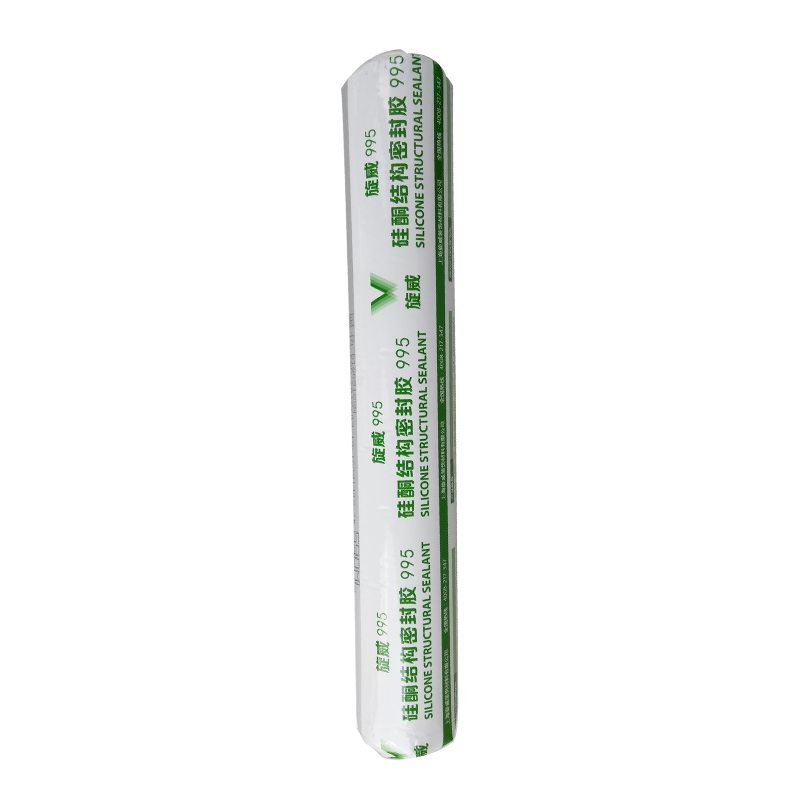
Description SV – 995 neutral silicone sealant structure is a kind of one-component, construction curtain wall structure of room temperature curing glue, can be used in all kinds of curtain wall joints and waterproof seal, also can be used for all kinds of aluminum alloy, glass doors and Windows seal assembly Where to use 1.Curtain wall joints and waterproof seal 2.Aluminum alloy, glass doors and Windows seal assembly Key Features 1. 100% silicone 2. Easy to use 3. Waterproofing and...
Sticking to the principle of "Super Quality, Satisfactory service" ,We are striving to be a good business partner of you for 13 Years Factory wholesale SV-995 Neutral Silicone Sealant to Islamabad Manufacturers, We warmly welcome customers from all over the world for any kind of cooperation with us to build a mutual benefit future. We are devoting ourselves wholeheartedly to offer customers the best service.
Description
SV – 995 neutral silicone sealant structure is a kind of one-component, construction curtain wall structure of room temperature curing glue, can be used in all kinds of curtain wall joints and waterproof seal, also can be used for all kinds of aluminum alloy, glass doors and Windows seal assembly
Where to use
1.Curtain wall joints and waterproof seal
2.Aluminum alloy, glass doors and Windows seal assembly
Key Features
1. 100% silicone
2. Easy to use
3. Waterproofing and weatherproofing
4. Fast curing speed, high strength
5. 12.5% movement capability
Technical data sheet
| Test standard | Test project | Unit | value |
| Before curing——25℃,50%R.H. | |||
| GB13477 | Flow, sagging or vertical flow | mm | 0 |
| GB13477 | surface drying time(25℃,50%R.H.) | min | 30 |
|
GB13477 |
Operating time | min | 20 |
| Curing time(25℃,50%R.H.) | Day | 7-14 | |
| Sealant curing speed and operating time will have different with different temperatures and temperature, high temperature and high humidity can make sealant curing speed faster, rather low temperature and low humidity are slower.21 days after curing——25℃,50%R.H. | |||
| GB13477 | Durometer Hardness | Shore A | 40 |
| GB13477 | The ultimate tensile strength | Mpa | 0.8 |
| GB13477 | Movement capability | % | 12.5 |
Color
Black,White,Gray
Package
300ml in cartridge * 24 per box, 590ml in sausage *20 per box
Shelf life
12 months
Note
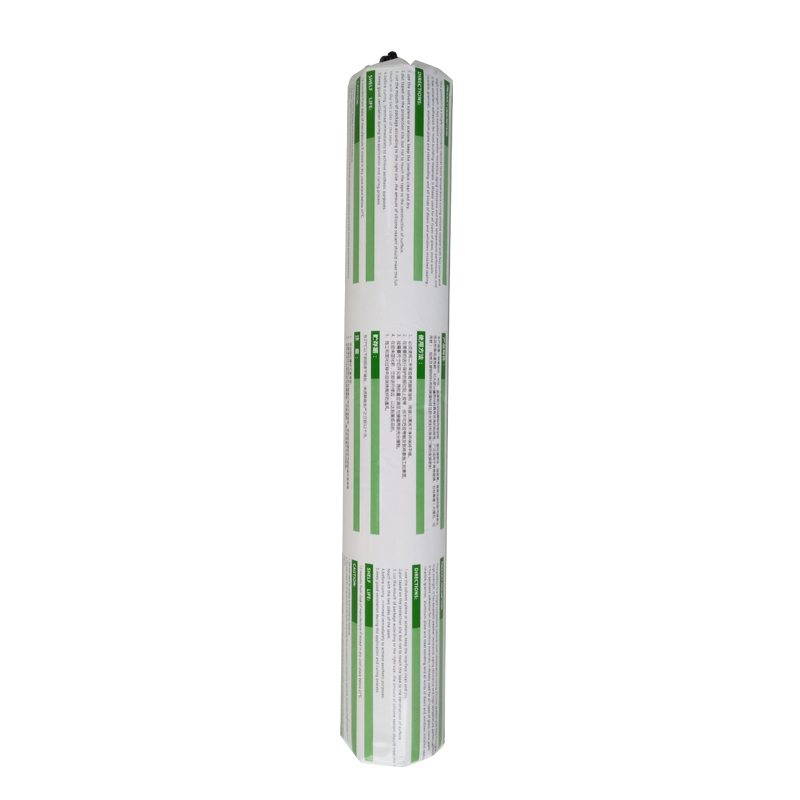
If you want the TDS or MSDS or other details, please contact with our sales person.
B & A Painting specializes in quality Fence staining and restoration of your exterior cedar structure with our semi-transparent oil-based stain & sealant. We use a proven, tested formula which enhances the beauty of the fence, deck, gazebo, pergola, arbor, patio cover and other wood structure by staining it and shielding it from the damaging effects of harmful UV-rays, harsh Texas weather conditions and mildew.
“DON’T REPLACE IT. RESTORE IT.”
An unprotected wood fence structure will turn grey, mildew, and reduce the value of your property. We apply a semi-transparent oil-based stain with pigments that when combined with wood fibers, help to maintain the natural texture and color of your Wood Fencing. The oils in our stains also prevent the wood from drying out.
By preserving your Exterior Wood Fence, and with proper care, the life expectancy of your investment can be greatly extended, providing years of continued beauty and enjoyment.
For more information about the process or Wood Stain we use, feel free to call us anytime. We’d like the opportunity to protect staining or painting your fence, patio cover, arbor, deck, garage door and much more.
Exterior Wood Stain and Fence Restoration Experts, We can stain, seal and restore wood structure, Fences, Decks, Pergola, Arbors, Play Sets, Patio, Furniture, Gazebos, Cedar Siding, Shakes Shingles, Cedar Garage Doors.
Today, Our Dallas Fence Staining strives to provide our customers the absolute best Fence Painting service at a reasonable cost and to treat each customer as if it was our only customer.
fence staining, wood finishing, deck staining, fence stain, wood stain, deck stain, wood sealer, exterior staining, deck restoration, cedar siding, garage doors, cedar fence, gazebo, fences, fencing, gazebos, pergola, gazebo patio, fence, yard fence
B & A PAINTING DFW / FREE ESTIMATES
Request Form or Contact us (469) 735-0891
Email — bapaintingdfw@gmail.com
Total Customer Satisfaction
Through professionalism, integrity, experience, quality service and reliability Our DFW House Painting aims to provide the absolute best painting service at a reasonable price.
Interior Painting
* Interior Painting
* Oil Enameling
* Staining
* Cabinet Finishing
* Antiquing
* Furniture Restoration
* Faux Finishing
* Elephant Skin (wall finish)
* Wallpaper Removal
* Drywall Repair
Exterior Painting
* Exterior Painting
* Staining
* Semi-Transparent/Semi-Solid Stain
* Pressure Washing
* Deck Finishing
* Exterior Interior Varnish
* Carpentry Wood Restoration
* Epoxy Coatings
* Metal Finishes
B & A Painting provides professional paint services throughout the Dallas / Fort Worth Area.
Addison, TX | Coppell, TX | Fort Worth, TX | Keller, TX | N. Richland Hills, TX | Rowlett, TX | Allen, TX | Cross Roads, TX | Frisco, TX | Lake Dallas, TX | Parker, TX | Sachse, TX | Argyle, TX | Dallas, TX | Garland, TX | Lewisville, TX | Plano, TX | Savanna , TX| Arlington, TX | Denton, TX | Grapevine, TX | Little Elm, TX | Prosper, TX | Southlake, TX | Aubrey, TX | Euless, TX | Highland Park, TX | Lucas, TX | Providence, TX | The Colony, TX | Bedford, TX | Fairview , TX| Hurst, TX | McKinney, TX | Richardson, TX | Trophy Club, TX | Carrollton, TX | Farmers Branch, TX | Irving, TX | Mesquite, TX | Roanoke, TX | University Park, TX | Colleyville, TX | Flower Mound, TX | Justin, TX | Murphy, TX | Rockwall, TX | Wylie, TX
This Video Brought to you by – https://www.bapaintingdfw.com/
Turning the 3d printer to change the filament is kind of a pain, so I made a way to spin it, and store filament and tools!
Subscribe to my channel: https://bit.ly/1k8msFr
MORE PROJECTS, POSTS AND EVENTS
https://www.iliketomakestuff.com
GET MORE INFO ON THIS PROJECT:
https://www.iliketomakestuff.com/make-spinning-3d-printer-workstation
HERE’S WHAT YOU’LL NEED:
https://amzn.to/1NCVmAb – SawStop cabinet saw
https://amzn.to/1GMrfGL – Dewalt 20v drill driver combo
https://amzn.to/1HdQuwD – Grizzly G0555LANV Bandsaw
https://amzn.to/1GyGjbg – Grizzly Drill Press
https://amzn.to/1ntzLSF – Silicone spray
https://amzn.to/1ntzEGI – 12″ lazy susan bearing
https://amzn.to/1WnkyhQ – Pancake compressor/ brad nailer combo
https://amzn.to/1LZGfxW – Ultimaker 2 Extended 3D printer
Want to support ILTMS? Get early viewing, exclusive content and more…
https://www.iliketomakestuff.com/patreon
BUY A SHIRT, STICKER, PENCILS and MORE!!
https://www.iliketomakestuff.com/store
FOLLOW:
https://twitter.com/iliketomakestuf
https://instagram.com/iliketomakestuff
https://facebook.com/iltms
I used scrap plywood for this project, so it was a combination of 1/2″, 3/4″ plywood and MDF.
I cut down three pieces to 14 3/4″ squares, as this was a little larger than the footprint of my printer.
I cut a couple of strips for the side panels. These were a little taller than the diameter of a filament roll.
On one of these pieces, I centered a filament roll and traced the inner circle.
I made a mark at the far outside of the circle, and drew in a place for a 1/2″ dowel hole.
I lined the two pieces up and drilled a 1/2″ hole through both.
I sat the side pieces in place on the base and traced the edge. This shows me the safe area to drill holes. I did the same for the other square piece.
On both pieces, I drilled countersunk holes in the safe area.
The side pieces got glue on one side before being screwed to the bottom square.
I mistakenly glued the top at this point too, but don’t do that. Just screw it on.
I tested the spacing with a roll of filament hanging on the dowel rod.
I cut another scrap that fit within the open side of the box, to act as a drawer front.
Two pieces were cut down to act as the sides of the drawer. Their depth was about the depth of the box minus the diameter of the filament roll.
I sat the side panel on the side of the box and pivoted it off the bottom front edge. I made a mark on the side panel where I wanted it to hit the box top.
Using a straight edge, I drew a line from my mark to the opposite top corner.
With both side pieces taped together, I cut along my line on the bandsaw.
I trimmed a piece, for the back, down to the same height as the back side of the side panels.
Since I was out of plywood scrap, I cut the drawer bottom from MDF.
I applied glue to all of the surfaces that would touch.
I folded the pieces up into place and used some brad nails to hold everything in place while the glue dried.
Using a spacer (scrap), I marked the location for two hinges on the front, bottom edge.
I predrilled holes for the hinges, and screwed them in.
I held the drawer in place, upside down, to align and screw in the hinges.
I flipped the drawer up into place. It was tighter than I wanted, but fit correctly.
I sanded down the rough edges and the sides of the drawer where it touched the outer box.
I applied some paste wax to the areas that touched which made the drawer move very smoothly!
I 3d printed a quick knob (but any knob would work fine).
Using a very small bit, I drilled a hole right in the center of the drawer front.
I ran a screw in from the back side directly into the back of the knob to hold it in place.
I sat the printer in place, centered on the top of the box, and nailed on some small strips along the side of it, keeping them very snug to the printer.
On the base panel, I measured a lazy susan bearing, and found the difference in the base’s width and the bearings diameter. I split the difference and marked in that distance from each edge.
Having these four marks allowed me to easily center the bearing on the base.
The two parts of the bearing got lined up so you could see a hole all of the way through. I marked these (4) holes onto the base.
Each hole got drilled, with a countersink bit.
I centered the bearing the same way on the bottom of the cabinet, but screwed it in place using the four inner holes.
The bearing comes un-lubricated, so I sprayed in a little silicone spray and worked it into the bearing.
Laying the base on top of the bearing, I aligned the holes using a drill bit and my ice pick.
I drove in screws, through the base, into the bearing holes. These are small holes made to be grabbed by sheet metal screws.
I flipped the whole thing over and took it for a spin (pun intended).
I was able to fit four rolls of filament on the 7/16″ dowel.
I added all of the 3d printing tools to the drawer and put it in place in my office.
Now I can easily spin the machine to swap filaments! Second channel: bit.ly/iltms-2