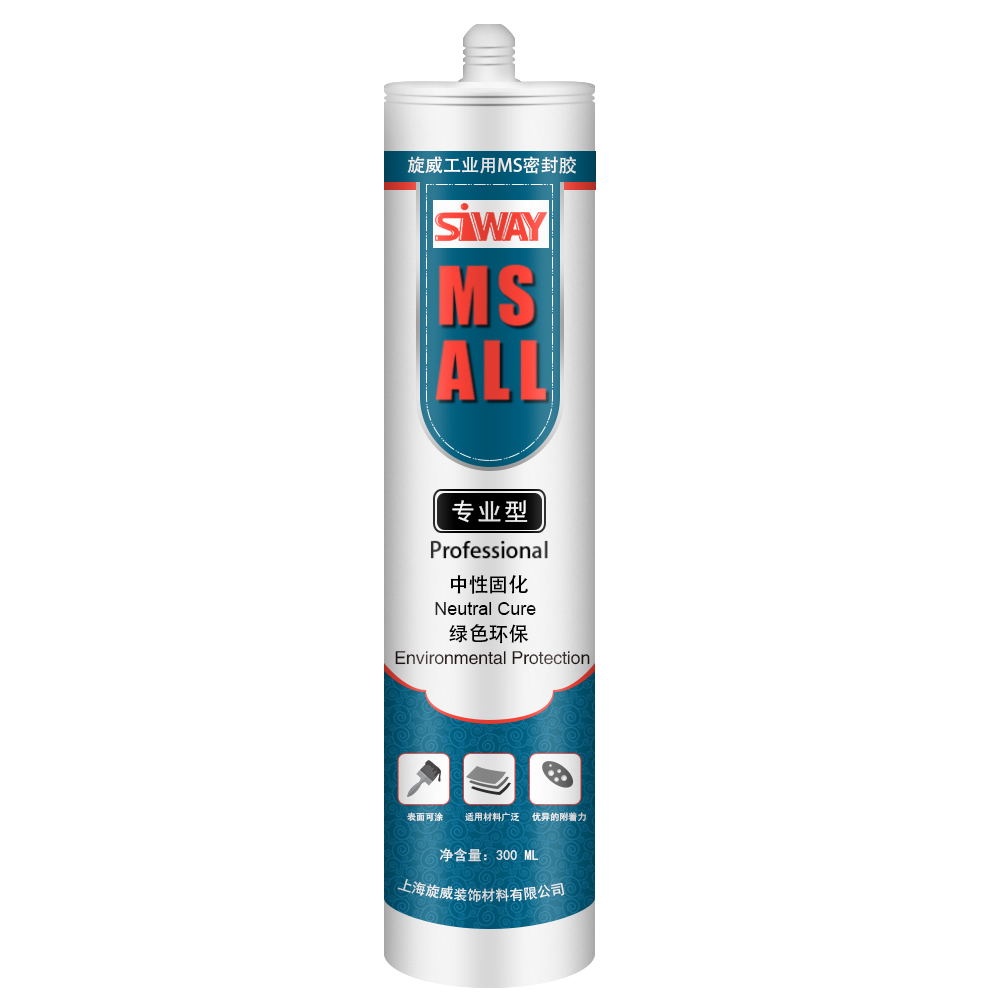
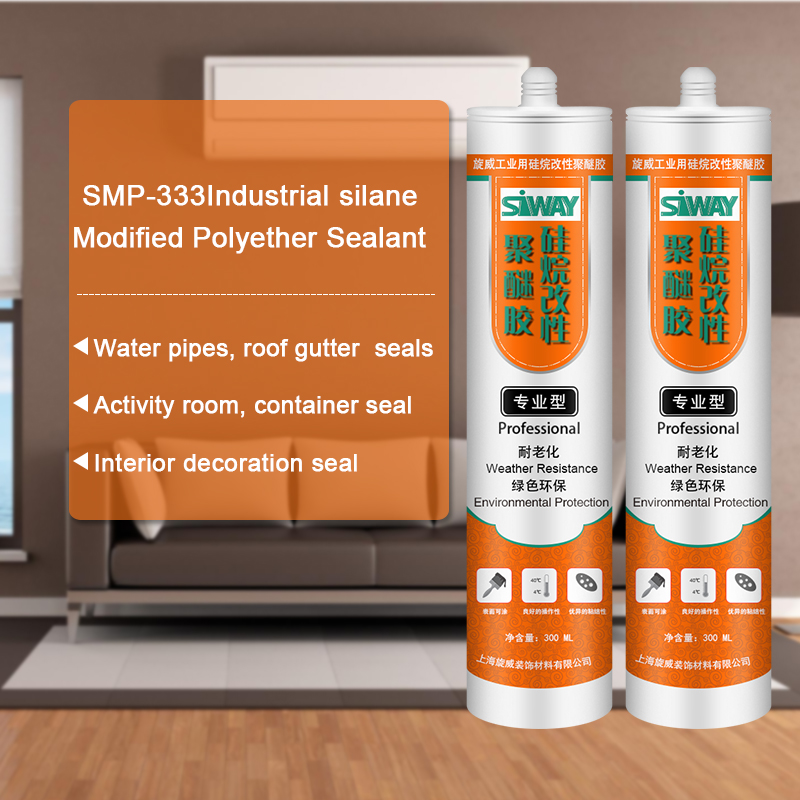
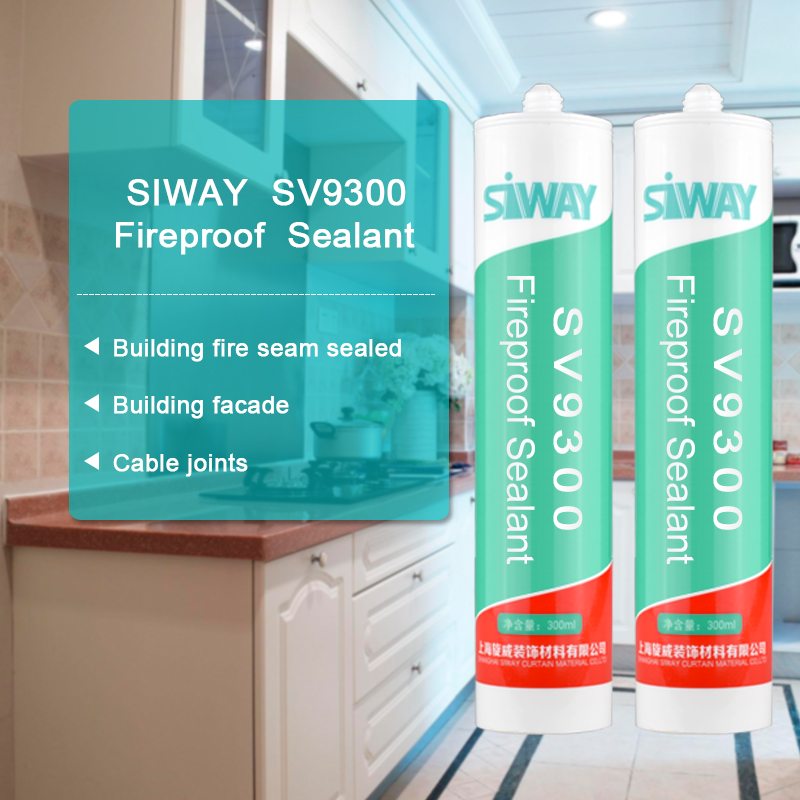
professional factory for SV-900 Industrial MS polymer silicone sealant to Turkmenistan Factories
Short Description:
Description It is one component, primer less, can be painted, high quality joint sealant based on MS polymer technology, ideal for all sealing and boding on all materials. It is solvent free, environmental protection product. Where to use Sealing and bonding in housing area, bus, train, elevator, air conditioner, ventilation equipment. Used for installing fixed panel frame, windowsill threshold, and suitable for sealing on all materials surface, like painted metal, glass, wood, concret...
We insist on the principle of development of 'High quality, Efficiency, Sincerity and Down-to-earth working approach' to provide you with excellent service of processing for professional factory for SV-900 Industrial MS polymer silicone sealant to Turkmenistan Factories, We welcome new and old customers from all walks of life to contact us for future business relationships and achieving mutual success!
Description
It is one component, primer less, can be painted, high quality joint sealant based on MS polymer technology, ideal for all sealing and boding on all materials. It is solvent free, environmental protection product.
Where to use
Sealing and bonding in housing area, bus, train, elevator, air conditioner, ventilation equipment. Used for installing fixed panel frame, windowsill threshold, and suitable for sealing on all materials surface, like painted metal, glass, wood, concrete, marble, natural stone, granite, bricks, mirrors, aluminum, steel, lead, zinc, common plastics, polystyrene, polyurethane and so on. Sealing the joint of ceiling, timber, gaps of water pipe, gutter on roofs, moved rooms, container, marine. Apply for interior and exterior family decoration, like floor adhesive systems, particular for laying floor tiles, suitable for kitchen, bathroom.
Key Features
1. Paint able
2. Sealing most materials
3. Excellent adhesion
Technical data sheet
| Test standard | Test project | Unit | value |
| Before curing——25℃,50%R.H. | |||
| GB13477 | density | g/m³ | 1.40±0.05 |
| GB2793 | Non-volatile components | % | 99.5 |
| GB13477 | Flow, sagging or vertical flow | mm | 0 |
| GB13477 | surface drying time(25℃,50%R.H.) | min | 30 |
| Curing speed | mm/24h | 3 | |
| Sealant curing speed and operating time will have different with different temperatures and temperature, high temperature and high humidity can make sealant curing speed faster, rather low temperature and low humidity are slower.14days after curing——25℃,50%R.H. | |||
| GB13477 | Durometer Hardness | Shore A | 32-38 |
| GB13477 | The ultimate tensile strength | Mpa | 2.5 |
| GB13477 | elongation at break | % | 400 |
Color
White, black, grey
Package
300ml plastic cartridges
Shelf life
12 months
Note
If you want the TDS or MSDS or other details, please contact with our sales person.
Level floors prior to the installation of tile or other flooring requiring a flat surface. Rapid setting LevelQuik Self-Leveling Underlayment can be poured up to 1 1/2″ deep and seeks its own level in minutes. LevelQuik RS helps prevent bond failure, crumbling and staining.
The first step to a successful tile or other floor covering installation is a flat subfloor.
By using LevelQuik RS, from Custom Building Products, you will help to eliminate:
- Lippage or unevenness between tiles and cracks in tile or grout
This is especially important if you are installing large format tile, which is any tile with a side 15 inches or longer.
Rapid-setting LevelQuik cures fast, so it’s ready for tiling in only 4 hours.
Before getting started, review the Technical Data sheet for more detailed instructions. It includes a list of suitable substrates and coverage charts to help you determine the amount of product needed for your project.
Assemble the following materials, depending on your job conditions:
- A 6 gallon or larger pail
- Heavy duty Electric drill
- Egg beater style mixing paddle
- Metal lath with long and screws
- Foam or weather stripping
- Gauge rake
- Smoothing tool, such as a spreader or the flat side of a trowel
- Water
- Large measuring cup
- LevelQuik Primer
- Stiff push broom or paint roller
LevelQuik can be poured over a variety of substrates, including concrete slabs and exterior grade plywood.
Make sure the surface is clean, dry and freshly swept or vacuumed to remove dust.
Before leveling, all substrates must be prepared with an application of LevelQuik Latex Primer.
Wooden subfloors require attaching a reinforcing layer of metal lath after priming.
Make sure all perimeters, penetrations and movement joints are blocked.
Once the LevelQuik primer has dried, typically 1-3 hours, you’re ready to begin mixing and applying LevelQuik RS.
LevelQuik RS is a rapid setting product, designed to reduce your project installation time.
Put 5 ¼ – 5 ¾ quarts of clean, cool water in a large bucket or other mixing container.
Slowly add the entire bag of LevelQuik while mixing.
We recommend using a heavy duty ½-inch electric drill and an eggbeater mixing paddle with a minimum speed of 650 RPM.
Mix for 2 minutes, without moving the paddle up and down.
Pour the contents onto the subfloor immediately after mixing.
Work from the back wall towards the front of the room so you do not step in leveler that has already begun curing.
Additional buckets should be poured adjacent to previous pours so they merge into each other.
Keep a wet edge at all times until you complete the placement of leveler.
Using a gauge rake, be sure to spread LevelQuik all the way to the dams at the walls or edges of the room.
Follow up with a smoothing tool or the flat side of a trowel.
LevelQuik can be applied from a feather edge up to 1 ½ inches deep.
Once it’s dry, you’re ready to begin tiling.
Don’t forget to fill movement joints and changes of plane with a flexible caulk or sealant, when you are grouting your tile project.
And, when you use an eligible system of qualifying CUSTOM mortars and grouts, the entire tile installation can qualify for up to a lifetime warranty.
Choose LevelQuik RS – from Custom Building Products.
Do you know the difference?
It’s confusing when people throw around words like rubberized, silicone or TPU.
Untwist the tangled knot of confusion with this video.
Find these cases for your phone:
https://www.cellularoutfitter.com/c-3-cell-phone-covers-and-gel-skins.html?DZID=YT_MAI10_INSTR_DESC-1&utm_source=youtube&utm_medium=youtube&utm_campaign=Mai&utm_content=INSTR
_
https://facebook.com/CellularOutfitter?DZID=YT_MAI10_INSTR_DESC-3&utm_source=youtube&utm_medium=youtube&utm_campaign=Mai&utm_content=INSTR
https://twitter.com/celloutfitter?DZID=YT_MAI10_INSTR_DESC-4&utm_source=youtube&utm_medium=youtube&utm_campaign=Mai&utm_content=INSTR
Google +
https://plus.google.com/113926800527068868377/?DZID=YT_MAI10_INSTR_DESC-5&utm_source=youtube&utm_medium=youtube&utm_campaign=Mai&utm_content=INSTR
https://pinterest.com/cellularoutfit/?DZID=YT_MAI10_INSTR_DESC-6&utm_source=youtube&utm_medium=youtube&utm_campaign=Mai&utm_content=INSTR


