Discount wholesale SV-900 Industrial MS polymer silicone sealant Wholesale to Iran
Short Description:
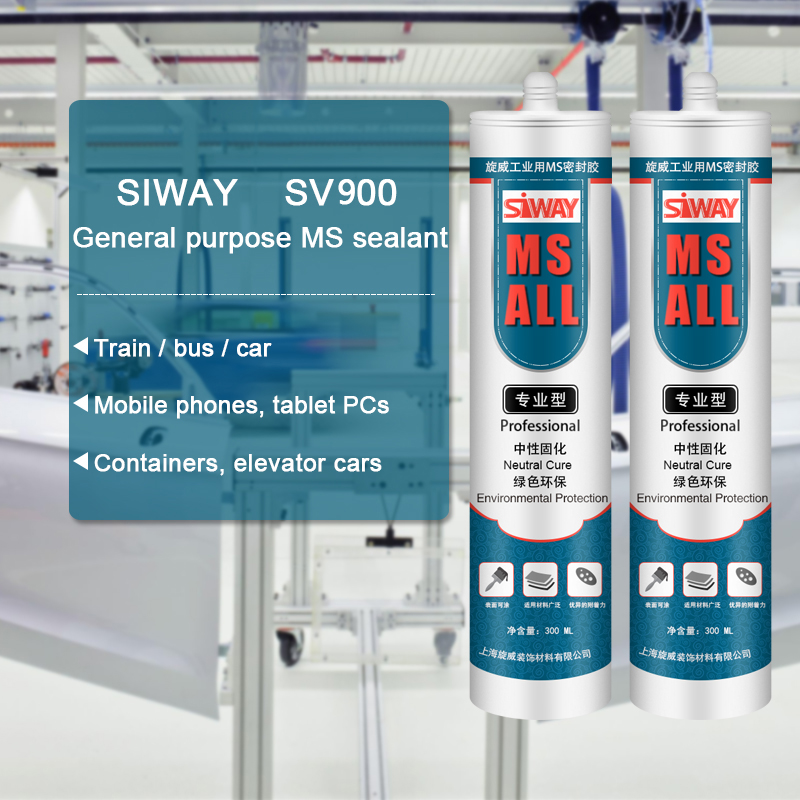
Description It is one component, primer less, can be painted, high quality joint sealant based on MS polymer technology, ideal for all sealing and boding on all materials. It is solvent free, environmental protection product. Where to use Sealing and bonding in housing area, bus, train, elevator, air conditioner, ventilation equipment. Used for installing fixed panel frame, windowsill threshold, and suitable for sealing on all materials surface, like painted metal, glass, wood, concret...
To create more value for customers is our business philosophy; customer growing is our working chase for Discount wholesale SV-900 Industrial MS polymer silicone sealant Wholesale to Iran, We warmly welcome merchants from home and abroad to call us and establish business relationship with us, and we will do our best to serve you.
Description
It is one component, primer less, can be painted, high quality joint sealant based on MS polymer technology, ideal for all sealing and boding on all materials. It is solvent free, environmental protection product.
Where to use
Sealing and bonding in housing area, bus, train, elevator, air conditioner, ventilation equipment. Used for installing fixed panel frame, windowsill threshold, and suitable for sealing on all materials surface, like painted metal, glass, wood, concrete, marble, natural stone, granite, bricks, mirrors, aluminum, steel, lead, zinc, common plastics, polystyrene, polyurethane and so on. Sealing the joint of ceiling, timber, gaps of water pipe, gutter on roofs, moved rooms, container, marine. Apply for interior and exterior family decoration, like floor adhesive systems, particular for laying floor tiles, suitable for kitchen, bathroom.
Key Features
1. Paint able
2. Sealing most materials
3. Excellent adhesion
Technical data sheet
| Test standard | Test project | Unit | value |
| Before curing——25℃,50%R.H. | |||
| GB13477 | density | g/m³ | 1.40±0.05 |
| GB2793 | Non-volatile components | % | 99.5 |
| GB13477 | Flow, sagging or vertical flow | mm | 0 |
| GB13477 | surface drying time(25℃,50%R.H.) | min | 30 |
| Curing speed | mm/24h | 3 | |
| Sealant curing speed and operating time will have different with different temperatures and temperature, high temperature and high humidity can make sealant curing speed faster, rather low temperature and low humidity are slower.14days after curing——25℃,50%R.H. | |||
| GB13477 | Durometer Hardness | Shore A | 32-38 |
| GB13477 | The ultimate tensile strength | Mpa | 2.5 |
| GB13477 | elongation at break | % | 400 |
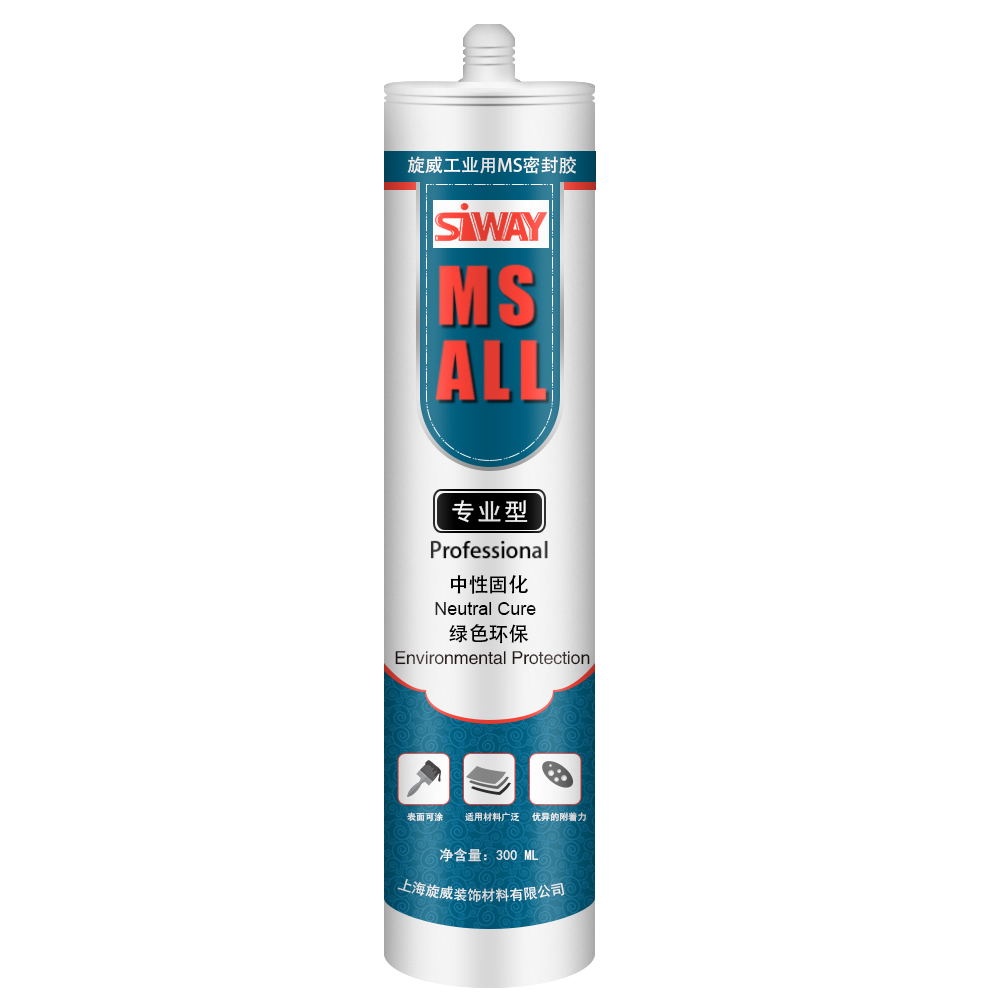
Color
White, black, grey
Package
300ml plastic cartridges
Shelf life
12 months
Note
If you want the TDS or MSDS or other details, please contact with our sales person.
https://sealgreen.com/ A concrete sealer is the best way to keep the weather off of your concrete and looking beautiful. SealGreen’s concreate sealant concentrate is easy enough for anyone to use and safe enough for family and pets. SealGreens silicate sealer provides you an effortless solution to avoid having to replace your concrete!
SUBSCRIBE for FREE swimming pool care and maintenance videos
every week: https://bit.ly/SubscribeINYO ****
VISIT our blog for weekly swimming pool tips, tricks, and more! https://www.inyopools.com/blog
SHOP at our online store! https://bit.ly/InyoPools
Listen to the Poolside Chat podcast!
iTunes:https://bit.ly/PoolsideChat
SoundCloud:https://soundcloud.com/inyopools-com
LIKE us on FACEBOOK! https://www.facebook.com/inyopools
FOLLOW us on TWITTER! https://twitter.com/inyopools
FOLLOW us on INSTAGRAM! https://www.instagram.com/inyopools/
JOIN our circle on GOOGLE+ https://plus.google.com/+Inyopools/posts
To view this guide on our website, visit:
https://www.inyopools.com/HowToPage/how_to_upgrade_your_pool_light_to_an_led_color_changing_light.aspx
In this video we’ll show you how to replace an old standard bulb with a new LED color changing bulb, LEDs are a great way to save money in the long run. Replacing a 500 watt bulb with a 45 watt bulb with similar beam coverage and ability to change colors and lights shows. For most homeowners it’s a no-brainer. The bulb we’ll be using is the Color Splash 3G. Not all standard incandescent pool lights have an LED replacement so do your research or give us a call to make sure you get the right part.
Once the light is removed from the pool we will need to access the bulb. Each light is different when opening it. The model we’re using is the Pentair Amerilite which has a uni tension clamp to secure the face rim. Remove this locking bolt and set it to the side. The clamp is then able to be removed from the
rim brackets one at a time.
Now onto the rim. Separate it from the lens gasket; this may take some strength or use of a tool to gently pry the two pieces apart. The pressure from the clamp and grime from the pool creates a tight seal over the years.
Roll the gasket over the edge of the lens and fixture. Be sure not to drop the lens while completing this step. Set the lens to the side. Have the new lens gasket ready for install after we put in the new bulb.
Look over your fixture’s inner casing for any corrosion or burn marks. This is a sign that a bulb will not fix your issue. If your fixture is compromised the new bulb will fail prematurely. The reason for the new lens gasket is to ensure a tight seal. If installed correctly it should prevent any future leaks.
The light may have been recently used so cover the bulb with a towel while unscrewing it from the fixture. And install the new bulb. This LED screws in just like the original.
To put the fixture back together we just reverse how we take it par. The lens should be placed to cover the fixture. Using the new lens gasket Roll it over the edge of the lens and fixture. If your gasket is curved on one side, use the flat side of the gasket on the side with the lens. Re-apply the face-rim and unitentson clamp.