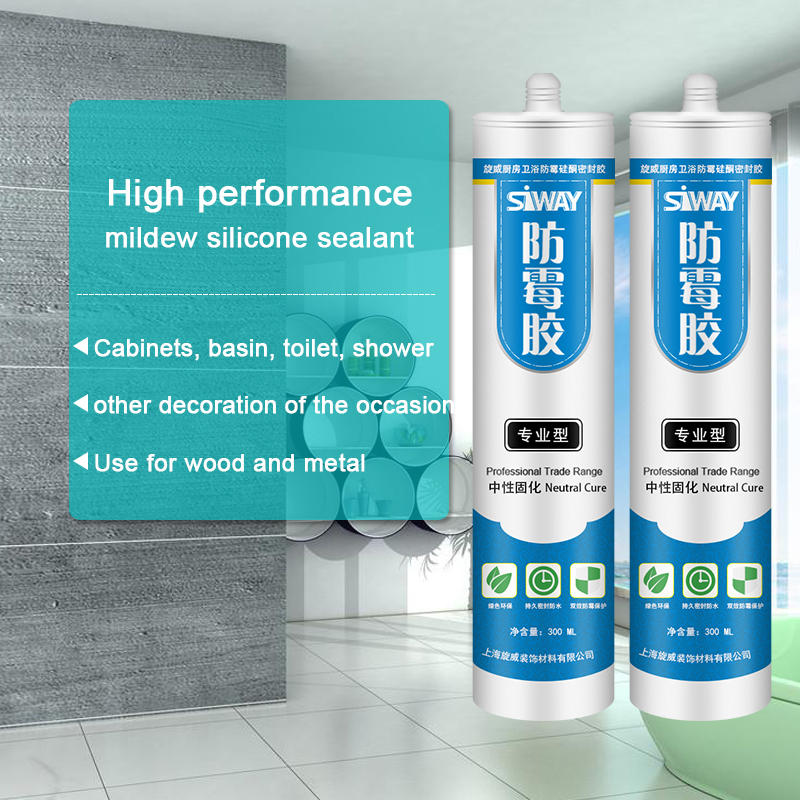
Top Quality High performance mildew silicone sealant Supply to Karachi
Short Description:
Description Siway high-performance mildew silicone sealant is a one-component, neutral curing, designed for decoration in the need to provide good anti-mildew performance of the occasion designed by environmental protection products. This product can be easily extruded under wide temperature conditions, relying on moisture in the air to cure into excellent, durable elastic silicone rubber, and most of the building materials in the case without primer can produce superior Of the bondability. I...
The company upholds the philosophy of "Be No.1 in quality, be rooted on credit and trustworthiness for growth", will continue to serve old and new customers from home and overseas whole-heatedly for Top Quality High performance mildew silicone sealant Supply to Karachi, Let's cooperate hand in hand to jointly make a beautiful future. We sincerely welcome you to visit our company or contact us for cooperation!
Description
Siway high-performance mildew silicone sealant is a one-component, neutral curing, designed for decoration in the need to provide good anti-mildew performance of the occasion designed by environmental protection products. This product can be easily extruded under wide temperature conditions, relying on moisture in the air to cure into excellent, durable elastic silicone rubber, and most of the building materials in the case without primer can produce superior Of the bondability. It has the following product features:
- easy to operate, you can always use out;
- Neutral curing, suitable for most building materials without adverse effects or corrosion;
- Excellent adhesion: no primer, with most of the building materials to form a strong cohesive force;
- excellent weather resistance and aging performance;
- excellent long-term anti-mildew ability;
- Good environmental performance.
Where to use
Siway neutral high-performance anti-mildew silicone sealant can be widely used in a variety of high-humidity environment, the interface of the waterproof seal and filling and so on, such as cabinets, basin, toilet, shower, etc., and other needs long-term Moldy effect of the decoration of the occasion.
Key Features
1. 100% silicone
2. Easy to use
3. Waterproofing and weatherproofing
4. Primerless adhesion to most building materials
5. 12.5% movement capability
Technical data sheet
| Test standard | Test project | Unit | value |
| Before curing——25℃,50%R.H. | |||
| GB13477 | Flow, sagging or vertical flow | mm | 0 |
| GB13477 | surface drying time(25℃,50%R.H.) | min | 60 |
| GB13477 | Extrusion | (ml/min) | 355 |
| Sealant curing speed and operating time will have different with different temperatures and temperature, high temperature and high humidity can make sealant curing speed faster, rather low temperature and low humidity are slower.21 days after curing——25℃,50%R.H. | |||
| GB13477 | The ultimate tensile strength | Mpa | 0.9 |
| GB13477 | Movement capability | % | 12.5 |
| Mildew grade | 0 grade | 0 grade | |
Certification
JC/T881-2001
Color
Black,White,Gray
Package
300ml in cartridge * 24 per box, 590ml in sausage *20 per box
Shelf life
12 months
Note
If you want the TDS or MSDS or other details, please contact with our sales person.
In this video I talk about cleaning paint off glass. I painted the back of my aquarium black, taped it off and used garbage bags to try to avoid overspray but it still happens! so this video shows you how to easily clean, plus get rid of glue residue and stickers or labels that are on aquarium glass. Basically how to use a razor blade for your aquarium.
***VISIT OUR SPONSORS***
https://www.traderadiators.com | https://www.grahamplumbersmerchant.co.uk | https://www.buteline.com/uk | https://www.adey.com
***WEBSITE***
https://www.plumberparts.co.uk
***Facebook***
https://www.facebook.com/profile.php?id=100001119410854
***Twitter***
https://twitter.com/#!/plumberparts
This video will tell you how to install a washing machine waste. From drilling a massive hole through the wall to glueing up the PVC solvent weld fitting and creating a water tight seal.
Please subscribe and favourite!
Hold tight, and welcome to today’s plumberparts.co.uk video. I suppose you’re here to disrupt this peaceful time I’ve having in my deck chair. So I can show you how to cut a hole in the wall and install, very successfully, the waste for your washing machine or dishwasher. Let’s go. Hold tight!
Right, so this is the washing machine that we’re all about. There’s waste here, a little bit of water in it. The first thing we do is mark up the situation so we know roughly where we’re gonna put our hole out of the wall. Let’s have a go at that now. Right, so we’re going to look at something, something like that, so our waste can go in at the top, nice and tight, lovely, like that. So, we’re going to be looking to drill a hole somewhere here. So I mark that with a pencil Right, this hole here is just under a window that’s up there. So, what I want to do quickly is take a rough measurement to the bottom of the window, which is about 40 centimetres, and we’ll go outside and make sure that from the bottom of the window, the 40 centimetres, when it comes out, is going to give us an adequate drop down into our main waste, which it does here.
So now, we’re ready to drill our main hole, which generally is an inch and a half size. Now, you’re gonna need core bits for this sort of thing, and a big drill. This is the sort of stuff that only a plumber’s gonna do, really. You’re not gonna do this yourself. So if you’re ever replacing any of the pipe work or anything like that, and there’s already a hole here, just use this video as a quick guide to how to replace the pipe and maybe put a new trap and downpipe in. But for now, we’re gonna drill this hole and it’s gonna be absolutely epic. Right, beautiful, all ready to go! This is just amazing. Now, we’re ready to drill and it’s gonna be completely crazy.
Right, so when you start your hole try and get just a slight downward incline so the water runs out of here. Right, as soon as you get to your diamond bit turn your hammer off because the diamond is just a cutter, right, so that’s just gonna cut through what we’ve got left in there. Now, we know here that the wall depth is about 30 to 35 centimetres. If it was me, I’d cut off an extra 10 centimetres, okay, so you’ve got a good stub sticking out each side. You can cut it down later anyway, but if you have it too short, you’re not gonna get anywhere, are you? So, let’s just cut this piece now. Should measure that out, I’m gonna measure about 45 centimetres. We’ll just cut that like so. I’ve got to say, these cutters are quality, actually, rough and bow cutters. Look at that. So much quicker, and you get such a nice little wee cut here in this beauty.
Pop this through the wall, and now we can start thinking about doing a little bit of pipe work. Right, so I’ve cut a tiny, small stub as well, that’s gonna go in this elbow here. All we need to do is, what I’ve shown you in another video, how to use solvent with fittings. We just do that, place it here, cut our pipe and the solvent will glue. and get a tiny little bit to our stub in there, as well, like this. Now, sit there just like that. Right, so, these actual fittings here, they work in just a standard compression way. As you can see, inside we got a nut here, we got our little washer, and also our sealing washer, here, with a taper on it. So, we’ll tighten this up and put it on, as usual, and then we’ll be ready to drill the brackets that will hold this upright.
Right, now we’ve got that there, we just need to pull our washing machine out so we can slide in our little waste so it’s nice and out of the way. Right, so, now we can bring it all the way up to where we’re going to have it, get ourselves out the spirit level. Make sure it’s on straight, about there, Lovely. Take the spirit level directly up from that one, and just do the same again. This is so goddamn easy.
So, now we’ve got that in there like that. We can get our waste and pop it in the hole just up here like so, and then screw that waste as well, using this screw up here. This screw up here. Just screw that into that bit of wood and that will hold that nice and steady. Um, once you’ve done that, you’ve put the waste and everything, push your washing machine back. We’re pretty much done in this room, now. The only thing you can do later on is test for leaks.


