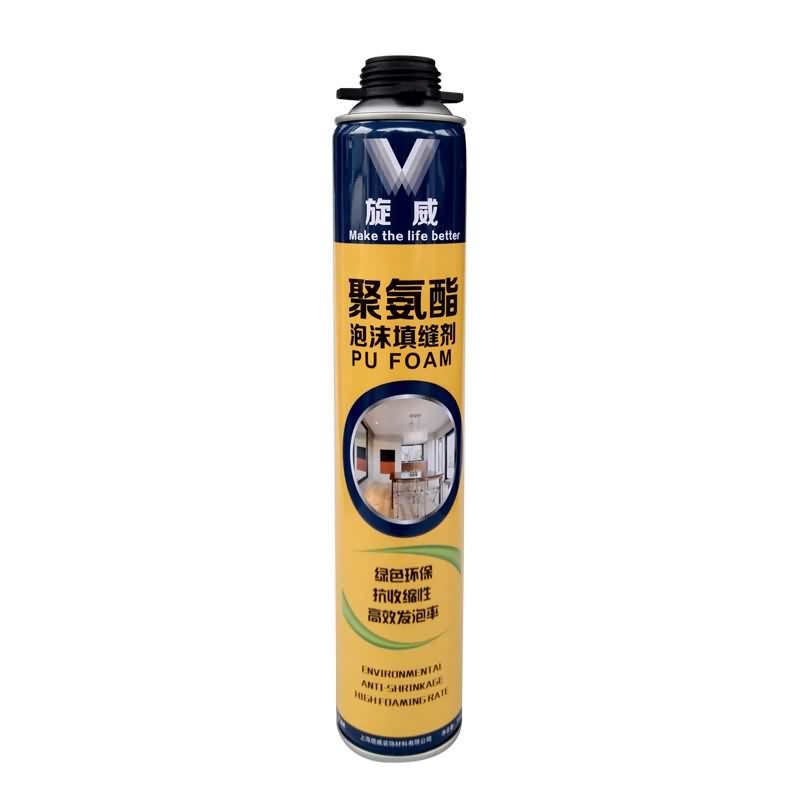
Special Design for Siway PU FOAM for Berlin Importers

Short Description:
Description This product is the expansion, moisture curing, has the strong cohesiveness, elastic foam obturator structure; Save work to save time, reduce waste; High bond strength; Bubble can stick in the concrete, wood, metal, plastic, such as base material surface, but not including teflon, silicon resins; Key Features 1. Noise silencing effect 2. Strong bonding strength 3. Water & weatherproof 4. Primerless adhesion to most building materials Basic Application 1.Doors and Windows a...
We know that we only thrive if we can guarantee our combined price competiveness and quality advantageous at the same time for Special Design for Siway PU FOAM for Berlin Importers, We warmly welcome friends from all walks of life to seek mutual cooperation and create a more brilliant and splendid tomorrow.
Description
This product is the expansion, moisture curing, has the strong cohesiveness, elastic foam obturator structure; Save work to save time, reduce waste; High bond strength;
Bubble can stick in the concrete, wood, metal, plastic, such as base material surface, but not including teflon, silicon resins;
Key Features
1. Noise silencing effect
2. Strong bonding strength
3. Water & weatherproof
4. Primerless adhesion to most building materials
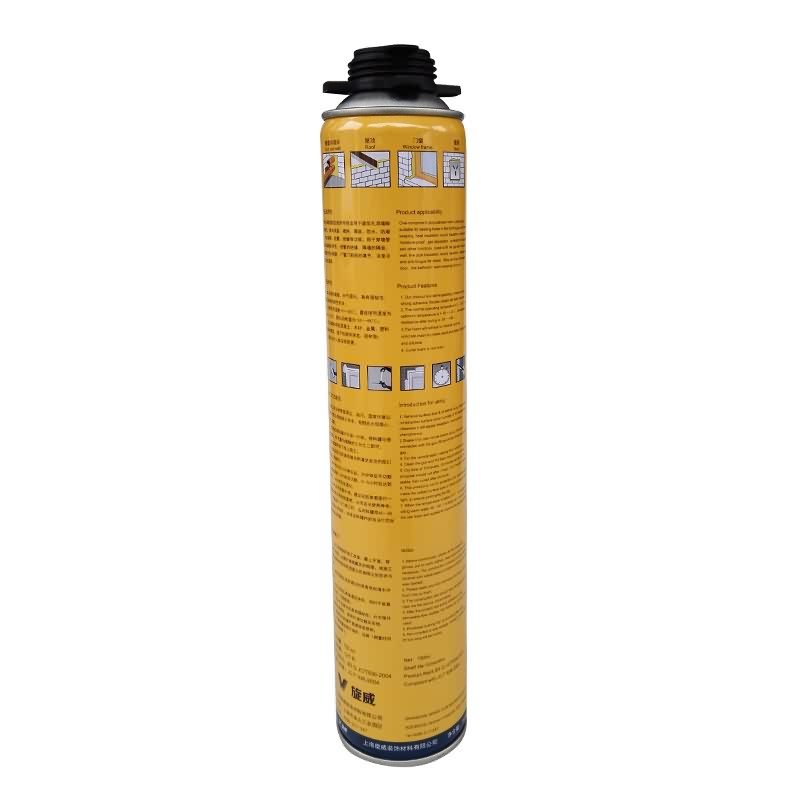
Basic Application
1.Doors and Windows and wall body between the gap filling sealing, fixed bond
2.Language lab, studio, etc when decorating, gap to fill
Technical data sheet
|
Project |
Value |
||
|
Density, Kg/m³,Not less |
10 |
||
|
Thermal conductivity,35℃,W/(m·K) no more than |
0.050 |
||
|
Dimensional stability(23±2)℃,48,h no more than |
5 |
||
|
Operating temperature |
-10~+35℃ |
||
|
Optimum operating temperature |
+18~+25℃ |
||
|
Temperature range(After curing) |
-35~+80℃ |
||
|
Tensile bond strength kPa Not less |
Aluminum plate |
Standard condition,7d |
80 |
|
Immersion,7d |
60 |
||
|
PVC plate |
Standard condition,7d |
80 |
|
|
Immersion,7d |
60 |
||
|
Cement Plate |
Standard condition,7d |
60 |
|
|
Shear strength,kpa,Not less |
80 |
||
|
Foam expansion ratio,Not less |
Standard value-10 |
||
Certification
JC 936-2004
Color
White
Package
750ml in Bottle * 12 per box
Shelf life
12 months
Note
If you want the TDS or MSDS or other details, please contact with our sales person.
Making a Cavity Pour Mold with Mold Max 30 RTV Silicone Rubber from Smooth-On.
Our model is a hand-carved hard wood 3-dimensional figure. Drill an air release hole in to the middle of a baseboard. Secure model to baseboard with screws. Apply plastic wrap to the original model to protect the surface. Cover the model with 1/2-inch (1.3 cm) clay blanket. Create a 2-inch (5.1 cm) flange for registration. Build a 3-inch (7.6 cm) clay dividing wall and apply clay supports. Drill indentations in the baseboard to register shell. Build a clay pour spout and a 1/2-inch clay dam. Apply Sonite Wax to baseboard and then apply Ease Release 200 to the entire surface.
Measure and mix duoMatrix NEO with a mix ratio of 2A:1B. Combine parts and mix thoroughly. For the first layer, apply a detail coat to the first half. Measure and mix duoMatrix NEO with chopped fiber. Apply this as the second layer. Apply a third layer of duoMatrix NEO without chopped fiber. A wood support leg is attached using duoMatrix NEO. Let cure for one hour.
Once the NEO has cured, remove the dividing wall. Drill indentations into shell for registration. Build a clay dam and pour spout. Apply Sonite Wax to baseboard and exposed shell and then apply Ease Release 200 to the entire surface. Measure and mix NEO for the second half of the support shell, following the same procedure used to create the first half. Again, a wood support leg is attached using NEO and the shell is allowed to cure one hour at room temperature. A rasp is used to create a smooth flange edge, and then three holes are drilled through the support shell. Bolts will help secure the support shell during casting.
Demold the support shell halves, remove the plastic wrap from the model, and then remove clay from the support shell. Create vent holes in support shell to allow air to escape. A 1/4-inch (6 mm) drill bit is used to drill holes through the support shell for a total of six air vents. Apply release agent to both the model and support shell. Register the support shell over the model and secure. Use bolts to hold the support shell halves together. Drywall screws are used to secure the support shell to the baseboard. Seal all seams with a hot glue gun. Place drinking straws into pre-drilled holes for air release, using clay to help secure and seal the straw. Only 1/4-inch of the straw will go into the support shell. IMPORTANT: Do not allow the drinking straws to touch the model. Trim the top two straws for easier access to the pour spout.
Measure and mix Mold Max 30 silicone rubber. Then vacuum the Mold Max 30. After vacuuming, pour Mold Max 30 into the pour spout. Cap the top of the straws with clay to stop the flow of rubber, saving material. Continue to pour rubber until the cavity is filled. Let Mold Max 30 rubber cure for 16 hours at room temperature. Once cured, remove the support shell and rubber mold from the model. Perfect detail is captured from the original model.
How to cast into the mold:
The mold is first primed with auto body primer. Smooth-Cast 300 liquid plastic is measured, mixed, and poured into the mold. After three minutes, the liquid plastic turns to a solid. Let Smooth-Cast 300 cure for 10 minutes at room temperature. Remove the support shell and demold casting. A perfect reproduction! The casting is ready to be painted.
Make It Now! with Smooth-On
https://www.smooth-on.com/
https://www.facebook.com/SmoothOn
https://twitter.com/SmoothOn
https://www.google.com/+smoothon
https://innovatebuildingsolutions.com/products/glass-block/glass-block-shower Installing a glass block shower wall enclosure can be made improved with the use of prefabricated wall sections. In this video you’ll learn:
• Tools required for this installation.
• Benefits of prefabricated glass block shower walls — less installation mess, more symmetry & consistency between the blocks, reduced install time.
• How large to make the wall sections and how to anchor them to existing walls.
• Answers to questions about the floor and wall structure for the glass block wall.
• How long to wait to grout the wall after the initial silicone and anchor process has been completed.
• Advantages (reduced maintenance, quality & compatibility with glass blocks) of using urethane grout vs. the standard sanded grout.
• Unique shower design ideas to incorporate glass tile blocks and glass murals for a personalized shower system.
• For nationwide assistance Call Innovate Building Solutions at 877-668-5888 or in Central Ohio call Columbus Glass Block 614-252-5888.
• Please comment or subscribe if you’d like more information on how to install a glass block shower wall in a large or small bath or shower remodeling project.


