One of Hottest for SV-777 silicone sealant for stone to Malaysia Importers

Short Description:
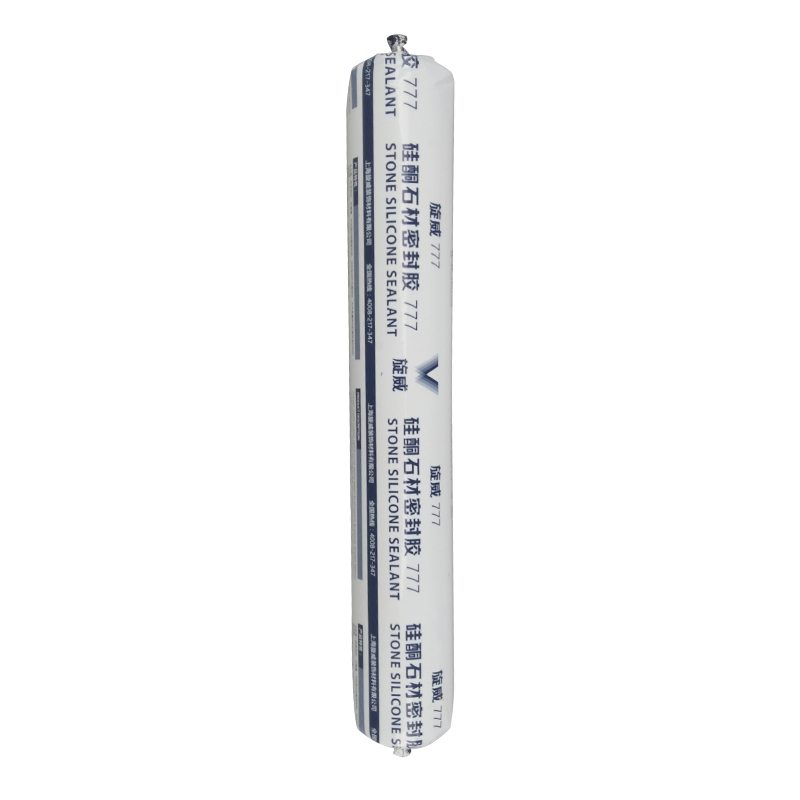
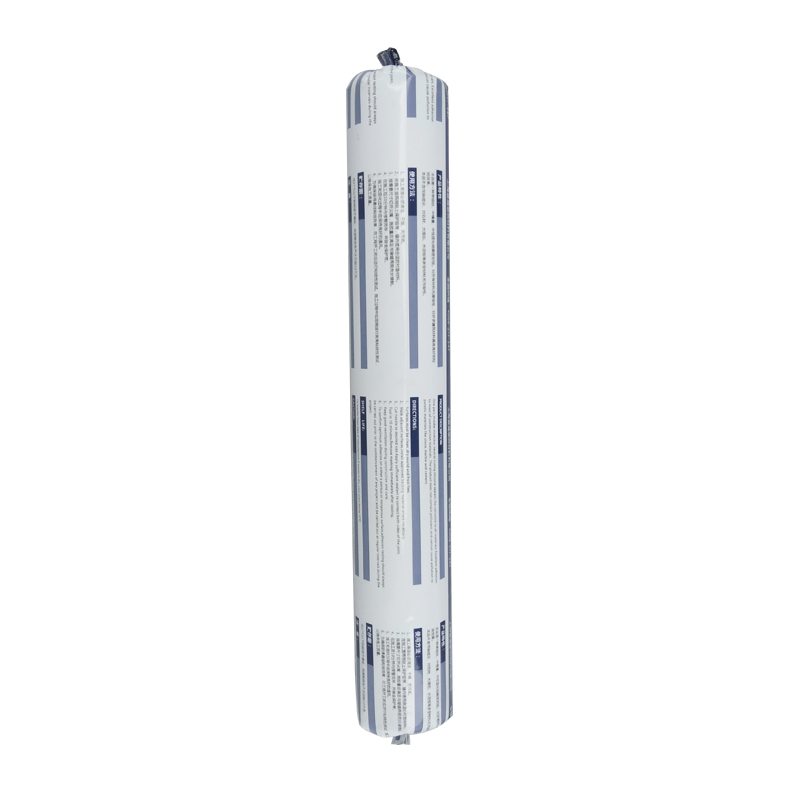
Description SV-777 silicone sealant for stone, is an elastomer sealant in modulus, single. Waterproof joints need to be sensitive to natural stone, glass and metal building clean appearance panel for sealing design, it to the moisture in the air after curing in contact, the formation of elastic rubber sealing performance, durability, weather resistance, good combination with most building materials. Key Features 1. 100% silicone 2. Minimized fluid migration 3. Low dirt pick up 4. Water &...
With advanced technologies and facilities, strict quality control, reasonable price, superior service and close co-operation with customers, we are devoted to providing the best value for our customers for One of Hottest for SV-777 silicone sealant for stone to Malaysia Importers, We encourage you to make contact as we are looking for partners in our venture. We are sure you will find doing business with us not only fruitful but also profitable. We are ready to serve you with what you require.
Description
SV-777 silicone sealant for stone, is an elastomer sealant in modulus, single. Waterproof joints need to be sensitive to natural stone, glass and metal building clean appearance panel for sealing design, it to the moisture in the air after curing in contact, the formation of elastic rubber sealing performance, durability, weather resistance, good combination with most building materials.
Key Features
1. 100% silicone
2. Minimized fluid migration
3. Low dirt pick up
4. Water & weatherproof
5. Primerless adhesion to most building materials
6. 25% movement capability
Basic Application
1.Stone curtain wall sealing
2.Engineering ceramic sealing
3.Stone and other materials such as glass, metal seam sealing
4.Other uses
Technical data sheet
| Test standard | Test project | Unit | value |
| Before curing——25℃,50%R.H. | |||
| ASTM C 679 | Flow, sagging or vertical flow | mm | 0 |
| VOC | g/L | <80 | |
| GB13477 | surface drying time(25℃,50%R.H.) | min | 30 |
| Curing time(25℃,50%R.H.) | Day | 7-14 | |
| Sealant curing speed and operating time will have different with different temperatures and temperature, high temperature and high humidity can make sealant curing speed faster, rather low temperature and low humidity are slower.21 days after curing——25℃,50%R.H. | |||
| GB13477 | Durometer Hardness | Shore A | 30 |
| GB13477 | The ultimate tensile strength | Mpa | 0.7 |
| Temperature stability | ℃ | -50~+150 | |
| GB13477 | Movement capability | % | 25 |
| ASTM C 1248 | Pollution / oil, natural stone | No | |
Certification
25HM GB/T 23261-2009;ASTM C920-2011
Color
Black,White,Gray
Package
300ml in cartridge * 24 per box, 590ml in sausage *20 per box
Shelf life
12 months
Note
If you want the TDS or MSDS or other details, please contact with our sales person.
https://tinyurl.com/loqbfz3
Video Highlights
0:18 Kit includes
0:37 First step before starting install
1:20 Cutting to length
3:04 Insulating the Chimney Liner
4:29 How to lower into the chimney
5:40 Next Step will be Attaching to the appliance
6:00 Attaching the appliance adapter
7:16 Installing the insert
7:44 Installing the Top Plate
8:51 Cutting the access liner off
10:23 Attaching the Cap
11:44 Silicone the screws
Robert explains how to install Chimney Liner.
Installing a stainless steel chimney liner is an easy and economical way to repair a deteriorated, unsafe, or inefficient chimney flue. You will be able to install a chimney liner after reading this and watching the video. You can do the job with common household tools. A chimney liner should be installed to reduce the chance of a carbon monoxide leak, chimney fire, and creosote buildup. Chimney liners also improve the energy efficiency of the appliance and makes fireplace maintenance easier.
First, determine the appropriate size chimney liner for your specific setup. The chimney liner diameter size you will need will be the same size of the exhaust outlet on the appliance. The chimney liner length you will need will equal the height of the chimney. we recommend ordering slightly over that amount to give room for error.
Only a few tools are needed for a successful chimney liner installation. You’ll need a tin snips (or a sawzall or hacksaw), drill and bit, flat head screw driver, caulk gun, work gloves, and safety glasses.
Every basic chimney liner kit is going to come with four main components: the stainless steel chimney liner, connector (either a Tee connector or a Stove Top connector), top plate, and rain cap. This video shows a basic stove top installation.The top plate is going to be the main variable for a chimney liner kit.
Start by using your knife and remove the plastic wrap that the liner is coiled in. Once you have the liner out, start to straighten the liner. Make sure to do this on the grass or a soft surface so you don’t puncture it. Straighten the liner out as best as you can. It does not need to be perfect as you will have to do some manipulation to get it down the chimney.
After installing the insulation you will need to get the liner to the top of the chimney. Proceed to lower the liner down the chimney until you reach the damper or smoke shelf. You will need to do some adjustments when you get back inside to get it through this.
Twisting the flexible liner will help you install the liner if you are getting caught or hung up on the chimney walls.
Now you will need to head into the house to finish connecting the appliance.
Once the stove connection has been installed correctly, it is time to connect the stove pipe to the stove. Most stove pipe comes with three screws per connection point. Use your drill and drive the screws into the horizontal part of the tee and through the exhaust collar of the stove. using furnace cement to secure and stop any leaks.
Once the chimney liner is all the way down the flue to the point of the appliance, the next step is to connect the top plate to the top of the chimney. The main function for a top plate is to seal the existing flue from rain, wind and critters from entering the chimney. Start by using your caulk gun and a tube of weather resistant high-temp silicone to run a bead of silicone along the top edge of the clay flue.
Next, thread the chimney liner through the round collar of the top plate so that the top plate is sitting on the top edge of the clay flue.
When you have successfully installed the top plate, the next step is to cut the excess liner flush with the top of the collar of the top plate. Your sawzall or hacksaw will work just fine.
The next step is to secure the rain cap to the top plate. The Cap will just slide over and then tighten the clamp.
Congratulations, you have successfully installed a stainless steel, flexible chimney liner!
Click Here:https://tinyurl.com/lxloa28 To see all of our Chimney Liners.
Follow me on Twitter for regular updates: https://twitter.com/Obsessed_Garage
Follow me on Instagram: https://www.instagram.com/obsessedgarage/
Show me your obsession: https://www.instagram.com/obsessedlifestyle/
For more photos check out my GT3 Journal on Rennlist: https://rennlist.com/forums/991-gt3-gt3rs-and-911r/838489-money2536-s-sapphire-blue-991-gt3-journal-57.html#post13234289
To follow my M3 journal, visit https://f80.bimmerpost.com/forums
All My Gear: https://www.obsessedgarage.com/home/gear/
Products Used:
➢ Craftsman Adjustable Mechanics Seat: https://goo.gl/VEZc4m
➢ Microfiber Tech Quick Detail Towels (Green): https://goo.gl/nC1Jez
➢ Microfiber Tech Quick Detail Towels (Grey/Red): https://goo.gl/7puwoM
➢ Griot’s Garage Drying Towels (Yellow): https://goo.gl/agDB6H
➢ CarPro BOA Towels (Orange): https://goo.gl/0rXIM4
➢ Rupes Intermediate Cutting Foam Pad (Green): https://goo.gl/ZaVgJk
➢ Rupes LHR75E Mini Random Orbital: https://goo.gl/uSzv0N
➢ Menzerna FG 400 Fast Gloss: https://goo.gl/8Scu2x
➢ CarPro Eraser: https://goo.gl/QKLDX1
➢ Sonax Polymer Net Shield: https://goo.gl/FPTlrZ
➢ Griot’s Four-Finger Mesh Mitt: https://goo.gl/XHHXLC
➢ Adam’s All Purpose Cleaner (APC): https://goo.gl/UbtXaY
➢ Adam’s Car Shampoo: https://goo.gl/xX4GxF
➢ Kranzle Electric Pressure Washer: https://goo.gl/TIHviy
➢ Gyeon Q2 Trim: https://goo.gl/hZ4czD
➢ Adam’s In & Out Spray: https://goo.gl/jv7Wvm
➢ CarPro Perl: https://goo.gl/Uk4nhl
➢ Adam’s Foam Block: https://goo.gl/RgNJDx
➢ My Microfiber Line-Up: https://goo.gl/uZqAqd


