Hot-selling attractive price SV-8800 Silicone Sealant for Insulating Glass to Pakistan Factories

Short Description:
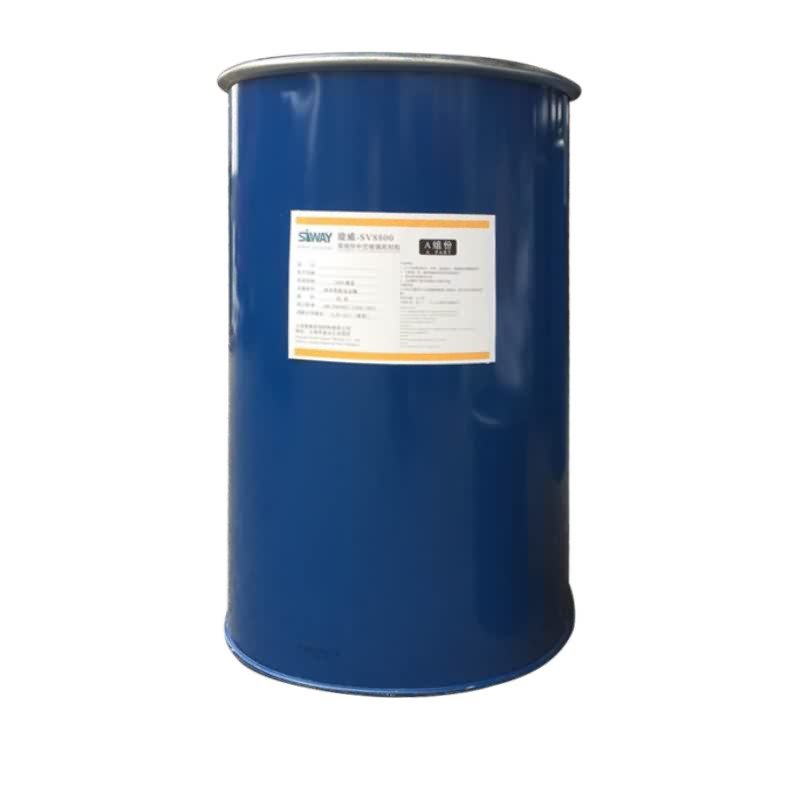
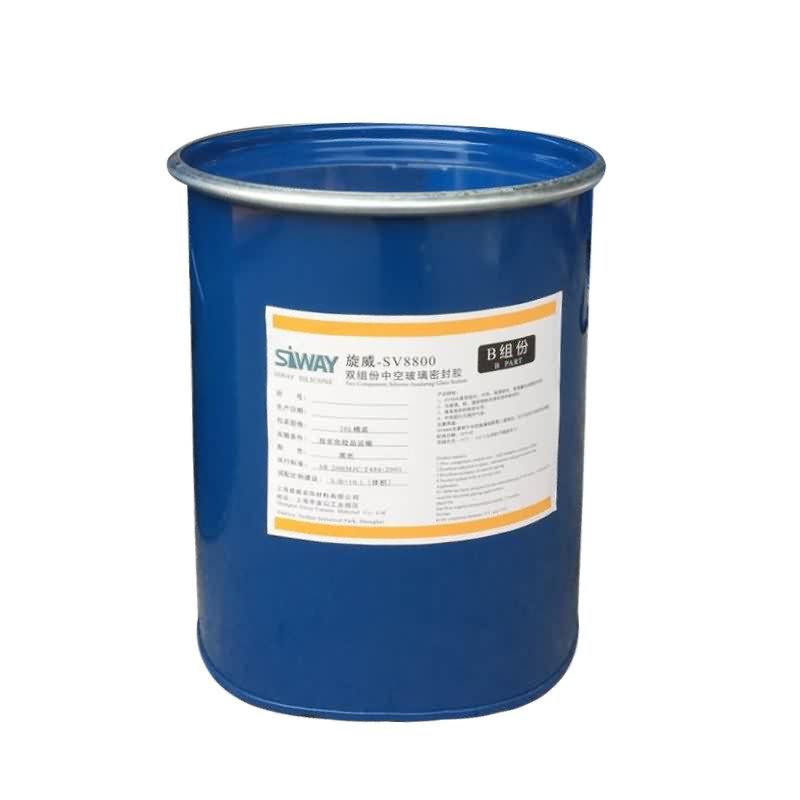
Description SV-8800 is two components, high modulus; neutral curing silicone sealant specifically developed for assembly of high performance insulated glass units as secondary sealing material. Where to use It is a two-component silicone that offers variable work life with high bonding strength to maintain the integrity of insulating glass unit, suits both commercial and residential IGU. Key Features 1. High Modulus 2. UV resistance 3. Low vapor and gas transmission 4. Primerless adhesion...
Our products are widely recognized and trusted by users and can meet continuously developing economic and social needs for Hot-selling attractive price SV-8800 Silicone Sealant for Insulating Glass to Pakistan Factories, We welcome you to inquire us by call or mail and hope to build a successful and cooperative relationship.
Description
SV-8800 is two components, high modulus; neutral curing silicone sealant specifically developed for assembly of high performance insulated glass units as secondary sealing material.
Where to use
It is a two-component silicone that offers variable work life with high bonding strength to maintain the integrity of insulating glass unit, suits both commercial and residential IGU.
Key Features
1. High Modulus
2. UV resistance
3. Low vapor and gas transmission
4. Primerless adhesion to coated glass
5. 100% compatible to SV-8890
Technical data sheet
| Test standard | Test project | Unit | value |
| Before curing——25℃,50%R.H. | |||
| GB13477 | Specific gravity(After mixing) | 1.33 | |
| GB13477 | Operating time | min | 20-40 |
| GB13477 | surface drying time(25℃,50%R.H.) | min | 80-188 |
| corrosivity | No | ||
| 7 days after curing——25℃,50%R.H. | |||
| GB/T 531 | Durometer Hardness | Shore A | 40 |
| GB13477 | The tensile modulus at 12.5% elongation | Mpa | 0.18 |
| The ultimate tensile strength | Mpa | 0.92 | |
| GB13477 | Elongation limit (fracture) | % | 150 |
Certification
GB-24266-2009;
Color
Component A(Base) – White, Component B(Catalyst)- Black
Package
1. Component A(Base): (190L), Component B(Catalyst) (18.5L)
2. Component A(Base):24.5kg (18L), Component B(Catalyst): 1.9kg (1.8L)
Shelf life
12 months
Note
If you want the TDS or MSDS or other details, please contact with our sales person.
Silicone spray ‘green hormone injection .the horror of India s
UTVHitchworks.com – Welcome to UTV Hitchworks, Home of the Farmboy. In this video we are demonstrating how to install the Bulkhead Bed Extension for the Kubota RTV-X series vehicles. The first step is to raise the dump bed. Please follow all safety precautions while the dump bed is in the up position. The Bulkhead Bed Extension requires a drill fitted with a 3/8” bit, a 12mm socket driver or a 12mm socket, and a 12 mm wrench. Once the dump bed is raised, take the socket driver and the wrench and remove the two top bolts on the dump bed. This step must be completed on both sides of the dump bed. Make sure the bottom bolt is left in place on both sides. Next, place the Bulkhead Bed Extension into position, lining up the two holes on either side. This step may require more than 1 person. Install the Bulkhead Bed Extension so that the writing is able to be read from behind the vehicle. Reinstall the bolts previously removed through the dump bed and the Bulkhead Bed Extension. Make sure that all four bolts are installed in the same orientation in which they were removed. Once all four bolts are in place, tighten them all fully using the socket driver and wrench. The final step is to drill through the wall of the dump bed using the drill fitted with the 3/8” bit while the bed is still in the up position. Align the drill with the hole in the center of the Bulkhead Bed Extension. The holes on either side of the center hole are optional, if more rigidity is required. Lastly, insert the provided carriage bolt so that the carriage head is on the inside of the dump bed. Tighten fully. The completed installation should look like this image. For questions on installation please call 513-260-3705.


