Good quality 100% SV-9300 Fire Resistant Silicone Sealant to Libya Manufacturers
Short Description:
Description SV – 9300 Fire resistant silicone sealant is a one-component, neutral-curing silicone sealant exhibiting superior performance in applications where sealing openings in walls and floors are needed to control the spread of fire, smoke, toxic gasses, and water during fire conditions. Where to use It is an ideal material designed for use in fire-stop systems for through penetrations and joints. This product excels in applications where greater water resistance is required e.g. ...
To meet the customers' over-expected satisfaction , we have our strong team to provide our best overall service which includes marketing, sales, designing, production, quality controlling, packing, warehousing and logistics for Good quality 100% SV-9300 Fire Resistant Silicone Sealant to Libya Manufacturers, Welcome to build the well and long standing business relationships with our company to create a glorious future together .customers' satisfaction is our eternal pursuit
Description
SV – 9300 Fire resistant silicone sealant is a one-component, neutral-curing silicone sealant exhibiting superior performance in applications where sealing openings in walls and floors are needed to control the spread of fire, smoke, toxic gasses, and water during fire conditions.
Where to use
It is an ideal material designed for use in fire-stop systems for through penetrations and joints. This product excels in applications where greater water resistance is required e.g. curtain wall, building facade, expansion/pipe and cable joints.
Key Features
1. 100% silicone
2. Excellent weatherproofing and waterproofing
3. Low gas transmission rate
4. With highly efficient redundant
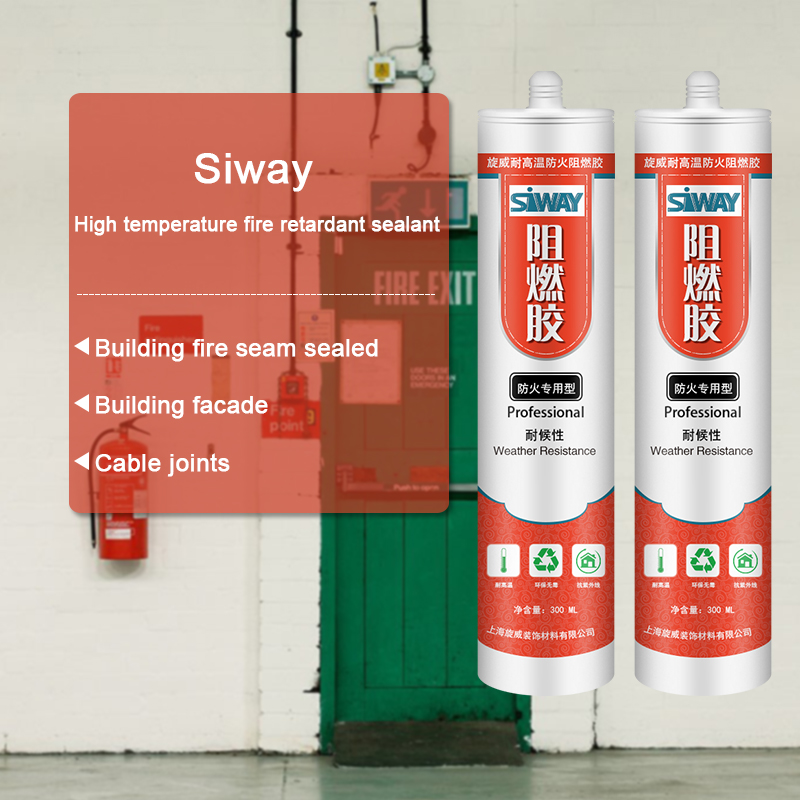
Basic Application
- Building fire seam sealed
- Building facade
- cable joints
Technical data sheet
| Test standard | Test project | Unit | value |
| Before curing——25℃,50%R.H. | |||
| GB13477 | Flow, sagging or vertical flow | mm | 0 |
| GB13477 | Operating time | min | 15 |
| GB13477 | surface drying time(25℃,50%R.H.) | min | 40-60 |
| Sealant curing speed and operating time will have different with different temperatures and temperature, high temperature and high humidity can make sealant curing speed faster, rather low temperature and low humidity are slower.21 days after curing——25℃,50%R.H. | |||
| GB/T 531.1-2008 | Durometer Hardness | Shore A | 20-60 |
| GB13477 | 60% elongation of cementation | no damaging | |
| GB13477 | Elongation limit | % | 120 |
| GB/T 24267 | Sealant level | 20HM | |
| GB/T 24267 | Fire prevention level | FV-0 | |
Certification
GB/T 24267-2009
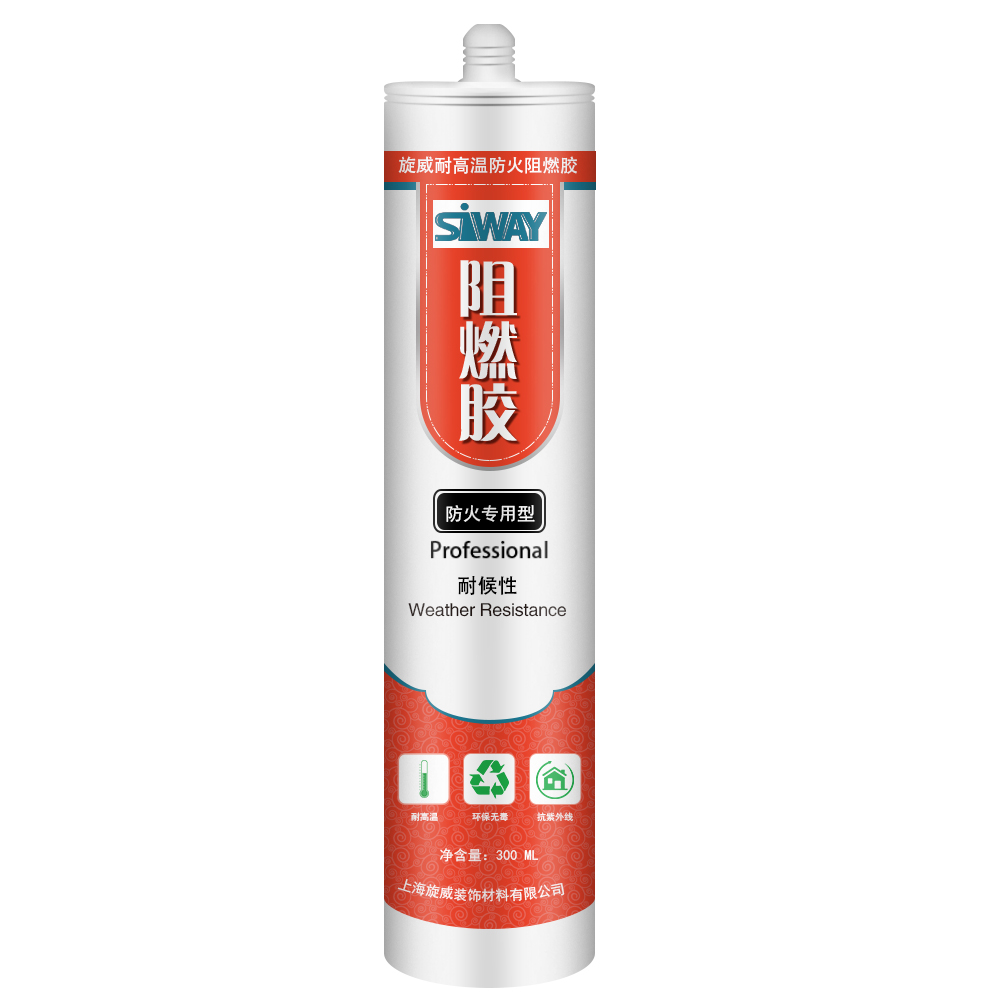
Color
Black
Package
300ml in cartridge * 24 per box
Shelf life
12 months
Note
If you want the TDS or MSDS or other details, please contact with our sales person.
How to waterproof a Shower https://www.youtube.com/watch?v=fAXB_Yx7DUE
How to install Mud in a shower floor https://www.youtube.com/watch?v=jIxiRk1KPzk
Part 6 Corner seat and shower floor https://www.youtube.com/watch?v=kFftfgWqZJ0
Part 7 Installing the tile https://www.youtube.com/watch?v=1q7bIacGNhM
Part 8 Cutting in and Making a Recessed Niche https://www.youtube.com/watch?v=hTGB5Nn7LRE
Part 9 installing the bathroom floor https://www.youtube.com/watch?v=-zLXk-rPd7w
Part 10 Grouting and caulking the tile https://www.youtube.com/watch?v=NAGOxC9t3WE
Part 1 Prepping walls, three piece drain explained https://www.youtube.com/watch?v=F8Gw6XFy3NI
Part 2 Installing the pre slope https://www.youtube.com/watch?v=QNsboWBwT1E
Part 3 Installing the Pan Liner https://www.youtube.com/watch?v=RBIff-SkOCk
Part 4 Installing the Backer Board https://www.youtube.com/watch?v=Xue7liOgZoU
A pre pitch or pre slope under a shower pan liner is an essential part of a successful tile shower installation. A pre slope is the base under the shower pan liner which is pitched so that the any water that manages to get into the shower base can be directed to the weep holes in the three piece drain and out of the liner. If a pre slope is not installed under the liner then any water that filters into the base of the shower will remain there. To install a pre slope on a concrete base first spread a thin layer of thinset with a notched trowel, while it is still fresh, the deck mud is then shaped on top of the thinset so that there is a slope of ¼” per foot sloping towards the drain. The part of the base furthest away from the drain will be higher than the drain, so as to create a positive pitch towards the drain. How to install a vinyl shower liner. When installing a vinyl liner for the pan of a shower floor, it is imperative that any penetrations to secure the liner be above the level of the shower curb. Also the folds at the corners of the shower should always be done without cutting the liner lower than the shower curb. I do not install dam corners on the curb, because I apply a liquid waterproofing membrane on the surface of the entire shower stall, or at the very least the curb will be thoroughly waterproofed to avoid leeks in this critical area if this step is to be omitted, the dam corners should be used. The silicone bead at the drain where the liner is clamped to the 3 piece drain should always be applied, do not skip this step. How to install mud in a shower pan for a tile shower stall. When installing a tile shower, whether it be ceramic, marble travertine or any other tile product, a mud base will be required. Mud also known as deck mud, is a mixture of sand and Portland cement mixed to a ratio that will create a solid foundation for the tile which will be installed on it. The deck mud is mixed with water to a dump consistence which will allow the deck mud to hold its shape when pressed into a ball. The mud must be pitcher towards the drain so that a slope of at least ¼” per foot is achieved. The ratio of sand and Portland cement is usually 4:1 or 5:1. I usually use “Quikrete” sand topping mix, which as far as I know, has a ratio which is a little richer than needed, but is suitable for a shower pan. The method I employ to install my mud in shower pan, is to create a level and flat perimeter around the base of the shower walls which is at the correct height in relation to the drain, and then fill the middle part of the shower pan screeding down to the drain with the proper pitch. The mud is shaped with a wooden trowel, steel trowel, level and other pieces of straight wood lengths cut to the required lengths. In this video I demonstrate the technique I use to install a shower mud pan base. There are other methods that can be used, but this is the way I have installed hundreds of shower bases.
I hope anyone that watches this finds it helpful.
All tile installed by Sal DiBlasi, Elite-tile Company, in the Boston North Shore area
Youtube Channel https://www.youtube.com/user/saldibs?feature=watch
Facebook https://www.facebook.com/pages/Elite-Tile-Company/56681633342
Website https://www.elitetileco.com/
Video review where we make some molds with Equinox 38 silicone.
For more information and tutorials visit our facebook page:
https://www.facebook.com/ManlimaCosplay
You can help us to make more videos like this here: https://goo.gl/ls4lmN
This video was made thanks to Feroca. The video shows only objective information about the products that we show on it.
https://www.feroca.com/es/
Music:
Smile – Jesse Spillane
Check his awasome work here:
freemusicarchive.org/music/Jesse_Spillane/
Manlima Cosplay.