Factory supplied SV-8800 Silicone Sealant for Insulating Glass to Czech republic Factories

Short Description:
Description SV-8800 is two components, high modulus; neutral curing silicone sealant specifically developed for assembly of high performance insulated glass units as secondary sealing material. Where to use It is a two-component silicone that offers variable work life with high bonding strength to maintain the integrity of insulating glass unit, suits both commercial and residential IGU. Key Features 1. High Modulus 2. UV resistance 3. Low vapor and gas transmission 4. Primerless adhesion...
Our advantages are lower prices,dynamic sales team,specialized QC,strong factories,high quality products and services for Factory supplied SV-8800 Silicone Sealant for Insulating Glass to Czech republic Factories, With the aim of "compete with good quality and develop with creativity" and the service principle of "take customers' demand as orientation", we will earnestly provide qualified products and good service for domestic and international customers.
Description
SV-8800 is two components, high modulus; neutral curing silicone sealant specifically developed for assembly of high performance insulated glass units as secondary sealing material.
Where to use
It is a two-component silicone that offers variable work life with high bonding strength to maintain the integrity of insulating glass unit, suits both commercial and residential IGU.
Key Features
1. High Modulus
2. UV resistance
3. Low vapor and gas transmission
4. Primerless adhesion to coated glass
5. 100% compatible to SV-8890
Technical data sheet
| Test standard | Test project | Unit | value |
| Before curing——25℃,50%R.H. | |||
| GB13477 | Specific gravity(After mixing) | 1.33 | |
| GB13477 | Operating time | min | 20-40 |
| GB13477 | surface drying time(25℃,50%R.H.) | min | 80-188 |
| corrosivity | No | ||
| 7 days after curing——25℃,50%R.H. | |||
| GB/T 531 | Durometer Hardness | Shore A | 40 |
| GB13477 | The tensile modulus at 12.5% elongation | Mpa | 0.18 |
| The ultimate tensile strength | Mpa | 0.92 | |
| GB13477 | Elongation limit (fracture) | % | 150 |
Certification
GB-24266-2009;
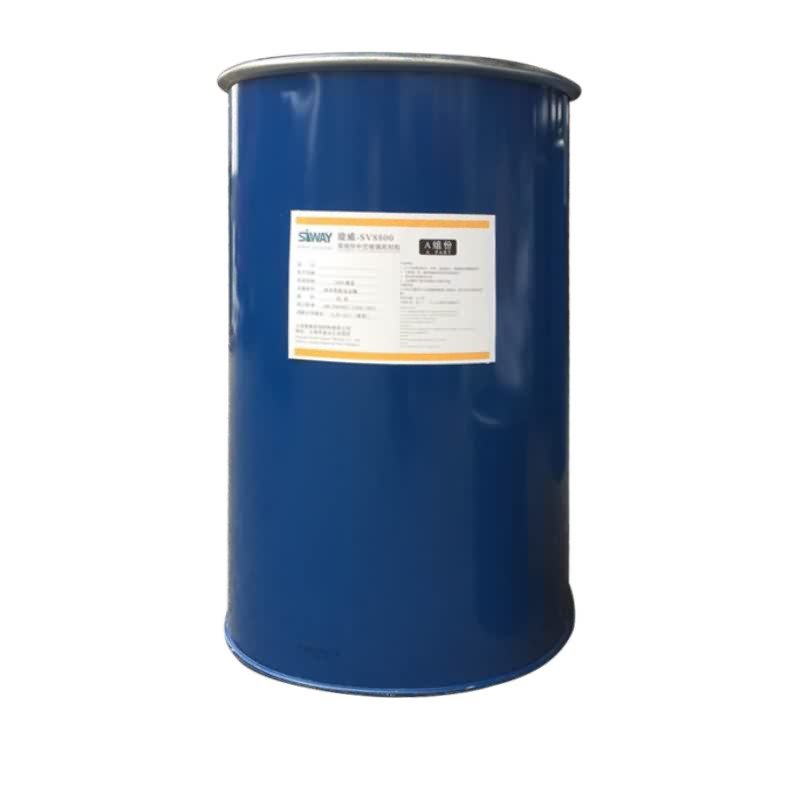
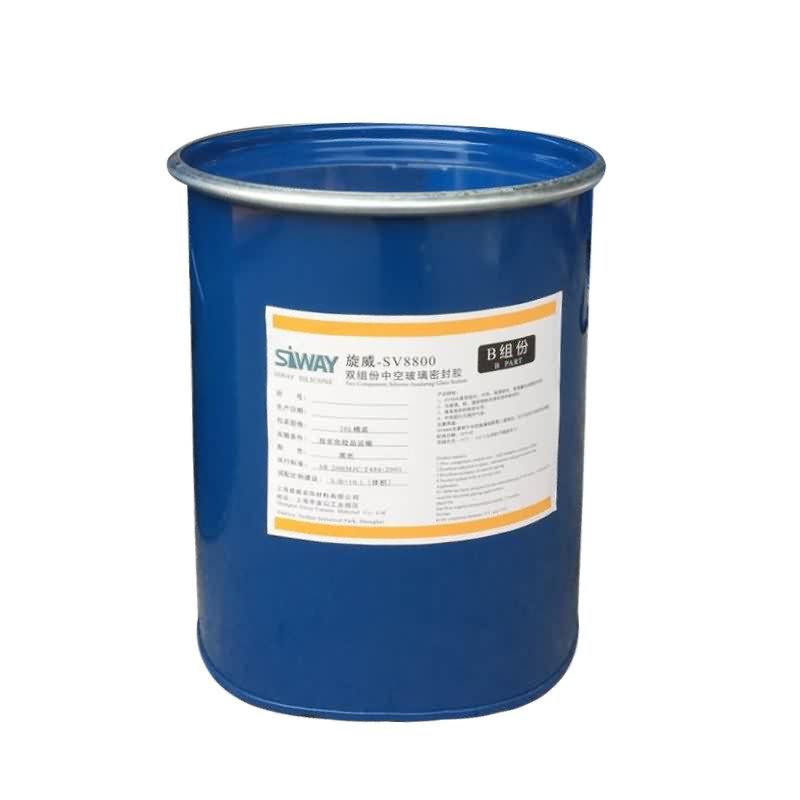
Color
Component A(Base) – White, Component B(Catalyst)- Black
Package
1. Component A(Base): (190L), Component B(Catalyst) (18.5L)
2. Component A(Base):24.5kg (18L), Component B(Catalyst): 1.9kg (1.8L)
Shelf life
12 months
Note
If you want the TDS or MSDS or other details, please contact with our sales person.
GAF – Mastering The Roof (chapter 09)
This video demonstrates the proper installation technique for GAF starter strips; a superior alternative to starter shingles • Starter strips are important for wind resistance • Use WeatherBlocker or ProStart starter strips.
One of the most common sources of failure in a roof system is the improper installation of starter shingles. This starter course is very important, especially for wind resistance.
GAF offers Pro-Start and WeatherBlocker starter strips that are manufactured with a perforated line. This feature is a real time saver by eliminating the need to manually cut and cleanup shingles tabs.
Along with convenience and savings; the Pro-Start and WeatherBlocker products utilizing advanced Dura Grip adhesive to achieve maximum protection against wind blow-offs. Now that we have covered the importance and benefits of GAF precut starter strips lets take a look at they install.
For shingles exposure less than six inches, the use of either Pro-start or Weatherblocker starter strips can be used. For such applications; begin by separating the strip at the perforated line.
When applying shingles with exposures greater than 6 inches, such as the Camelot collection, only full un-split WeatherBlocker starter strip can be used.
Place the appropriate sized starter strip with the sealant facing up at the eave edge.
For proper water drainage, Both Pro-Start and Weatherblocker starter strip require a one quarter to three quarter inches overhang at all eave and rake edges.
Every Starter strip requires a minimum of four nails driven in a linear fashion one and a half to three inches above the shingle’s bottom edge. Begin with the first nail at a distance of one and a half to three inches from the beginning side edge. Space the remaining three nails ten to twelve inches from the previous nail, and the fourth nail one to two inches from the ending edge.
When installing Metric dimensioned shingles, you must trim five inches off the first WeatherBlocker starter strip or three inches off the first ProStart starter strip. This critical step ensures that the starter strip butt joints and overlapping shingles butt joints are off-set a minimum of four inches. Depending on the length of the shingle being installed, A 10 to12 inch section of starter strip may periodically need to be cut and installed to meet the required 4 inch offset. Fasten the adjustment starter strip with two nails one to two inches from each side end.
For maximum wind resistance, starter strips should be installed along all rake edges. Begin by laying the strip with the sealant side up, closest to the rake edge. Position the starter strip so that it overlaps the eave starter strip by at least three inches. As with the eave edges, the Starter strip must overhang the rake edge one quarter to three quarters of an inch. Begin the line of nail fasteners one to two inches from the side edge of the starter strip, and one and a one half to three inches from the rake edge. Complete the rake edge starter course by nailing along a vertical line every ten to twelve inches up the rake until reaching the ridge.
This video is about How-To Mix and Apply Shellack Flakes for Window Restoration.
For complete instructional video of window restoration from start to finish see: Window Restoration Part 1 and Part 2 on our YouTube channel.
www.solventfreepaint.com
www.silentpaintremover.com
www.paintbrushesandrollers.com
www.cleaningchemfree.com


