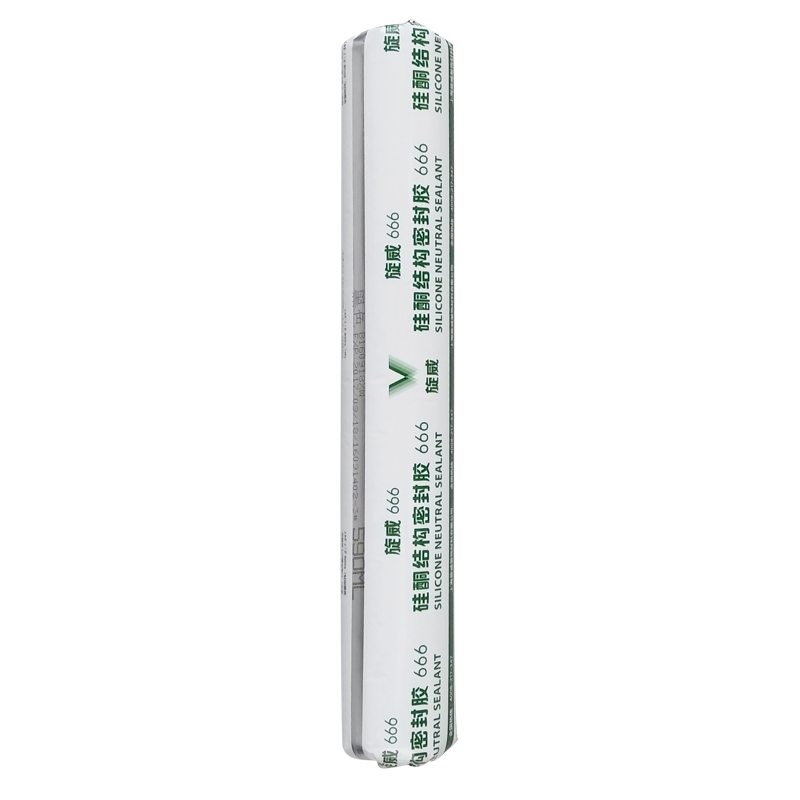
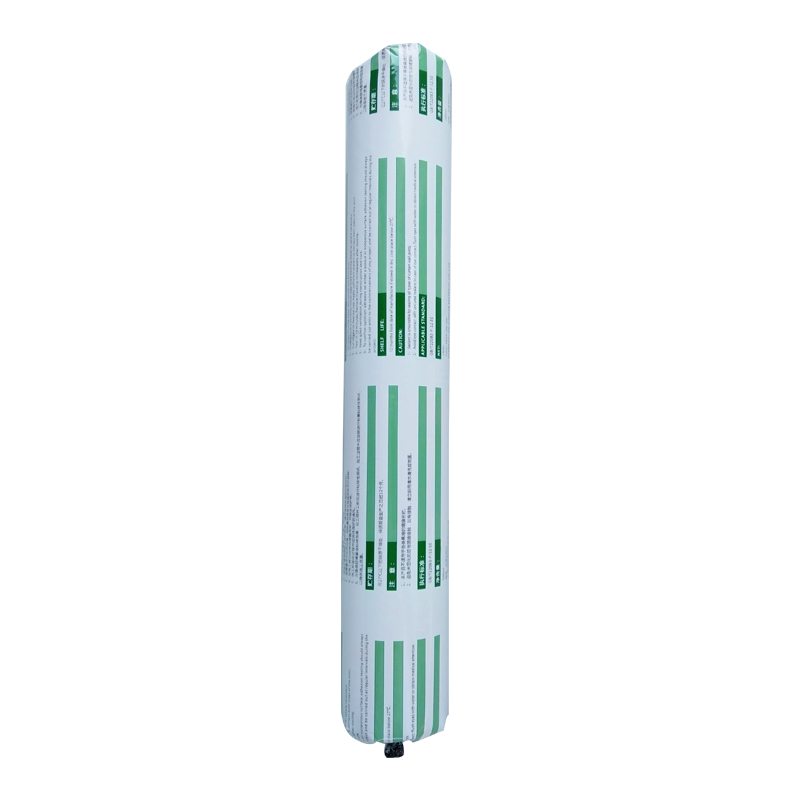
Factory Promotional SV-666 General Use Neutral Sealant Export to Yemen

Short Description:
Description SV-666 neutral silicone sealant is a neutral curing glue single component, the modulus of the. It is specially designed for windows and doors caulking sealing general plastic doors and windows. It has good adhesion to glass and aluminum alloy, and has no corrosion. Where to use It is fit for multiple purpose sealing and bonding applications to form a silicone rubber adhering to adjacent substrates e.g. glass, ceramic, tile, wood and metal. Key Features 1. 100% silicone 2. Eas...
Our mission is to become an innovative supplier of high-tech digital and communication devices by providing value added design, world-class manufacturing, and service capabilities for Factory Promotional SV-666 General Use Neutral Sealant Export to Yemen, We welcome new and old customers from all walks of life to contact us for future business relationships and mutual success!
Description
SV-666 neutral silicone sealant is a neutral curing glue single component, the modulus of the. It is specially designed for windows and doors caulking sealing general plastic doors and windows. It has good adhesion to glass and aluminum alloy, and has no corrosion.
Where to use
It is fit for multiple purpose sealing and bonding applications to form a silicone rubber adhering to adjacent substrates e.g. glass, ceramic, tile, wood and metal.
Key Features
1. 100% silicone
2. Easy to use
3. Waterproofing and weatherproofing
4. Primerless adhesion to most building materials
5. 12.5% movement capability
Technical data sheet
| Test standard | Test project | Unit | value |
| Before curing——25℃,50%R.H. | |||
| GB13477 | Flow, sagging or vertical flow | mm | 0 |
| GB13477 | surface drying time(25℃,50%R.H.) | min | 30 |
|
GB13477 |
Operating time | min | 20 |
| Curing time(25℃,50%R.H.) | Day | 7-14 | |
| Sealant curing speed and operating time will have different with different temperatures and temperature, high temperature and high humidity can make sealant curing speed faster, rather low temperature and low humidity are slower.21 days after curing——25℃,50%R.H. | |||
| GB13477 | Durometer Hardness | Shore A | 28 |
| GB13477 | The ultimate tensile strength | Mpa | 0.7 |
| Temperature stability | ℃ | -50~+150 | |
| GB13477 | Movement capability | % | 12.5 |
Certification
JC/T881-2001 12.5E;GB/T14683-2003 12.5E
Color
Black,White,Gray
Package
300ml in cartridge * 24 per box, 590ml in sausage *20 per box
Shelf life
12 months
Note
If you want the TDS or MSDS or other details, please contact with our sales person.
Is your toilet running? The most common cause of a leaky toilet is a toilet flapper valve that isn’t quite seating properly at the bottom of the tank. Replacing a toilet flapper valve is a relatively simple fix that could save you a pretty penny on your water bill.
First, it’s worth noting that not all flapper designs are the same. Before buying a replacement flapper, be sure to take the old one to the store with you so you can be sure the new one is a fit.
Once you have a compatible flapper ready to install, be sure to first shut off the water supply valve to the toilet tank. Remove the lid from the tank, and flush the toilet to remove as much water as possible.
You’ll note that the chain attached to the flush lever is the mechanism that lifts the toilet flapper, releasing water into the bowl. Disconnect this chain from the toilet lever. Then, pull the flapper off of the mounting pegs on either side of the overflow tube.
It’s important to be sure to wipe off the valve seat at the bottom of the tank to ensure a clean seal between the area and the new flapper valve, once installed. Next, go ahead and install the new flapper valve where the old one sat. Connect the chain back to both the flapper and the flush lever, then test the amount of slack you’ll need by pushing down on the flush lever a few times, watching to make sure the flapper comes up and down appropriately.
Lastly, turn the water supply back on and let the toilet tank re-fill with water. The new flapper valve should form a tight seal, fixing the leaky toilet that once was.
As always, if you’re having problems or need extra help, give Roto-Rooter a call or visit us a https://www.rotorooter.com
I created this video using my Logitech webcam software.


