Factory Cheap Hot SV-995 Neutral Silicone Sealant for St. Petersburg Importers

Short Description:
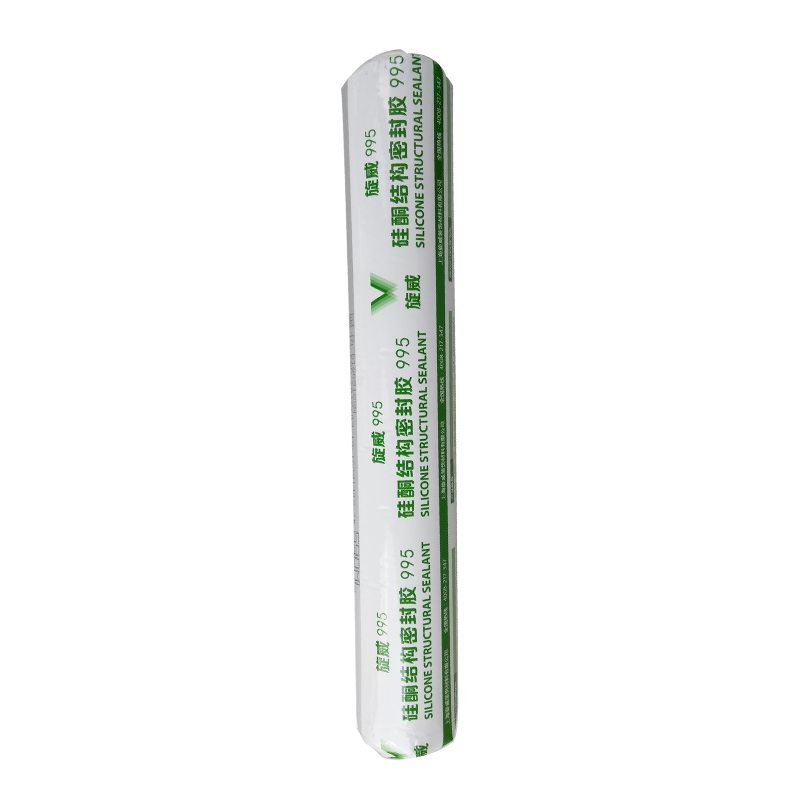
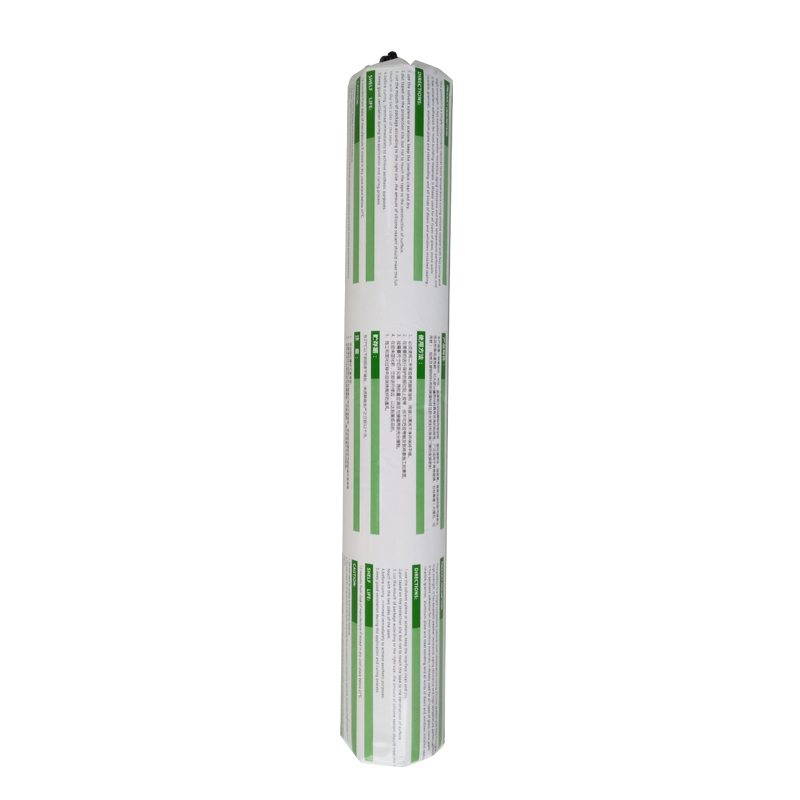
Description SV – 995 neutral silicone sealant structure is a kind of one-component, construction curtain wall structure of room temperature curing glue, can be used in all kinds of curtain wall joints and waterproof seal, also can be used for all kinds of aluminum alloy, glass doors and Windows seal assembly Where to use 1.Curtain wall joints and waterproof seal 2.Aluminum alloy, glass doors and Windows seal assembly Key Features 1. 100% silicone 2. Easy to use 3. Waterproofing and...
We keep improving and perfecting our products and service. At the same time, we work actively to do research and development for Factory Cheap Hot SV-995 Neutral Silicone Sealant for St. Petersburg Importers, we are looking forward to even greater cooperation with overseas customers based on mutual benefits. Please feel free to contact us for more detail
Description
SV – 995 neutral silicone sealant structure is a kind of one-component, construction curtain wall structure of room temperature curing glue, can be used in all kinds of curtain wall joints and waterproof seal, also can be used for all kinds of aluminum alloy, glass doors and Windows seal assembly
Where to use
1.Curtain wall joints and waterproof seal
2.Aluminum alloy, glass doors and Windows seal assembly
Key Features
1. 100% silicone
2. Easy to use
3. Waterproofing and weatherproofing
4. Fast curing speed, high strength
5. 12.5% movement capability
Technical data sheet
| Test standard | Test project | Unit | value |
| Before curing——25℃,50%R.H. | |||
| GB13477 | Flow, sagging or vertical flow | mm | 0 |
| GB13477 | surface drying time(25℃,50%R.H.) | min | 30 |
|
GB13477 |
Operating time | min | 20 |
| Curing time(25℃,50%R.H.) | Day | 7-14 | |
| Sealant curing speed and operating time will have different with different temperatures and temperature, high temperature and high humidity can make sealant curing speed faster, rather low temperature and low humidity are slower.21 days after curing——25℃,50%R.H. | |||
| GB13477 | Durometer Hardness | Shore A | 40 |
| GB13477 | The ultimate tensile strength | Mpa | 0.8 |
| GB13477 | Movement capability | % | 12.5 |
Color
Black,White,Gray
Package
300ml in cartridge * 24 per box, 590ml in sausage *20 per box
Shelf life
12 months
Note
If you want the TDS or MSDS or other details, please contact with our sales person.
Check out our blog for clickable links to the items below!
Blog- https://www.heywandererblog.com/2017/06/diy-stock-tank-pool-everything-you-need.html
Instagram- www.instagram.com/heywanderer
E-mail- heywanderer@gmail.com
Things you will need:
- Stock tank (size of your choosing- ours is 8 ft.)
- Above Ground Pool Pump
- Weatherproof Silicone Sealant
- Hole Saw with Arbor
- Plunger Valves
- Pool Outlet
- 1-3 Rubber Washers (or Gaskets)
- 1 Strainer Nut
Other things you will need for maintenance:
- Chlorine Tablets
- Floating Pool Dispenser
- Water Testing Kit
Step 1- Find a nice level area to lay the stock tank on. If the area where you have chosen isn’t level, use sand or rocks to build up whatever side needs it. It is very important that your stock tank be level so there aren’t any unexpected leaks.
Step 2- Cut holes in your stock tank. I’m not going to lie- this is a pain in the butt. We bought a hole saw with an arbor and it took two people to get through the metal. You will need two holes, one at the top and one at the bottom. In an above ground pool, these aren’t usually right on top of each other, but ours are. We haven’t ever seen this as a problem.
Step 3- Start assembling the parts. In the pool pump package there is a packet with instructions, warnings and troubleshooting. This packet proved to be vital in the setup of the pool. I did end up getting 2 gaskets for the bottom section (the drain section), one for the inside of the pool and one for the outside. It only says you need one for the inside, but this was causing a drip for us. I also put thread seal tape around the connections that were closest to the pool. There are a lot of connections, and each one has a gasket, so you could probably get away without the tape. I didn’t put it on all the connections, the only ones that really seemed to matter were the ones that are connecting the hoses to the pool.
Step 4- Apply silicone waterproof sealant around all crevices involving the input and output parts. I did this on the inside of the pool and the outside. And I applied it VERY HEAVILY and did two layers, allowing one to dry before the second was applied. Sealing these crevices is one of the most important parts. This is what is going to keep the water in the pool. Well all of these steps are leading up to keeping water in the pool, but if there is any chance that it’s going to be getting out, this is what will save you.
Step 5- Test for leaks. Before I added water to the pool, I took a water bottle and poured a good amount of water on the input and output parts. You could also just use a water hose. I would make sure the hose wasn’t on full blast. You don’t want to accidentally penetrate the sealant.
Step 6- Once you are sure there aren’t any leaks, fill the pool just above the bottom hole/output. Check again to see if any leaks have started. If there aren’t any, fill the rest of the pool up!
Step 7- Turn the pump on. Make sure both plunger valves are open/unlocked. When you first do this water may not come out of the output, but there is a solution! Twist off the knob on top of the filter pump to let some air out. Some water may escape too and that’s okay, just be ready to screw it back on as soon as the water starts coming out.
How to make a Fidget Spinner out of Gallium Liquid metal. Fun home made project to try, use a Plasticine mold to cast your own fidget spinner. See more Gallium here: https://youtu.be/4u6A40QTWVI?list=PLQ_T2NppE0PI1soHO1bZmTJOGTynkRYHD
Buy Gallium and Fidget Spinners here – Amazon Associates Affiliate Links:
Gallium USA – https://amzn.to/2pcs6vV
Gallium UK – https://amzn.to/2pczIhW
Fidget Spinners USA – https://goo.gl/wDDB1W
Fidget Spinners UK – https://goo.gl/CbbtwP
Bearings USA – https://goo.gl/zQp9LY
Bearings UK – https://goo.gl/Lw4pEm
Contribute Subtitles Here:
https://www.youtube.com/timedtext_video?v=T1s0yts5bgk&ref=share
Latest Videos – https://www.youtube.com/watch?v=UfUg_vLV-bI&list=PLQ_T2NppE0PL_MgE6MlzDhfokjsILzj7b
Fun Science Projects: https://www.youtube.com/watch?v=Z50jEi1igNQ&list=PLQ_T2NppE0PIHhn2xEZGg0Dggq7uMbtMo
Making SLIME at home: https://www.youtube.com/watch?v=bZ1WmeKir78&t=4s&list=PLQ_T2NppE0PJBzfgoRfW1ITnazHRFXpz1&index=1
Food and Cooking Hacks – https://www.youtube.com/watch?v=mbHeddAnrZs&list=PLQ_T2NppE0PJvJeFaoIBp4P0ns8NudGQB
Amazing Life Hacks – https://www.youtube.com/watch?v=uz6rjbw0ZA0&list=PLQ_T2NppE0PKRAqkjpgtVRff46vr1iHaC
How To Make Fun Things – https://www.youtube.com/watch?v=0ki9Kta8g14&list=PLQ_T2NppE0PI1soHO1bZmTJOGTynkRYHD
Subscribe here: https://www.youtube.com/subscription_center?add_user=davehax
Music: Olde Timey Kevin MacLeod (incompetech.com)
Licensed under Creative Commons: By Attribution 3.0 License
https://creativecommons.org/licenses/by/3.0/