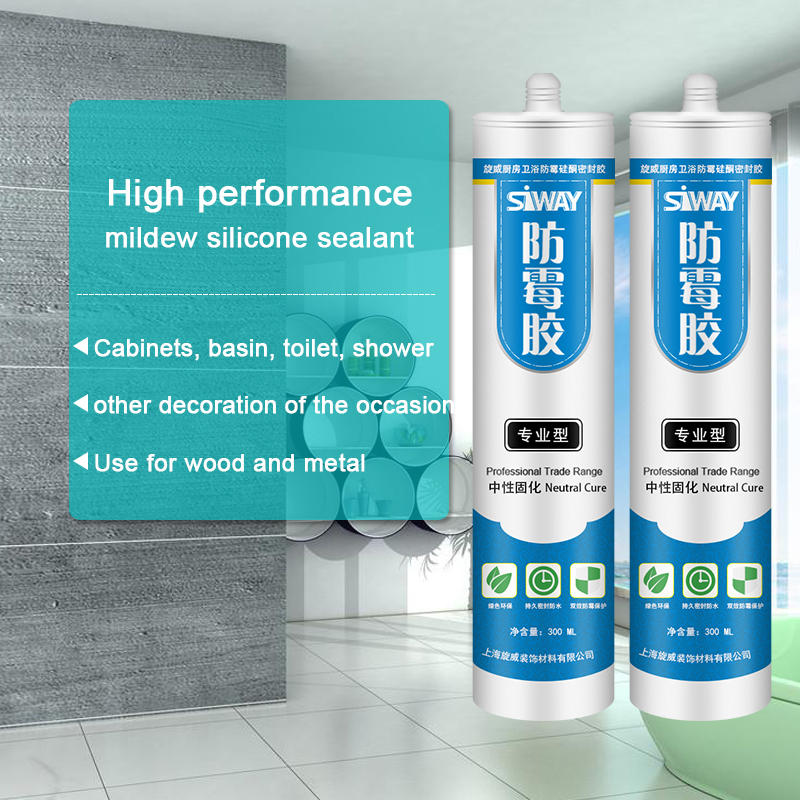
18 Years Factory High performance mildew silicone sealant to Algeria Importers
Short Description:
Description Siway high-performance mildew silicone sealant is a one-component, neutral curing, designed for decoration in the need to provide good anti-mildew performance of the occasion designed by environmental protection products. This product can be easily extruded under wide temperature conditions, relying on moisture in the air to cure into excellent, durable elastic silicone rubber, and most of the building materials in the case without primer can produce superior Of the bondability. I...
With this motto in mind, we have become one of the most technologically innovative, cost-efficient, and price-competitive manufacturers for 18 Years Factory High performance mildew silicone sealant to Algeria Importers, We welcome new and old customers from all walks of life to contact us for future business relationships and achieving mutual success!
Description
Siway high-performance mildew silicone sealant is a one-component, neutral curing, designed for decoration in the need to provide good anti-mildew performance of the occasion designed by environmental protection products. This product can be easily extruded under wide temperature conditions, relying on moisture in the air to cure into excellent, durable elastic silicone rubber, and most of the building materials in the case without primer can produce superior Of the bondability. It has the following product features:
- easy to operate, you can always use out;
- Neutral curing, suitable for most building materials without adverse effects or corrosion;
- Excellent adhesion: no primer, with most of the building materials to form a strong cohesive force;
- excellent weather resistance and aging performance;
- excellent long-term anti-mildew ability;
- Good environmental performance.
Where to use
Siway neutral high-performance anti-mildew silicone sealant can be widely used in a variety of high-humidity environment, the interface of the waterproof seal and filling and so on, such as cabinets, basin, toilet, shower, etc., and other needs long-term Moldy effect of the decoration of the occasion.
Key Features
1. 100% silicone
2. Easy to use
3. Waterproofing and weatherproofing
4. Primerless adhesion to most building materials
5. 12.5% movement capability
Technical data sheet
| Test standard | Test project | Unit | value |
| Before curing——25℃,50%R.H. | |||
| GB13477 | Flow, sagging or vertical flow | mm | 0 |
| GB13477 | surface drying time(25℃,50%R.H.) | min | 60 |
| GB13477 | Extrusion | (ml/min) | 355 |
| Sealant curing speed and operating time will have different with different temperatures and temperature, high temperature and high humidity can make sealant curing speed faster, rather low temperature and low humidity are slower.21 days after curing——25℃,50%R.H. | |||
| GB13477 | The ultimate tensile strength | Mpa | 0.9 |
| GB13477 | Movement capability | % | 12.5 |
| Mildew grade | 0 grade | 0 grade | |
Certification
JC/T881-2001
Color
Black,White,Gray
Package
300ml in cartridge * 24 per box, 590ml in sausage *20 per box
Shelf life
12 months
Note
If you want the TDS or MSDS or other details, please contact with our sales person.
Wherever waterproofing is a problem, ROOF7 has a chance to shine. ROOF7 is a bituminous paste with a high content of glass fibres. This allows it to also seal larger cracks and slits permanently. In addition, ROOF7 can be easily spread on larger surfaces.
For more information on MakerBot Desktop 3D Printers visit – https://goo.gl/Yk8IOY
For more information on 3D Printing services, and finishing services for 3D printed parts visit – https://goo.gl/Q6hCyf
To purchase supplies for your MakerBot 3D Printer, or other desktop 3D printer visit – https://goo.gl/mhpbMi
SILICONE MOLDING WITH 3D PRINTED MASTERS
Silicone molding is a powerful production method that, when combined with 3D printing, can allow you to make several copies of one product.
SUPPLIES
3D printed mold box, hardware, vents & keys (read on for more info).
Master (the print you are molding)
Silicone
Resin and dye
Mixing cups
Mixing sticks
Mold release spray
Hot glue or cyanoacrylate glue
Funnel
Ex acto knife
Rubber bands, tape, or straps
Gloves
Respiratory mask
Eye protection
STEP 1: CHOOSE A FILE TO CAST A MOLD AROUND
Obtain a file that you would like to either make several of, or create in a material not supported by your printer.
STEP 2: CREATE A MOLD BOX
The next step is to create your mold box. This is the structure that will hold the silicone in place around your part when pouring. Your master will need to be suspended in this structure.
STEP 3: PREPARE AND PRINT
Select standard print settings.
STEP 4: SUSPEND MASTER IN MOLD BOX AND PREPARE
A: Spray your mold box, master, vents, and keys with mold release.
B: Choose prints across model to glue vents
C: With our 3D printed mold box we were able to glue our master directly onto the pour hole during preparation.
D: Spray again with mold release for good measure
STEP 5: OPEN BOTTLES OF SILICONE (PARTS A AND B) AND STIR THOROUGHLY
As silicone comes in two parts, it needs to be mixed both individually and once combined with its hardener.
Mix slowly using separate mixing sticks.
Open Silicone Parts
STEP 6: MEASURE
A: Determine the volume of silicone needed to fill your mold
B: Measure desired amount of silicone and hardener separately in two measuring cups.
STEP 7: MIX SILICONE
Once you have measured each part, combine the two parts into one mixing cup and stir slowly with a mixing tool.
Be cautious not to stir in air bubbles. Be sure to scrape the sides of the cup to mix in all material.
Once your parts are thoroughly mixed the curing process will begin.
STEP 8: POUR INTO MOLD PART ONE
Pour silicone into the first half of your mold box.
When pouring, pour slowly into one corner of the mold box and allow the silicone to run to other parts of the mold box as it fills.
Stop when the silicone reaches the top of the first half of your mold box.
Once you have poured your silicone place small keys into the silicone. These will create negative spaces and allow the mold halves to fit together once poured. We will remove them before pouring the second half of our mold.
Pour Into Mold
STEP 9: LET CURE
Depending on what type of silicone you are using it can take anywhere from 75 minutes to overnight to cure. Temperature and humidity will affect curing times, so we recommend this process be done in a room temperature environment.
STEP 10: ATTACH AND PREPARE MOLD PART TWO
Once our mold has set, we will prepare to pour the second half of our mold.
A: Remove the keys you inserted in step 9.
B: Attach and secure second half of mold box.
C: Spray with mold release
STEP 11: POUR INTO MOLD PART TWO
Repeat steps 5-9 and create the second half of your mold
STEP 12: LET CURE
STEP 13: BREAKDOWN MOLD AND REMOVE
Once both halves of your mold have cured you are ready to remove them from the mold box and begin using them to recreate parts.
A. Remove the hardware
B: Remove the mold from the mold box and open.
C: Remove the master and vents.
STEP 14: REASSEMBLE AND PREPARE MOLD
A: Ensure that all parts of your mold are correctly aligned, and plug any holes created by vents.
B: Secure mold pieces using rubber bands, straps, or tape.
STEP 15: MEASURE RESIN AND ADD DYE
Supplies Used: Resin (Part A & B), measuring cups, measuring sticks, dye.
Just as with silicone you will need to measure each part of the mixture taking into account the volume needed to create a part.
If you have made several molds, you can mix a larger quantity of resin and pour several molds at once.
Add dye to the part of the resin mixture specified in the instructions.
STEP 16: MIX RESIN
Combine both parts of the resin mixture and mix thoroughly being sure not to stir in air bubbles.
STEP 17: POUR RESIN
Once mixed, pour immediately into the opening of your mold using a funnel.
Pour slowly as not to overfill and spill resin.
Any resin that remains in the mixing cup will harden, but can typically be removed afterwards.
Pour Resin
STEP 18: LET CURE
Once poured, allow the resin to cure for the appropriate amount of time.
STEP 19: OPEN AND REMOVE
Once your resin has cured, you can open the mold and remove your cast part.
Any resin that escaped through seams or voids and cured is called “flash”. Flash will need to be removed from the part through post processing.
FINAL PART


