High Definition For SV-9300 Fire Resistant Silicone Sealant Export to Italy
Short Description:
Description SV – 9300 Fire resistant silicone sealant is a one-component, neutral-curing silicone sealant exhibiting superior performance in applications where sealing openings in walls and floors are needed to control the spread of fire, smoke, toxic gasses, and water during fire conditions. Where to use It is an ideal material designed for use in fire-stop systems for through penetrations and joints. This product excels in applications where greater water resistance is required e.g. ...
We always work as a tangible team to ensure that we can provide you with the best quality and the best price for High Definition For SV-9300 Fire Resistant Silicone Sealant Export to Italy, If you are interested in any of our products or would like to discuss a custom order, please feel free to contact us.
Description
SV – 9300 Fire resistant silicone sealant is a one-component, neutral-curing silicone sealant exhibiting superior performance in applications where sealing openings in walls and floors are needed to control the spread of fire, smoke, toxic gasses, and water during fire conditions.
Where to use
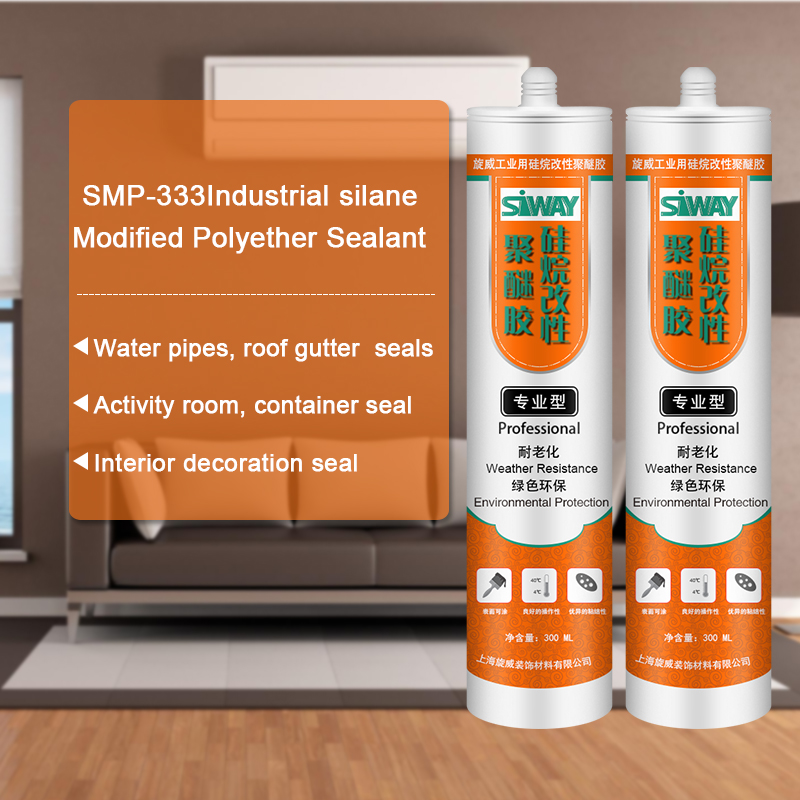
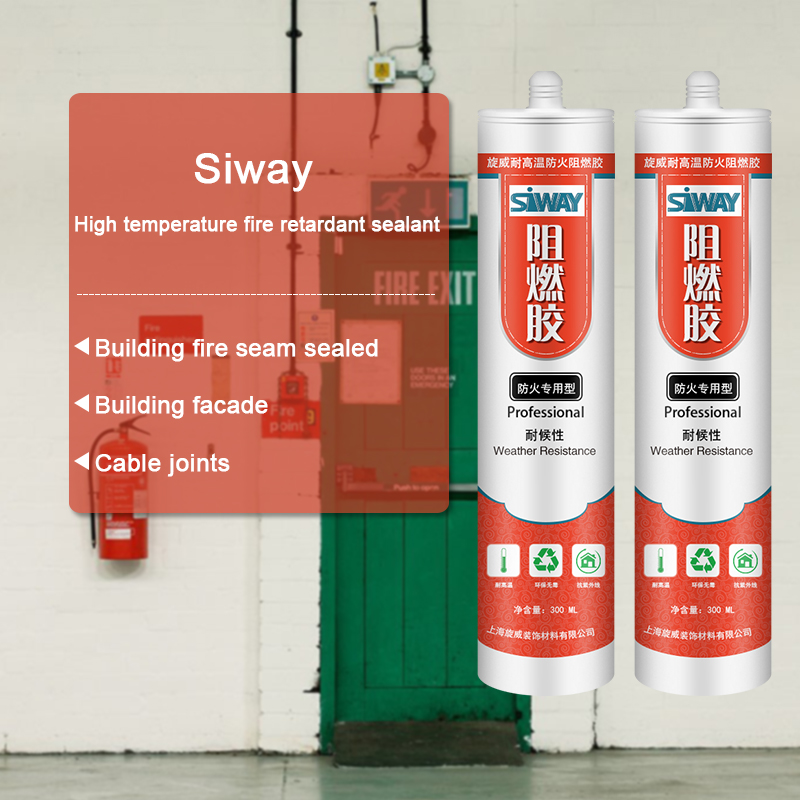
It is an ideal material designed for use in fire-stop systems for through penetrations and joints. This product excels in applications where greater water resistance is required e.g. curtain wall, building facade, expansion/pipe and cable joints.
Key Features
1. 100% silicone
2. Excellent weatherproofing and waterproofing
3. Low gas transmission rate
4. With highly efficient redundant
Basic Application
- Building fire seam sealed
- Building facade
- cable joints
Technical data sheet
| Test standard | Test project | Unit | value |
| Before curing——25℃,50%R.H. | |||
| GB13477 | Flow, sagging or vertical flow | mm | 0 |
| GB13477 | Operating time | min | 15 |
| GB13477 | surface drying time(25℃,50%R.H.) | min | 40-60 |
| Sealant curing speed and operating time will have different with different temperatures and temperature, high temperature and high humidity can make sealant curing speed faster, rather low temperature and low humidity are slower.21 days after curing——25℃,50%R.H. | |||
| GB/T 531.1-2008 | Durometer Hardness | Shore A | 20-60 |
| GB13477 | 60% elongation of cementation | no damaging | |
| GB13477 | Elongation limit | % | 120 |
| GB/T 24267 | Sealant level | 20HM | |
| GB/T 24267 | Fire prevention level | FV-0 | |
Certification
GB/T 24267-2009
Color
Black
Package
300ml in cartridge * 24 per box
Shelf life
12 months
Note
If you want the TDS or MSDS or other details, please contact with our sales person.
As the global leading silicone rubber manufacturer with 18 years experience of silicone rubber’s production and 10 years silicone rubber’s exporting, Shenzhen Hong Ye Jie Technology provide
Varies kinds of silicone rubber for a lot of industries,Any question ,pls don’t hesitate to contact me. Email:info@szrl.net & info@resinpu.com
Installation Instructions for an ASI Soundproof Door – High Definition version
The wall that this was installed to was treated with products, too. You can view our video on Soundproofing a Wall (https://www.youtube.com/watch?v=rVtY6MZoFrY) for more information.
https://www.acousticalsurfaces.com/acoustic_doors/soundproof_doors.htm
Tools Needed:
-Level
-Pencil
-Tape Measure
-Utility Knife
-Cordless Drill
-Quart-Size Caulk Gun
-Hammer
-Installation Kit*
-Installation Instructions*
-Heavy Duty Screws*
-Shims*
-Backer Rod*
-Acoustical Sealant*
-Door Hardware Kit*
-Door Casing (One installed on door when shipped, other side comes loose)*
-Door & Jamb*
*Included in Door Purchase (https://bit.ly/qZQjRh)
Make sure to inspect the door and included items for any damage prior to installation.
INSTALLATION INSTRUCTIONS
1. Unscrew the temporary threshold on the bottom of the door.
2. Determine which side of the jamb the hinges will be.
3. Measure and mark hinge locations onto the door frame.
4. Place a set of shims at each hinge, making sure they are plumb with the level.
5. Tip the door into place, make sure all is plumb and level.
6. Remove the two screws in the hinge closest to the door stop.
7. Repeat for each hinge.
8. Prop the bottom corner of the door with it swung at 90 degrees so that it holds the jamb tight to the drywall.
9. Pre-drill the holes from the screws you just removed to prepare for the long screws. (We use a 5/32 bit)
10. From top hinge down, install the included long screws.
11. Adjust shims as necessary to ensure the door stays level.
12. Shim the strike side of the door to get an even reveal on the inside of the door.
13. Install the backer rod around the gap in the rough opening by pushing it in about an inch deep. You can use a shim to push it in.
14. Fill the remaining gap with acoustical sealant.
15. Remove the temporary brace off the bottom of the trim kit.
16. Maintaining a 1/4″ reveal, attach the trim with the supplied screws.
17. Nail trim to wall as needed.
18. Fill holes with wood putty and sand.
19. Remove the short hardware screws that came shipped from the strike side of the door.
20. Replace them with the long screws for the strike hardware to secure the framing.
21. Remove the trim on the hinge side of the door that shipped on the door.
22. Repeat steps 13-18 on this side of the door.
23. Install door hardware as specified.
24. Ensure the door is shut and latched.
25. Adjust the door seals by locating the Phillips screws on the face of the door seal and turn counter-clockwise to tighten the door seal. This will close the gap between the seal and the door.
26. Work the way down the seal until all screws are adjusted so that the seal comes in contact with the door slab.
27. Trim off excess gasket on the strike side of the door jamb at the bottom so that the gasket is flush with the floor.
28. Adjust the bottom drop seal by loosening the set screw at the top of the drop seal counter-clockwise. When the screw engages the stop on the jamb, it will drop the seal down.
29. Peel off the backer on the peel-and-stick seal cover panels and pressure fit over door seals. Start with the top and fit the sides into the miter.