China New Product SV-666 Neutral silicone sealant Export to Malaysia

Short Description:
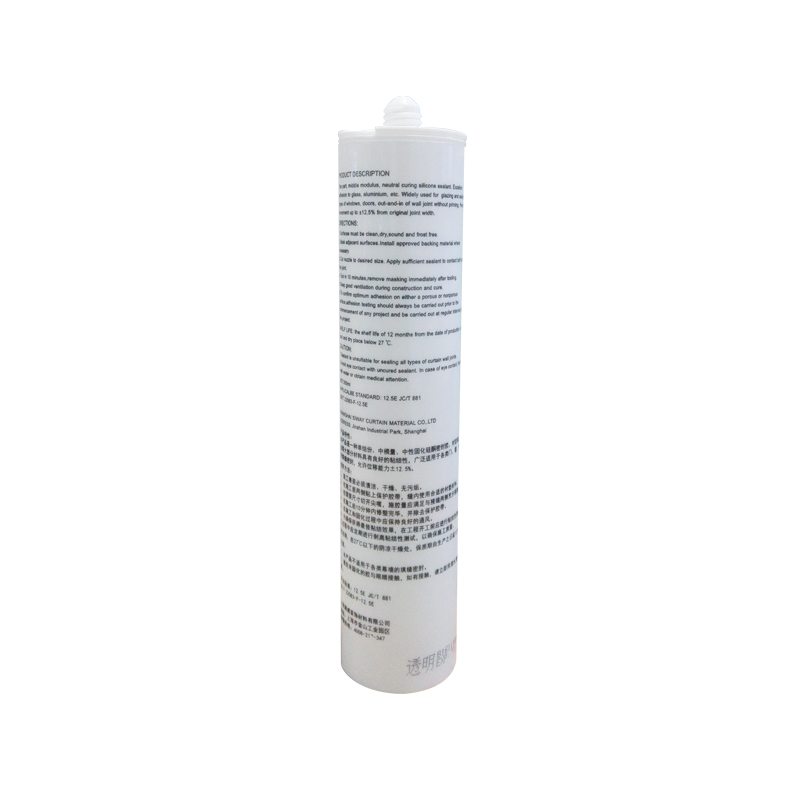
Description SV-666 neutral silicone sealant is a neutral curing glue single component, the modulus of the. It is specially designed for windows and doors caulking sealing general plastic doors and windows. It has good adhesion to glass and aluminum alloy, and has no corrosion. Where to use It is fit for multiple purpose sealing and bonding applications to form a silicone rubber adhering to adjacent substrates e.g. glass, ceramic, tile, wood and metal. Key Features 1. 100% silicone 2. Eas...
We consistently carry out our spirit of ''Innovation bringing development, Highly-quality ensuring subsistence, Management promoting benefit, Credit attracting customers for China New Product SV-666 Neutral silicone sealant Export to Malaysia, We welcome new and old customers from all walks of life to contact us for future business relationships and achieving mutual success!
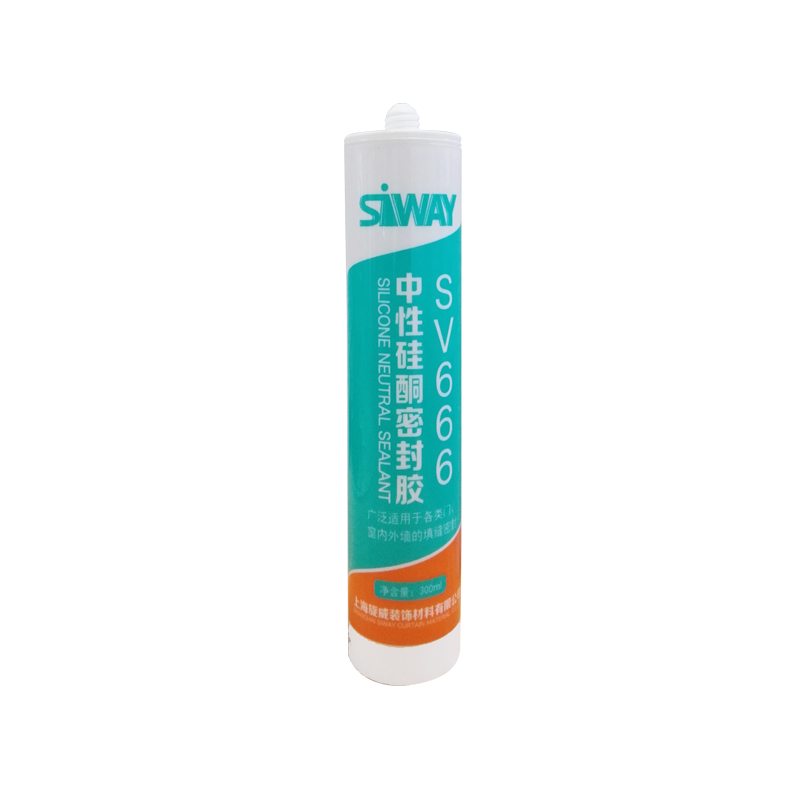
Description
SV-666 neutral silicone sealant is a neutral curing glue single component, the modulus of the. It is specially designed for windows and doors caulking sealing general plastic doors and windows. It has good adhesion to glass and aluminum alloy, and has no corrosion.
Where to use
It is fit for multiple purpose sealing and bonding applications to form a silicone rubber adhering to adjacent substrates e.g. glass, ceramic, tile, wood and metal.
Key Features
1. 100% silicone
2. Easy to use
3. Waterproofing and weatherproofing
4. Primerless adhesion to most building materials
5. 12.5% movement capability
Technical data sheet
| Test standard | Test project | Unit | value |
| Before curing——25℃,50%R.H. | |||
| GB13477 | Flow, sagging or vertical flow | mm | 0 |
| GB13477 | surface drying time(25℃,50%R.H.) | min | 30 |
|
GB13477 |
Operating time | min | 20 |
| Curing time(25℃,50%R.H.) | Day | 7-14 | |
| Sealant curing speed and operating time will have different with different temperatures and temperature, high temperature and high humidity can make sealant curing speed faster, rather low temperature and low humidity are slower.21 days after curing——25℃,50%R.H. | |||
| GB13477 | Durometer Hardness | Shore A | 28 |
| GB13477 | The ultimate tensile strength | Mpa | 0.7 |
| Temperature stability | ℃ | -50~+150 | |
| GB13477 | Movement capability | % | 12.5 |
Certification
JC/T881-2001 12.5E;GB/T14683-2003 12.5E
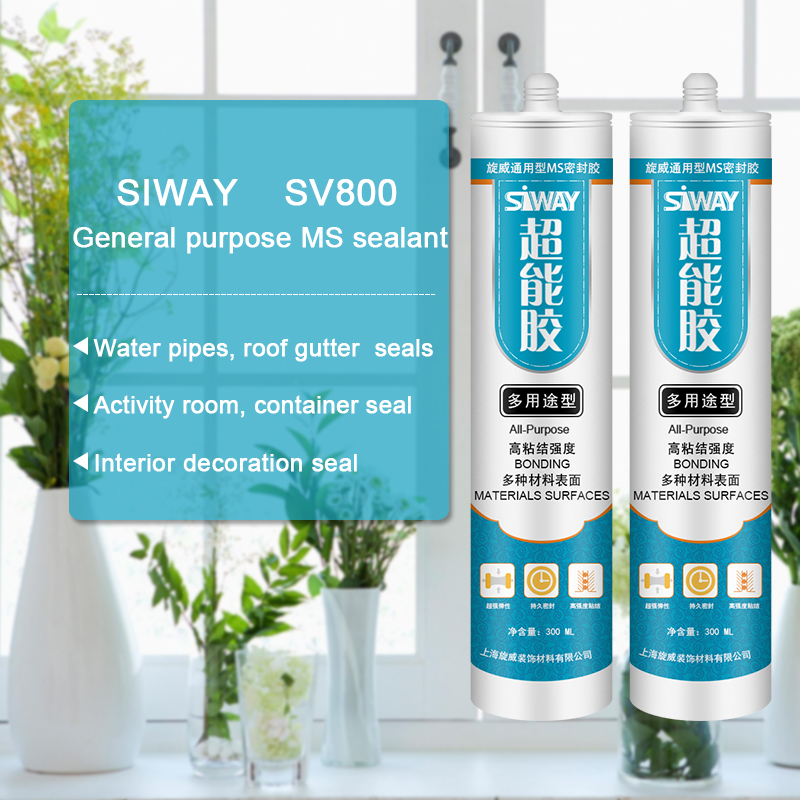
Color
Black,White,Gray
Package
300ml in cartridge * 24 per box, 590ml in sausage *20 per box
Shelf life
12 months
Note
If you want the TDS or MSDS or other details, please contact with our sales person.
How to build the cornhole toss game. In the video, Pete shows the materials needed, how to build the platforms, add the legs, and drill the hole. DIY Pete also shows how to paint a cornhole board and add a design to it.
For more info, project photos, and downloadable plans check out:
https://www.diypete.com/CornholeToss
Download Plans: https://www.gumroad.com/l/cornholetoss
*Note that these are affiliate links, meaning that when you buy something that is recommended below, it helps support the Channel. Thanks in advance!
*Tools Needed
Power Drill – https://amzn.to/1OxMfnt
12″ Miter Saw – https://amzn.to/1VUVo8s
Kreg Jig (optional) – https://amzn.to/1X7Bd9H
Orbital Sander – https://amzn.to/1VUVNYy
Jig Saw – https://amzn.to/1VUXkhn
Optional 6″ Hole Saw – https://amzn.to/1VUXlBP
First, you’ll want to build the frame for the cornhole platform. Lay the 2×4’s on a flat surface and connect the boards using 2 1/2 wood screws. I’d recommend drilling pilot holes prior to using the screws to eliminate the chances of wood splitting. Use 2 screws in each corner. More info and blueprints in downloadable plans.
Use 1 1/2 inch long wood screws to attach the 1/2 inch plywood to the 2×4 frame. Pre-drill pilot holes to prevent the wood from splitting when the screw goes in. Place screws around the perimeter of the board spaced about every 8-10 inches. Countersink the screws a bit so you can fill them in with wood putty in a later step.
Cut the legs for each platform to 12 inches. Later, we’ll angle the boards and shorten them just a bit. First, measure 1 3/4 inches down from the top of the board and make a mark. Second, measure 1 3/4 inches from the side. You’ll drill a 3/8 inch hole where the center marks are. Use a compass to draw an arc which will round off the top so the legs will be able to fold.
The rounded side should be flush with the corner. Then use a 3/8 inch drill bit to go through the hole in the leg and to create a new hole in the 2×4 frame behind it. Learn more in downloadable plans.
Use 4 1/2 inch long 3/8 inch carriage bolts to attach the leg. Put a washer and wing nut on the inside of the leg. Check to make sure they open and close easily. You can use an orbital sander to sand down high spots on the arc in case the leg isn’t folding easily.
Put the cornhole table on a large and flat table. Shove a box underneath and check to ensure the back board is at 12″ above the surface. Once this has been done, slide the corner of the platform over the edge of your surface (Video above helps describe this process). Cut the angle on the miter saw. It will typically range between 5 to 10 degrees. Here is a photo of the legs with the angle cut.
The next step is to cut the hole for the platform. I had to re-take a few photos which is why you see a hole in the boards and paint in the previous photos. Measure 9″ down from the top of the board. Then measure 12″ from the side of the board. Where both marks meet is where you will want to mark for the center of the hole. Then use a 6″ hole saw to cut the hole. If you do not have a hole saw you can use a jig saw. Make sure to hand sand the edges of the hole after cutting.
Do a google search for all sorts of ideas on how to customize your boards. I used masking tape to create a 1 1/4 inch border and an arrow. Paint the boards using a brush or roller. I used latex paint because it has low VOC (fumes) and is durable. I used a stencil to paint on a Nebraska Huskers design. You can order custom stencils and NCAA licensed decals from companies like decalsextremeonline.com and vinyldisorder.com.
—-
Looking for more DIY videos? Be sure to check out our channel and subscribe for updates! We post a weekly tutorial every Thursday.
Looking for woodworking, concrete working, and other DIY projects plans to follow? You can download plans for free at https://gumroad.com/DIYPETE
Facebook: https://facebook.com/DiyProjectsWithPete
Instagram: https://instagram.com/diypete
Pete Sveen
1627 W Main Street Suite 182
Bozeman, Montana 59715
Download the plans at: https://www.gumroad.com/l/cornholetoss
Support me on Patreon! https://www.patreon.com/HoffmanEngineering
This is a technique which I haven’t heard talked about too much. Most clearcoats contain acetone. By clear coating an ABS print, it does an amazing job smoothing and sealing the object. It also removes any sanding residue, and any marks from ABS Slurry!
Part 1 – Fixing cracks with ABS Slurry: https://www.youtube.com/watch?v=Q458yFAKrYk
Please like the video, and subscribe to follow my 3d printing adventures!
-Christopher Hoffman